How to calculate drapery yardage: a worked example
Follow one drapery pair from finished coverage to a fabric order, and see why a straight pattern repeat changes the cut length.
Read the guide workroomtools.
 Language
The workroom blog
Practical explanations for the decisions behind your measurements, fabric order and cutting plan.
Follow one drapery pair from finished coverage to a fabric order, and see why a straight pattern repeat changes the cut length.
Read the guideThese drapery measuring guides explain the choices behind a fabric estimate. If you already know your finished dimensions and construction allowances, open the calculator directly. If you are unsure why an order changes when you adjust fullness or add a repeat, begin with the worked example above. It follows a single pair from coverage width through joined widths, cut lengths and purchase rounding.
The examples use the rules of the current Workroom Tools calculator. They make the assumptions visible so you can decide whether they fit your own method. They are not universal heading specifications or a substitute for checking the fabric. Read the limits beside each example, then use the same sequence with the dimensions from your actual work order.
Begin with a small measurement record: the span the finished treatment must cover, the finished drop, the number of panels and the intended heading. Keep the window opening as a separate observation. The opening can help with installation planning, but it does not by itself tell you the fabric width needed for gathering, returns or overlap.
Add the fabric information next. Note its usable width, vertical repeat and direction, followed by the side seams and hems your workroom will use. A photograph or swatch can help identify the material, but it cannot confirm the available cut length on the roll. Keeping these details together makes it easier to check a changed estimate without starting the measurements again.
Finished coverage describes the span occupied by the treatment after the fabric is gathered or pleated. Flat body width describes the fabric spread out before that shaping. Fullness connects the two. In this calculator, the flat return and overlap are separate edge zones, added after body fullness. Treating all three measurements as the same width can count an allowance twice.
A panel is one finished hanging section. A width, sometimes called a drop in a cutting plan, is one length taken from the fabric roll. Two panels can require four cuts, or another number, depending on the usable width and target. Cut length includes construction allowances; finished drop does not. Purchase quantity can also include reserve that never appears as a named piece in the cut list.
Read the assumptions before the answer. Look for coverage, fullness, panel count, flat edge zones, usable width and seam loss. Those values establish how many cuts are needed. Then follow the finished drop and length allowances to find the base cut. Finally, check the pattern adjustment and purchasing increment. This order helps you identify which input is responsible for a difference.
Change one setting at a time when comparing the example with your project. A new fabric width may change the cut count while leaving cut length untouched. A new vertical repeat may change length while leaving the count alone. Understanding those separate effects is more useful than memorizing the example’s yardage, because your next job will probably use a different combination of dimensions.
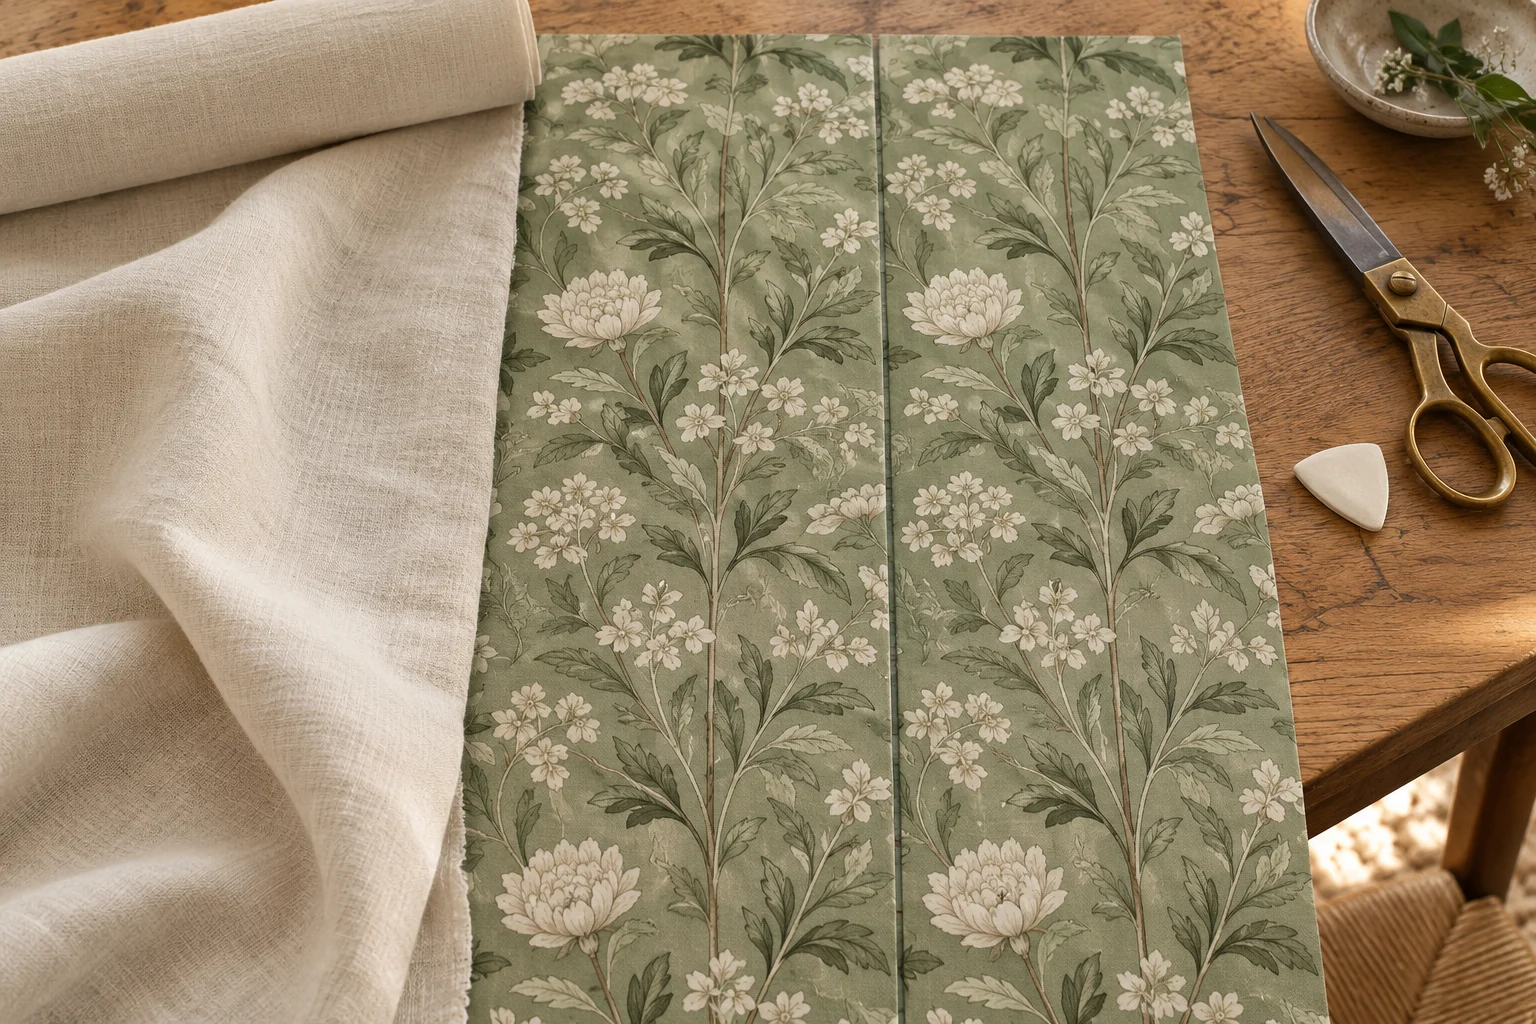
For patterned cloth, establish whether the design has a straight match or requires another arrangement. A vertical repeat is a distance along the roll, not the width of a motif in a product photograph. The straight-repeat example shows why completing the repeat can increase every cut. It also separates that adjustment from the first motif’s starting position, which must be chosen on the actual material.
For lining, check the construction before copying the face-fabric quantity. A different usable width or shorter finished length can change the answer. The current tool supports solid lining and calculates its cuts independently. It does not design interlining layers, blackout side channels or special attachment details. Keep those specifications with the work order and use a method appropriate to their construction.
After reading a guide, open the calculator and review the individual cuts before accepting the purchase total. Compare the result with the named fabric, inspect seam positions and check the amount left to trim. Resolve uncertain inputs while the job is still an estimate. A clean cutting list is helpful only when its dimensions describe the treatment you actually intend to make.
Save a project export with your notes when the numbers are ready. The browser’s local save holds one project, while an exported file can travel with the job. The printable diagram is a schematic for reading dimensions, not a full-size cutting pattern. If construction or material changes later, update the project and regenerate the cut list so that the worktable copy reflects the latest decisions.
Ready to enter a job? Calculate drapery fabric and lining, or browse the available workroom tools.
First establish the flat width needed after fullness and edge allowances. Convert that into enough usable fabric widths, accounting for seams. Find the cut length from finished drop and hems, adjust for the supported pattern match, then multiply by the cut count. The worked example shows the numbers and the separate final reserve and rounding steps.
For an equal pair, a body fullness ratio describes the combined flat body width relative to total coverage. Divide that flat body width between the two panels. Each panel then receives its own applicable edge allowances. Check whether a ready-made product lists the width of one panel or the pair before comparing that label with a workroom calculation.
Use the calculator first when your dimensions and allowances are ready. Read the relevant guide section when an input is unclear or the result differs from your worksheet. The guide explains a fixed example, while the calculator updates for your own project. Neither chooses the finished design or heading construction for you.
No. The current article explains material estimation for rectangular drapery panels using the stated full-width method. It does not provide a pinch-pleat layout, rod-pocket construction pattern, shaped treatment template or installation specification. Use it alongside your chosen sewing method, and confirm that the allowances correspond to that method before ordering.