Place curtain eyelet centers evenly across one flat heading. Check the ring clearance, compare hole counts and print a position table or an actual-size paper strip.
Private, on this device
For a straight, flat, hemmed curtain heading with equal side insets. This tool calculates horizontal positions only. Confirm the cut-hole diameter, heading reinforcement and vertical placement with your hardware instructions.
EXAMPLE
Example settings, not construction recommendations. Replace them with your measurements.
Tables use cumulative distances from the finished left edge. Screen diagrams are not life size.
Print an actual-size strip
Landscape · 100% / Actual size · no Fit to page · disable headers and footers. Check the 50 mm square with a ruler. Join successive sheets at the numbered alignment line with 20 mm overlap. Set the vertical hole centerline separately for your hardware.
Your layout stays with you.
One local slot for this tool. Saving replaces only this tool’s saved project. Export a backup before clearing browser data.
A clear path from panel width to hole positions.
01
Measure the finished flat heading
Measure one panel after the side hems are complete, keeping the heading flat without stretching it. Enter that width, then the distance from each finished side edge to the center of the nearest hole. Both sides use the same inset. Do not use the rod span or the compressed hanging width in place of the flat cloth width.
Measure between finished edges, not raw cut edges.
For an unequal pair, calculate each panel separately.
02
Check the actual hardware
Enter the fabric cut-hole diameter specified for your grommet and the measured outside diameter of its rim. These dimensions serve different checks. Add the minimum clear fabric you want between the outside rim and each finished side edge. The tool blocks a layout if the rings overlap, touch, cross the edge or fail your requested side clearance.
The rod opening is not automatically the fabric cutting diameter.
Example diameters are editable demonstration values.
03
Choose a count and inspect the plan
Keep a fixed hole count, or ask for a count near your target center spacing. Use the even-count setting when planning the stated alternating rod weave with matching end directions. Select a hole in the diagram or table selector to see its cumulative coordinate. Review the whole heading before marking the first permanent cut.
Read actual spacing after a count is selected.
Sample your hardware on the complete fabric stack.
Small measurement distinctions make a useful layout.
A cut hole and an outside rim are different sizes
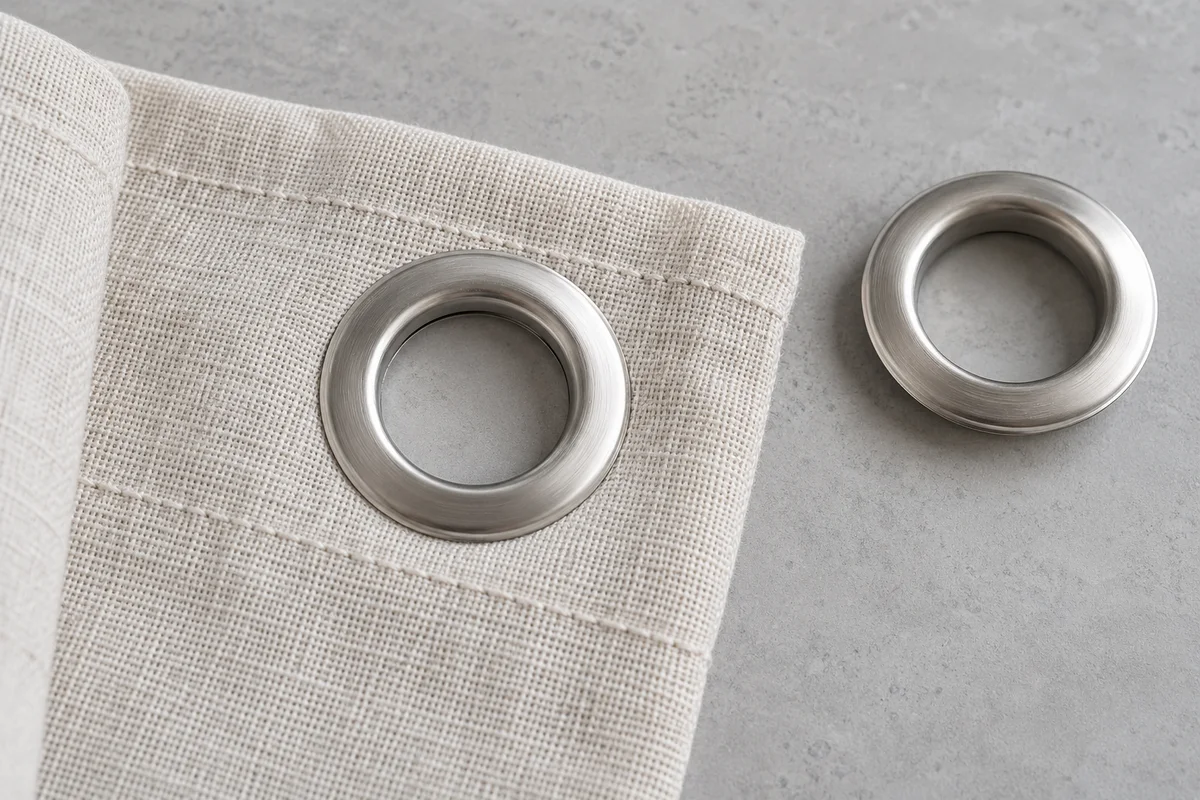
A curtain eyelet has an opening, a rim and a method of fastening through the fabric. A label on the packet may describe one of those measurements rather than the hole you need to cut.
Use the maker’s cutting instructions for the fabric-hole input. Use the outside rim measurement to check how much space the installed hardware occupies. The calculator requires the rim to be larger than the cut hole, but that simple check does not verify whether the two measurements belong to a compatible product.
Side clearance is measured from the outside of the rim to the finished fabric edge. It is different from the distance to the hole center. The result displays that remaining clearance so you can compare it with your chosen requirement before using the layout.
AI-generated hardware illustration. Use the specifications of your own grommets.
Flat spacing and hanging folds answer different questions
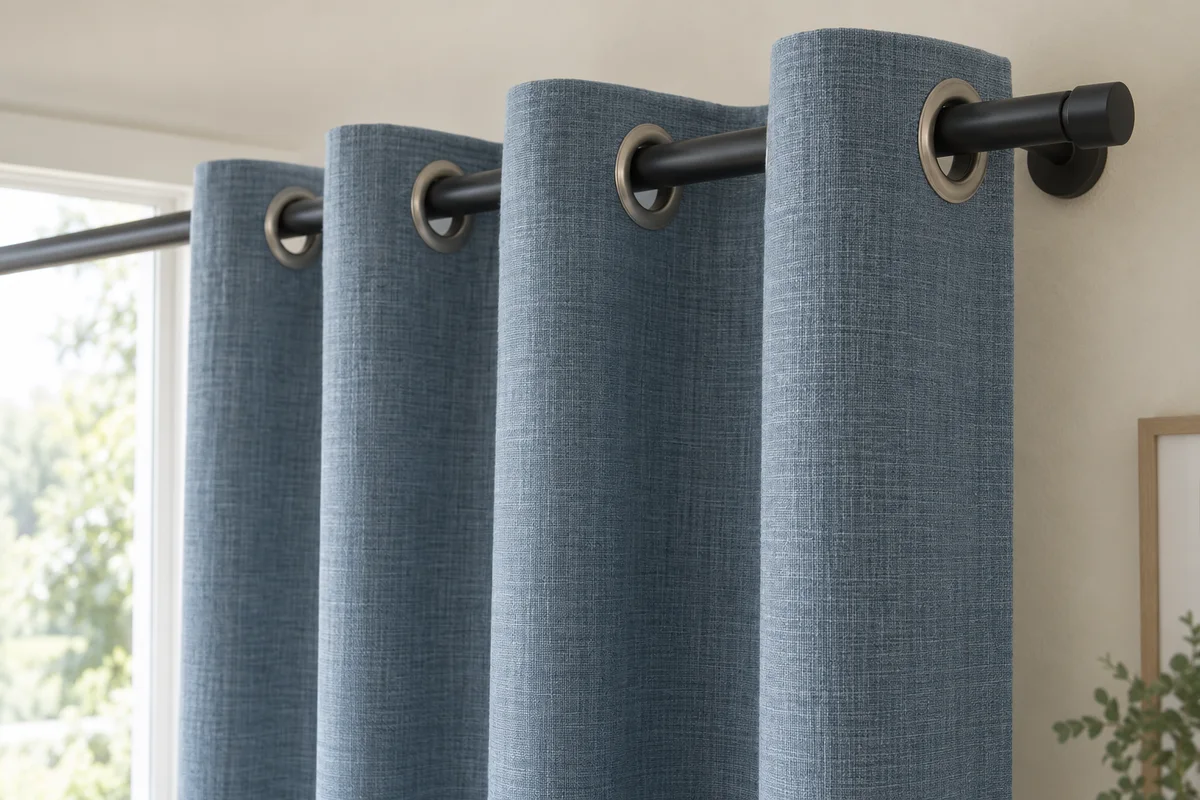
The position table is a plan for cloth lying on a worktable. Once the heading is threaded on a rod, the fabric moves forward and back, so the hanging coverage is not the flat width.
The even-count option belongs to the alternating weave described in the form. It helps keep the two ends oriented consistently when the heading is threaded in that manner. It does not decide which side faces the room, where to begin threading or whether a different heading system needs the same parity.
Spacing affects the amount of cloth between centers, but this geometry alone cannot predict the depth of every hanging fold. Cloth stiffness, heading support, rod size and the installed arrangement all matter. Test a short sample and the end direction before cutting the full panel.
AI-generated hanging illustration; fold shape is not a simulated result.
Check the numbers
Twelve holes across an 80-inch heading.
The English example uses an 80-inch hemmed flat panel, 2.5-inch center insets, twelve holes, a 1.5-inch fabric cut hole and a 2.5-inch outer rim. The selected side-clearance requirement is 0.5 inch. Replace these sample values with your hardware and panel measurements.
Subtract both center insets: 80 − (2 × 2.5) = 75 inches between the first and final hole centers. Twelve holes form eleven center-to-center intervals, not twelve.
Divide the span by eleven: 75 ÷ 11 = approximately 6.818 inches between centers. The first center is 2.5 inches from the left edge; the final center is 77.5 inches from that same edge.
Check the side clearance: 2.5 − (2.5 ÷ 2) = 1.25 inches between each outside rim and finished side edge. That exceeds the selected 0.5-inch requirement.
Check the space between rims: 6.818… − 2.5 = approximately 4.318 inches. For actual marking, take every coordinate from the table rather than adding a rounded 6.818-inch increment eleven times.
Confirm the cutting diameter and outside rim against the actual product. This version supports outside diameters up to 10 cm. It does not select a grommet size for your rod or certify the strength of the fabric and hardware assembly.
Side-edge clearance
A centered hole can fit inside the fabric while its wider metal rim crosses the side edge. The check uses the outer rim, then compares the remaining cloth with the minimum clearance you entered. Zero is allowed only if you intentionally require no extra side clearance.
A separate vertical line
The output is a horizontal layout. Set the height of the centerline using the heading depth, reinforcement and hardware instructions. A valid horizontal result does not check the upper edge, the bottom of the heading tape or concealed stitching.
Paper you can assemble
The positioning strip is divided into landscape Letter or A4 pages with 20 mm overlap and matching alignment labels. A separate calibration sheet carries a 50 mm square. The on-screen preview is reduced to fit and cannot be measured as a full-size template.
The calculation, explained
Equal spacing, with visible assumptions.
Rule version 1.0.0 · Horizontal heading layout
The center-coordinate formula
Let W be the flat hemmed width, E the equal center inset and N the hole count. Center spacing S = (W − 2 × E) ÷ (N − 1). Hole i, starting at one, is at E + (i − 1) × S from the left edge. Side clearance is E minus half the outside diameter. The clear gap between neighboring rims is S minus the outside diameter. Internal calculations use unrounded coordinates.
How target-spacing mode chooses a count
The tool compares all allowed counts from two through eighty, filters out counts whose rings would touch or overlap, and applies even parity when selected. It chooses the smallest absolute difference between actual and requested center spacing; a tie keeps the smaller count. The result reports the spacing you will actually get. Widths up to 10 meters are supported, but no assessment of drape, load capacity or seam strength is implied.
Hardware context: Sailrite gives a spacing suggestion for its own curtain-grommet installation. This calculator does not treat a supplier’s example spacing as a universal requirement; its checks use your entered dimensions. Sailrite · Installing Metal Curtain Grommets
Curtain eyelet spacing questions, answered.
How far apart should curtain grommets be?
Choose a starting spacing based on your hardware instructions and a sample of the intended heading. There is no universal distance for every fabric, ring size and fold depth. Target-spacing mode helps compare feasible counts for your particular flat width. Always read the actual center spacing and ring clearance in the result; the closest count may not reproduce your target exactly.
Why do some curtain instructions call for an even number of eyelets?
An even number is associated with the alternating front-and-back threading arrangement that keeps both end sections oriented consistently. This tool applies that rule only when you select that arrangement. If you choose position layout only, odd counts are permitted, and you are responsible for checking the end directions and suitability of the actual heading method.
Is the edge inset measured to the center or the rim?
The input labeled edge to first or last center is measured to the hole center. The tool subtracts half the outside ring diameter to report the clear fabric left at each side. Do not enter a rim-to-edge distance in the center-inset field. If you already know the required rim clearance, add the outside radius to obtain the corresponding center inset.
Can I use the grommet’s opening diameter as the cutting diameter?
Only if the hardware maker explicitly specifies that same size for the fabric cut. An installed opening and a fabric preparation hole can be different. The tool cannot infer the cutting size from a product name. Enter the confirmed fabric-hole dimension and test the complete installation on a scrap with the same reinforcement and layers before cutting the curtain.
How do I print and join the positioning strip?
Open the positioning-strip preview, select Letter or A4, and print in landscape at 100 percent or Actual size. Turn off Fit to page and browser headers and footers. Measure both sides of the calibration square: each must be 50 mm. Match A1 to A1, then A2 to A2, overlapping sheets by 20 mm. Align the horizontal centerline and the matching crosses before taping.
Can I trust the screen preview or a scaled printout for marking?
No. The screen diagram is fitted to its container, and a printer can scale or clip an otherwise correctly dimensioned file. Only use a physical print after checking the calibration square and a longer known span against a ruler. If the scale is wrong, mark directly from the cumulative table instead. The strip does not set the vertical distance from the top edge.
Take a clear plan to your worktable.
Check the dimensions, save the project and make a sample.