Finished end reserves
Left and right reserves remain flat in this model. They can represent your chosen return and leading-edge zones, but they are not automatically added to a rod measurement. Include them in the entered finished heading width.
 workroomtools.
 Language
The workroom toolkit
Turn a flat curtain panel into a clear pinch pleat layout. Compare pleat counts, check the exposed spaces and take cumulative marks to your worktable.
For sewn pinch pleats whose two boundary marks close to one base point. Dimensions are for one hemmed panel. This model does not cover pencil-pleat tape, wave headings, box pleats or pattern-matched pleat placement.
Example settings, not construction recommendations. Replace them with your measurements.
Tables use cumulative distances from the finished left edge. Screen diagrams are not life size.
One local slot for this tool. Saving replaces only this tool’s saved project. Export a backup before clearing browser data.
Lay one panel flat without stretching the heading. Measure between its two finished side edges, after joining, trimming and hemming. Enter the finished heading width separately: this is the width you want after the pleats are sewn, including the unpleated zones at both ends. A window opening, raw fabric width and finished heading width are different measurements.
With existing fabric, keep flat width and finished width fixed, then choose a pleat count. The tool divides the available take-up equally. Alternatively, enter a target intake and compare the suggested whole count with its actual intake. In planning mode, set the finished width, count and intake to calculate how much hemmed flat width you need.
Inspect the two end reserves and every known joining seam. Make a sample pleat in the actual cloth and heading support before accepting the count. Once the sample works, use the cumulative start and end coordinates to mark the whole panel from the same left edge. Export the project before trying a different construction.
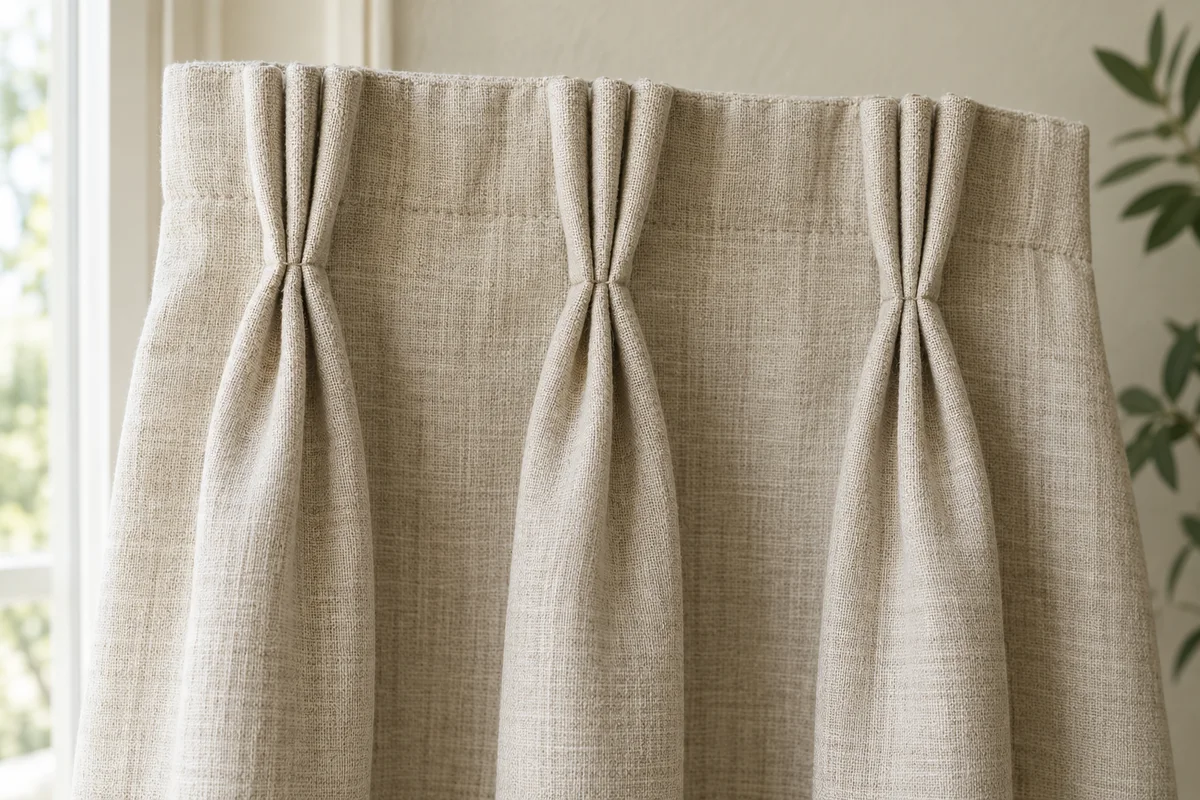
A pinch pleat hides a measured length of cloth in its folded structure. The flat interval between two pleats remains part of the finished heading width. Keeping these two quantities separate makes a pleat spacing calculator easier to check.
The shaded blocks in your result represent the fabric intake. Bring the two ends of a block together to create its base. How you arrange that intake into two or three fingers is a construction choice that must be sampled; this tool does not divide the intake into individual finger depths.
More pleats divide the same total intake into smaller groups and shorten the exposed intervals. That change may affect the appearance, handling and bulk of the heading. Judge those effects on your sample, with the lining and support material that will actually be used.
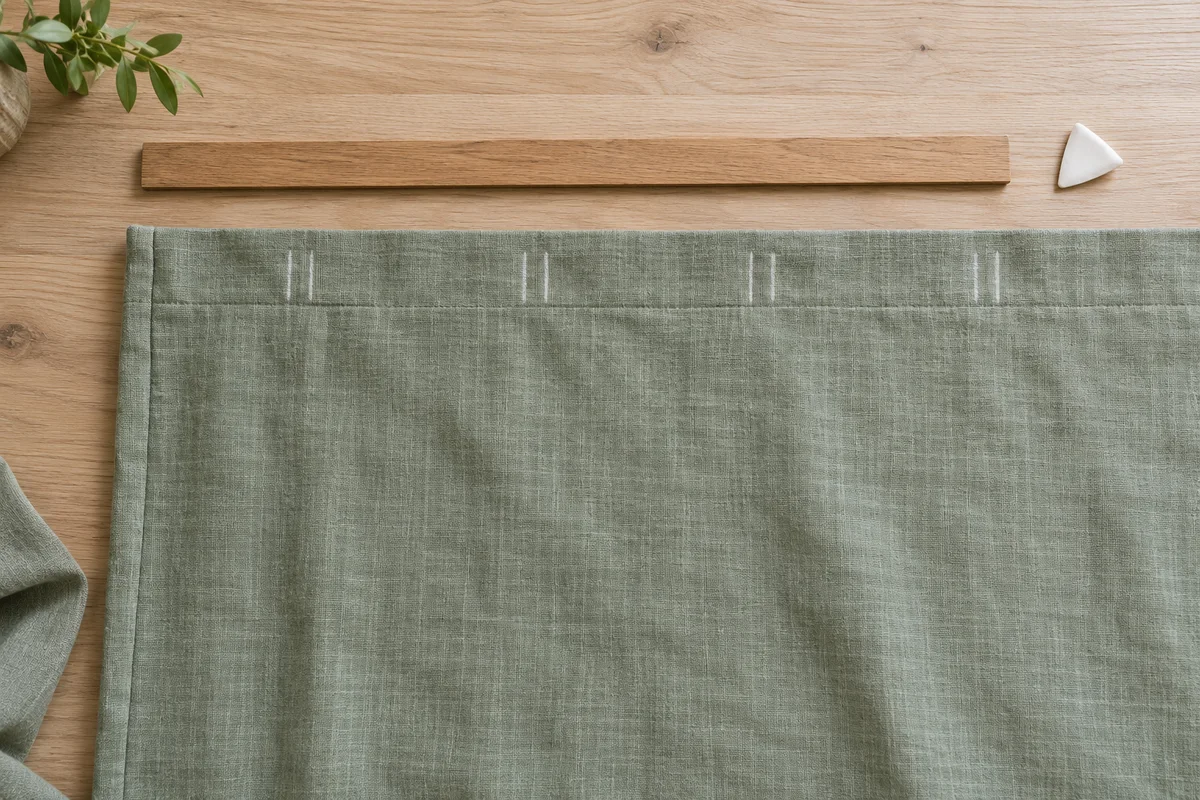
Work from the finished left edge of each individual panel. Measure every coordinate from that origin instead of stepping across the cloth with a rounded pleat size or gap.
The marking table lists the start and end of each intake, its flat center and the corresponding base on the finished heading. These are different stages of the work. A flat-center measurement should not be mistaken for a finished hook position.
For a mirrored pair, end reserves exchange sides and the right-panel marks are reflected. Known seams remain separate inputs because the way you joined and trimmed each panel may not be symmetrical. A seam inside an intake is flagged for review; the tool does not move it or promise to hide it.
Check the numbers
The English example uses a 100-inch hemmed flat panel, a 50-inch finished heading, a 4-inch left reserve and a 2-inch right reserve. These are demonstration measurements, not recommended allowances.
Left and right reserves remain flat in this model. They can represent your chosen return and leading-edge zones, but they are not automatically added to a rod measurement. Include them in the entered finished heading width.
Face cloth, lining and heading support can make the same nominal intake feel quite different. The calculation tracks widths, not fabric thickness, compression or the force needed to sew through a stack.
Enter seam coordinates after the panel is hemmed. The diagram shows them as dashed lines and reports whether they fall inside an intake. Seam allowances and motif alignment are not reconstructed from a fabric width.
Save one layout locally for this tool, or export a versioned JSON project. The printable table and CSV use the same calculated coordinates. Keep separate exported files when comparing several rooms, materials or heading samples.
The calculation, explained
Rule version 1.0.0 · Horizontal heading layout
Let W be hemmed flat width, F finished heading width, L and R the end reserves, and N the pleat count. Intake P = (W − F) ÷ N. Exposed gap S = (F − L − R) ÷ (N − 1). Reverse planning uses W = F + N × P. There are N intakes and N − 1 internal gaps. The model treats a sewn pleat base as a point rather than assigning it an extra visible width.
For pleat i, starting at one, the first mark is L + (i − 1) × (P + S); the second adds P. Its finished hook base is L + (i − 1) × S. Calculations retain unrounded coordinates; only the displayed values are rounded. Inputs support widths up to 10 meters and 2–80 pleats per panel. Hook height, end hooks, stack-back, motif alignment and hardware load limits are outside this horizontal layout.
Construction context: Sew Helpful distinguishes flat width, finished width, leading edge and return, and advises testing a sample pleat. The equations and limits above state this tool’s own point-base model. Sew Helpful · Curtain Pleat Calculator
There is no single count that suits every fabric and finished width. This tool lets you compare counts while holding the two widths fixed, or find the closest allowed count to a target intake. Review both the resulting intake and exposed gap. Fold and sew a sample before using the result on a finished panel; a mathematical fit does not assess fabric bulk or your preferred appearance.
No. Intake is the full flat width that is folded away into one pleat. A finger depth describes part of the folded shape and depends on how that pleat is made. The calculator gives paired boundary marks for the complete intake. It does not tell you to cut that width away, or treat it as the depth of each finger.
Enter the desired finished width of one panel, including its two flat end zones. If you begin with a pair’s rod coverage, decide how that coverage, return and overlap will be allocated to each panel first. Do not put the total width of a pair into a per-panel field and then select the mirrored-pair view, because that would describe two panels of that larger size.
Pleats must be a whole count. The tool tests counts from two through eighty and selects the one whose actual intake is closest to your target; equal differences favor the smaller count. It then recalculates the intake to preserve the exact flat and finished widths. The target is a selection preference, not a promise that both the target and all fixed dimensions can be met exactly.
No. It shows where the seams you supply fall relative to an evenly spaced layout. A seam inside a pleat intake is a cue to inspect thickness and appearance. A seam in an exposed interval may require a different count, a change to the panel construction or a custom uneven layout. Automatic seam hiding and horizontal pattern-repeat placement are not part of this version.
This version is limited to sewn pinch-pleat bases represented as points. Gathered tape, spaced wave carriers and pleats with a visible base width need different construction rules. Using their names with the same formula would imply support the tool does not have. Confirm that your sample follows the stated model before using any of its coordinates.
Check the dimensions, save the project and make a sample.