Turn measured rectangles into a clear cutting list and a matching label for every piece. Keep window positions, fabric direction and pattern groups with the cloth from the cutting table to the sewing machine.
Private, on this device
For known rectangular cut dimensions. This tool records and labels your cuts; it does not add seam allowances, estimate roll yardage or optimize a cutting layout. Import JSON from yardage, pattern repeat, multi-window or Roman shade projects, or enter rows manually.
EXAMPLE
Example measurements. Replace them before cutting.
Import a project from this tool, drapery yardage, pattern repeat, multi-window planning, Roman shade fabric, pattern placement, box cushion, pillow cover, soft valance or covered cornice. Imported cut dimensions already contain applicable allowances. CSV is an output format; import the JSON project to preserve settings.
Print at 100% / Actual size with browser headers and footers off. First check the calibration square and a plain-paper proof. This custom grid does not claim to match a branded adhesive sheet.
Saved here, on this device.
This tool has its own local slot. Export the JSON file for an independent backup. Import replaces the open project after confirmation when there are unsaved edits.
Make a list the next person can follow
01
Start from a calculation or a blank row
Import a saved drapery yardage, pattern-repeat, multi-window or Roman shade project to use dimensions already checked by its calculation engine. Alternatively, edit the sample rows and add your own rectangles. Enter the final cut width and length, not the finished sewn dimensions, because this tool deliberately adds no construction allowances.
02
Give every piece an identity
Use a clear base ID, window or product position, and a material name that distinguishes colors and lots. Record the top direction and any pattern group. When a row has more than one copy, the tool appends a numbered suffix to each physical piece. The cutting list and labels use exactly those expanded IDs.
03
Choose and verify the paper layout
Set Letter or A4, the number of label rows and columns, the ticket width and height, equal page margins, and horizontal and vertical gaps. These layout measurements always use millimeters. The tool checks the full grid against the paper and checks text against the available label space before allowing label printing.
04
Print a proof, then keep a backup
Print the calibration square at actual size and check it with a ruler. Compare a plain-paper proof with the stock you intend to use. Print the master list and labels, then export the JSON project to keep the editable rows and layout. A CSV download is useful for review in a spreadsheet but is not a complete project backup.
Keep the identity with the fabric
A small label answers the questions a stack cannot
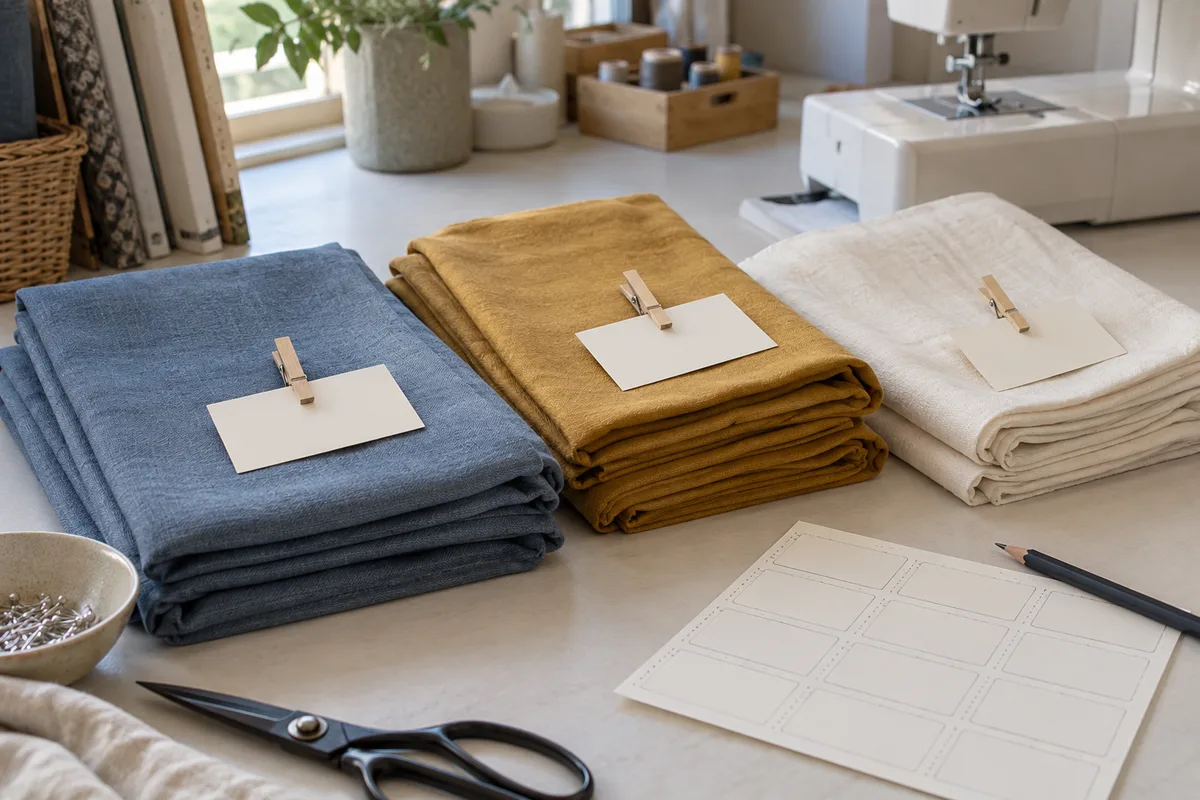
Two rectangles can have the same dimensions and belong to different windows, different sides of a pair, or different pattern groups. A label connects the physical piece to its intended position instead of relying on memory or the order of a stack.
Use the window field for an unambiguous location such as W02 left face. Use the material field for a meaningful material or stock reference, including the lot when that matters. A direction arrow records the intended top-to-bottom orientation; it does not mean that a printed textile can be turned over to create a mirror image.
Attach a ticket using a method suitable for your fabric. Test clips, pins or temporary adhesives on a scrap before using them on delicate cloth. Keep the master list with the job so a missing ticket can be replaced by its ID, and remove handling labels at the appropriate production stage.
Original workroom illustration. The actual printed tickets use your entered project data.
Check the paper proof before printing the whole batch
A label can fit perfectly in the browser and still print too small if the print dialog scales the page. Use the calibration sheet to check physical size, then proof the label grid on ordinary paper.
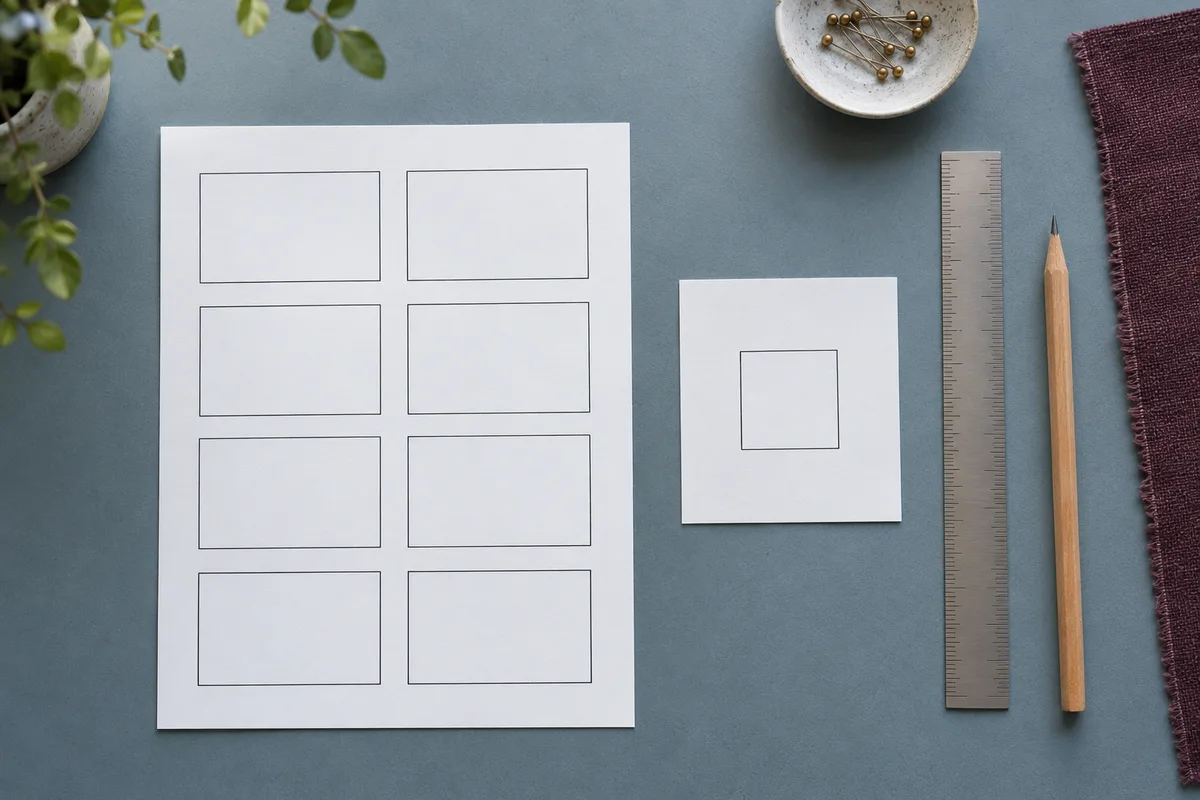
Select the same paper size in the tool and printer, choose 100% or Actual size, and turn off browser headers and footers. Measure both sides of the printed calibration square. Each should be 50 mm; if either is off, correct the print settings before checking the label positions.
For precut label stock, hold the ordinary-paper proof against the actual sheet and compare its margins, ticket edges and gaps. Keep the revised layout in your exported project after checking it. The photograph shows the workflow; print the calibration page from the tool for a measured reference.
Printed calibration square
50 × 50 mm
First label sheet
Proof on ordinary paper
Original print-proof illustration, not a printable template. Use the tool’s calibration output.
Check the numbers
Worked example: two face pieces and two lining pieces
The sample batch contains two rows, each with a quantity of two. Face pieces are 54 × 125 inches and lining pieces are 54 × 105 inches. These are already cut dimensions, so the tool does not add hems or repeat allowances.
The face row F-L-01 expands to F-L-01.01 and F-L-01.02. The lining row L-L-01 expands to L-L-01.01 and L-L-01.02.
The master list contains four individually identified pieces. Material totals report two face pieces and two lining pieces, with the summed rectangle area for each material.
An 88 × 55 mm ticket, arranged in two columns and four rows with 12 mm margins and 4 mm gaps, fits on either Letter or A4. This batch uses four of eight available positions on one sheet.
Keep notes and pattern groups visible when they help production. If longer text no longer fits, increase the ticket size or shorten the note before printing; the tool will not silently clip an overflowing label.
A final curtain height, a sewn panel width and a rectangle ready to cut are different measurements. Imported source projects supply their prepared rectangle sizes. For manual rows, decide the construction additions before entering the list. Labeling a finished measurement as a cut measurement can make every correctly printed ticket wrong.
Keep material groups meaningful
Rows with exactly the same material name share a summary line. Add a color, backing or dye-lot reference when otherwise similar pieces should stay separate. The area total can help check the contents of the batch, but it does not account for the fabric roll width, grain constraints, unusable spaces or pattern placement.
Use notes for short production instructions
A useful note tells the maker something actionable, such as retain top mark or keep with matching group A. Avoid putting an entire order specification on a small ticket. The project name, identity, material, dimensions and direction remain visible; optional notes and pattern-group lines can be hidden when planning smaller labels.
Make a fresh list after changes
Changing a quantity or dimension updates the master list and every affected label immediately. Printed sheets cannot update themselves. Mark an obsolete printout clearly and issue a replacement before work continues. Saving replaces this tool’s one local project slot; export separately named files if you need to retain multiple revisions.
The method, explained
How pieces, summaries and sheets are built
Rule version 1.0.0
Expand quantities into individual IDs
Each row describes one rectangle size and a quantity. A quantity of one keeps the base ID. Larger quantities add .01, .02 and subsequent suffixes, giving each physical cut a distinct identity. Duplicate base IDs and collisions between generated IDs are rejected, including collisions with a manually entered suffixed name.
Summarize rectangles, not purchasing lengths
The material summary adds quantities and multiplies each width by length and quantity to obtain the combined area in square meters. The source units remain on the cutting list. There is no division by roll width to suggest an order quantity, because that shortcut would ignore layout gaps, repeats, nap and unusable fabric.
Check physical sheet geometry
Used sheet width is twice the margin plus all label widths and the gaps between columns. Used height follows the same rule for rows. Both must fit the selected paper. Labels continue onto another sheet when all positions are filled, and the preview allows you to inspect each sheet before printing the entire batch.
Keep source allowances intact
Yardage imports recalculate face fabric and any enabled lining from validated inputs. Pattern-repeat imports bring in adjusted face cuts. The list retains those dimensions and never adds another hem or matching allowance. A batch starting reserve is part of purchasing, not an additional rectangle, and therefore does not create a label.
Questions about cutting lists and printable labels
Can I use this as a fabric cut list template?
Yes. Replace the example rows with your own IDs, positions, materials and rectangle dimensions, then add quantities and notes. You can save the current batch on this device or export an editable JSON file. Keep a clean exported example separately if you want a reusable starting file for similar jobs.
Does the cutting list include seam and hem allowances?
It contains exactly the cut dimensions entered or imported. The yardage and repeat tools already include their applicable construction and matching additions. Manual entries must include whatever your sewing method requires. This list does not know a universal seam allowance and will not add one behind the scenes.
How do I print one label for each fabric piece?
Enter the number of identical copies in the quantity field. Each copy receives an individual ID that appears both in the master list and on its ticket. Review the total piece count, choose the sheet layout and inspect the preview. Printing labels outputs the whole batch, with additional sheets as needed.
Why does my label layout not fit the paper?
The combined label widths or heights, spaces between labels, and both outside margins exceed the selected sheet. Reduce one or more of those dimensions, or choose fewer rows or columns. A grid that fits Letter might differ from your A4 stock. The label geometry fields are always millimeters, regardless of the fabric measurement unit.
Why is label printing disabled when the cutting list is valid?
The rectangles can be valid while the printed ticket layout is unusable. A grid may extend beyond the paper, or a long project name, material description or note may overflow a ticket. Fix the displayed label problem, shorten the text or hide optional lines. The master cutting list can still be printed independently.
Can I use standard adhesive label sheets?
This version creates a custom rectangular grid for cut-apart tickets. It does not select or certify a manufacturer’s template number. If you use adhesive stock, measure its margins, label dimensions and gaps, then compare a plain-paper proof against the actual sheet. Use 100% scale and disable browser headers and footers.
Can I import Excel or CSV cutting files?
Import currently accepts the versioned JSON projects made by this tool and compatible yardage or repeat projects. CSV is available as an export for spreadsheet review; it does not retain all layout settings or source information. For an outside spreadsheet, enter the rows manually and export the completed JSON project for later reuse.
Are my project files uploaded or synced?
No project upload or account is required. File parsing, label layout and calculations run in your browser, and Save stores one project for this tool on the current device. Other devices do not receive it automatically. Export a JSON backup before clearing browser data or moving to a different computer.
Take the plan to your worktable.
Review the measurements, keep a backup and print a proof.