Start with a known cut length. See exactly how a straight pattern repeat changes each drop and your total fabric order, then carry those cuts into a labeled workroom list.
Private, on this device
For equal-length, full-width vertical cuts with a straight repeat or plain fabric. Base cut length includes construction allowances. Half-drop, railroaded fabric and horizontal motif placement need a different plan.
EXAMPLE
Example measurements. Replace them before cutting.
Import a project from this tool or the drapery yardage calculator. Yardage imports use the face fabric’s original base length, so repeat allowance is not added twice.
This tool has its own local slot. Export the JSON file for an independent backup. Import replaces the open project after confirmation when there are unsaved edits.
Build a repeat plan from measurements you can check
01
Establish the base cut length
Measure the required finished drop and add the actual top, bottom and other construction allowances. Enter that complete length before pattern rounding. If you already used our drapery yardage tool, import its project file: the original base length is recovered from the saved inputs, even when the earlier result included a repeat.
02
Measure a full vertical repeat
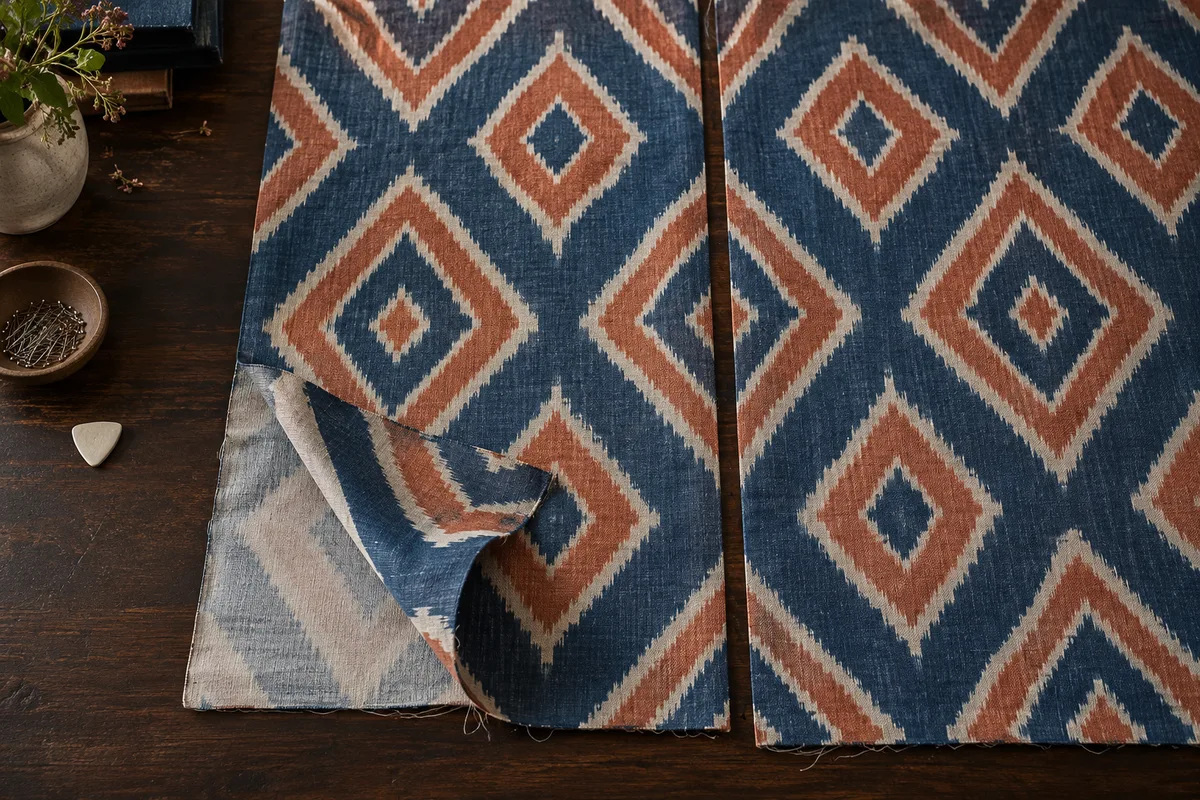
Lay the cloth flat and measure from one recognizable point to the identical point in the next repeat along the roll. Check several intervals against the supplier’s specification. Choose straight matching only when neighboring widths share the same vertical phase; a half-drop design needs alternating groups and is outside this calculation.
03
Separate the batch allowances
Enter the number of full-width cuts, the cut width for the piece record, and any length reserved to locate the first motif. Starting allowance is applied once to the batch. Additional purchase reserve is another separate length, so a decision about defects or handling is visible instead of being hidden in a percentage.
04
Review, save and label the cuts
Read the adjusted length, the extra fabric caused by matching, and the suggested order rounded to your supplier’s increment. Inspect the consecutive cutting table before printing. Export a JSON backup for later edits, or continue to piece labels with the same cut IDs and already adjusted dimensions.
Understand the cloth behind the number
A complete repeat gives consecutive cuts the same starting phase
Imagine making a chalk mark at the same point on four identical motifs. When every cut contains a whole number of vertical repeats, the next cut begins at the same phase as the previous one. That is the relationship this plan preserves.
The shaded portion in the live diagram shows the difference between your base length and its next repeat boundary. It does not imply that all of that cloth is waste: some may be trimmed, some may help place the motif, and some may be useful for another small piece. Its destination depends on the construction you actually sew.
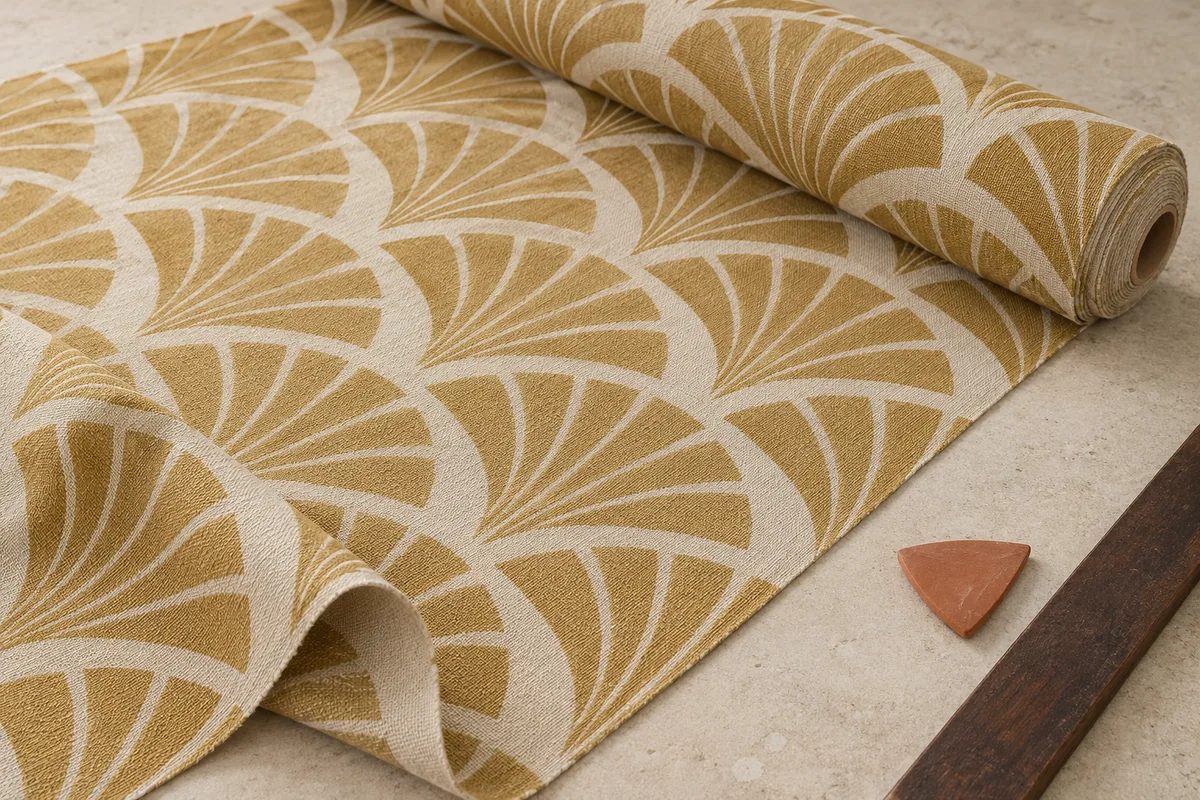
The photograph is a visual reference. The diagram and table are calculated from your inputs, and neither the illustrated motif nor the photograph is a measured template. Check the printed textile for bowing, stretch and variation before using a planned cut position.
Original workroom illustration. Confirm the repeat on your own roll.
Choose the first motif before cutting the batch
Repeat rounding keeps consecutive cuts in phase, but it cannot choose what appears at the top of a curtain. Open the beginning of the roll and find the motif position you want before committing to the first cut.
Measure from the delivered fabric edge to that chosen start and record the length as the batch start allowance. Keep the top construction allowance in mind: the motif at the raw cut edge may sit inside the heading once sewn. Check its intended finished position on the cloth.
The entered start allowance appears once before the first cut in the cutting table. If your order arrives in separate lengths, inspect and plan each length as its own batch. An unused piece at the start is separate from the repeat adjustment added to every cut.
Repeat adjustment
Applied to each cut
Starting motif allowance
Applied once per batch
Original starting-motif illustration; choose and measure the start on your actual fabric.
Check the numbers
Worked example: four 108-inch cuts with a 25-inch repeat
These are demonstration inputs, not recommended hem allowances. The base length of 108 inches already contains all construction additions. The width is recorded as 54 inches and does not change the length calculation.
Divide 108 by 25: 4.32 repeats. Round upward to five whole repeats, giving a prepared cut length of 125 inches.
Each cut increases by 17 inches. Across four cuts, base usage is 432 inches and repeat-related extra is 68 inches, for 500 inches of prepared cuts.
Add one entered 25-inch starting allowance for the batch and no extra purchase reserve: 525 inches, or approximately 14.583 yards.
With a quarter-yard order increment, the suggested order is 14.75 yards. The six-inch rounding difference stays separate from both the starting allowance and repeat adjustment.
The planned cuts run from 25 to 150, 150 to 275, 275 to 400, and 400 to 525 inches along the roll. Establish the real starting motif before adopting these offsets.
Entering only the hanging height understates the cloth needed for the heading and hem. Entering a previously adjusted cut as a new base can hide how much was already added. Use the unadjusted construction length whenever it is known. Keep a note of the workroom allowances so someone else can reproduce the result.
One starting allowance per batch
A starting allowance provides room to find an acceptable first motif. It is not automatically repeated for every drop. If cloth arrives as separate roll sections, each section may need a new start; calculate those batches separately rather than assuming one continuous piece of fabric is available.
Direction and actual usable width
These cuts travel along the fabric roll. The width field describes the rectangle sent to the cutting list; this tool does not decide how many widths a finished curtain needs. Use the yardage calculator for fullness, seams and width count. Preserve the same top direction when the fabric has a one-way print or nap.
Repeat allowance is not an insurance percentage
The matching adjustment follows the repeat boundary. It does not cover every possible fabric defect, shrinkage, cutting error or future repair. Add a deliberate reserve if the order needs it, with the supplier’s handling guidance in mind. The result keeps that reserve separate so it can be changed without disguising the calculation.
The method, explained
The straight-repeat calculation
Rule version 1.0.0
Round each complete cut upward
For straight matching, adjusted length equals the ceiling of base length divided by vertical repeat, multiplied by that repeat. If the base length is already an exact multiple, the matching adjustment is zero. Plain mode keeps the base length unchanged and does not require a repeat.
Add batch quantities once
Base usage is base length multiplied by cut count. Repeat extra is adjusted length minus base length, multiplied by the same count. Prepared cuts, starting allowance and purchase reserve are then added. Finally, round that subtotal upward to the chosen quarter, half or whole yard or meter increment.
Keep the source of every cut
An imported yardage project is recalculated from its validated source settings. Only face-fabric cuts enter this repeat plan; lining remains in the original yardage project. Existing face cut IDs and panel positions are preserved. If you change the cut count, a fresh sequence is generated because the original panel assignment no longer describes the batch.
Treat the result as a documented plan
The cutting record uses cumulative roll offsets after the entered starting allowance. It does not detect the motif, identify defects or optimize remnants. Dimensions are stored separately from rounded screen labels, so changing the display unit does not repeatedly round the underlying measurements. A change in purchasing units may change the final order increment.
How much extra fabric do I need for a pattern repeat?
It depends on the relationship between the complete base cut length and the repeat. A base just above a repeat boundary needs almost a full extra repeat per cut; a base already on the boundary needs none for rounding. Starting motif allowance and any purchasing reserve are separate decisions. Enter the actual dimensions to see each contribution.
Do I add one whole repeat to every curtain drop?
Not automatically. This tool extends each base cut only to the next whole repeat. An extra whole repeat may be a useful starting allowance for the batch, but it should not be silently added to every cut. Check how an existing workroom worksheet defines its allowances before transferring numbers.
What is the difference between vertical and horizontal repeat?
Vertical repeat runs along the fabric length and determines the length boundaries used here. Horizontal repeat runs across the width and affects seam matching, centered motifs and sometimes width trimming. A sufficient vertical fabric quantity does not guarantee a good horizontal layout; inspect the joins and leading edges separately.
Can this calculate half-drop fabric?
No. A half-drop pattern requires a different relationship between adjacent widths and may require alternating starting groups. This version offers straight matching and plain fabric only. Do not substitute half the stated repeat or add a generic waste percentage and assume the resulting straight plan is suitable.
Why is the starting allowance shown before the first cut?
It represents cloth set aside to reach the desired initial motif. Once that start is established, equal adjusted cuts continue at the same repeat phase. The table shows the planned offset after your entered allowance; it cannot know where the delivered roll actually begins. Recheck that first start against the real fabric.
Will importing a yardage project add the repeat allowance twice?
The import reads the original finished length and construction settings, recalculates the unadjusted base, and applies the saved repeat once. It also brings across the starting allowance and purchase reserve once. If you manually type dimensions instead, make sure your base field is not already a rounded purchasing total.
Can I calculate meters and fractional inches?
Yes. Choose centimeters for cut dimensions and meters for orders, or inches for cut dimensions and yards for orders. Dimension fields accept decimals and fractions such as 4 1/2. Switching units preserves stored lengths; the purchasing increment is expressed in the selected order unit and therefore may round to a different final total.
How do I use this with a cutting list?
Choose Make piece labels to carry the prepared rectangles into the cutting-list tool. Their lengths already include the repeat adjustment, and the original cut IDs are retained where available. Starting allowance, purchasing reserve and order rounding do not become extra labeled pieces. Add window names and construction notes before printing.
Take the plan to your worktable.
Review the measurements, keep a backup and print a proof.