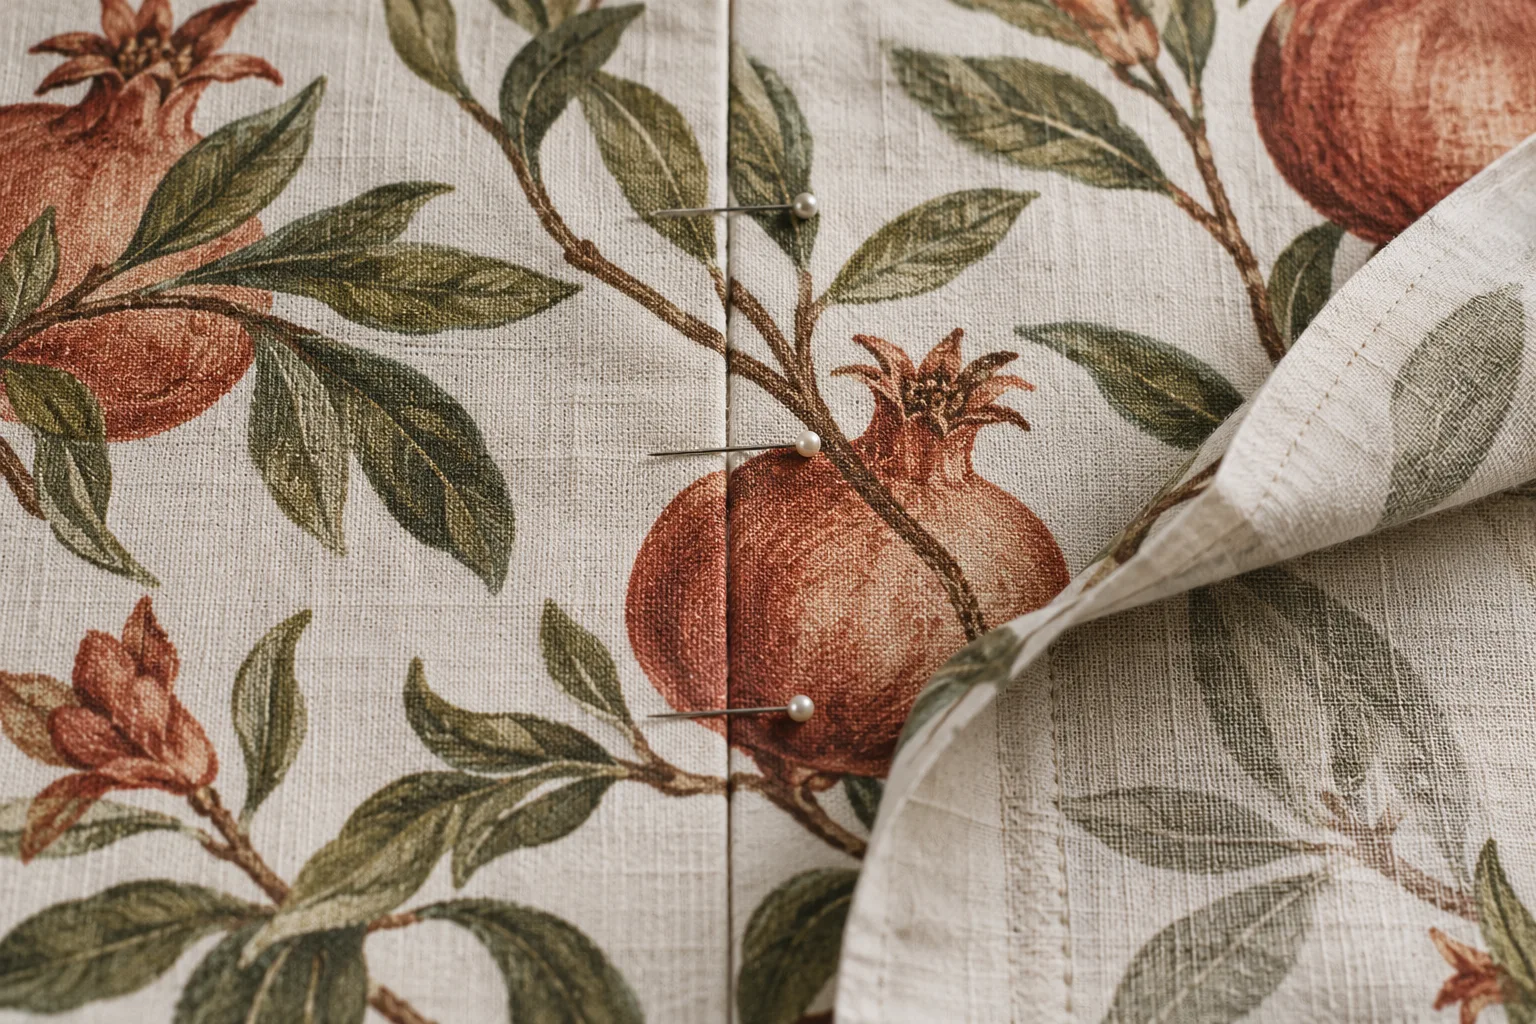
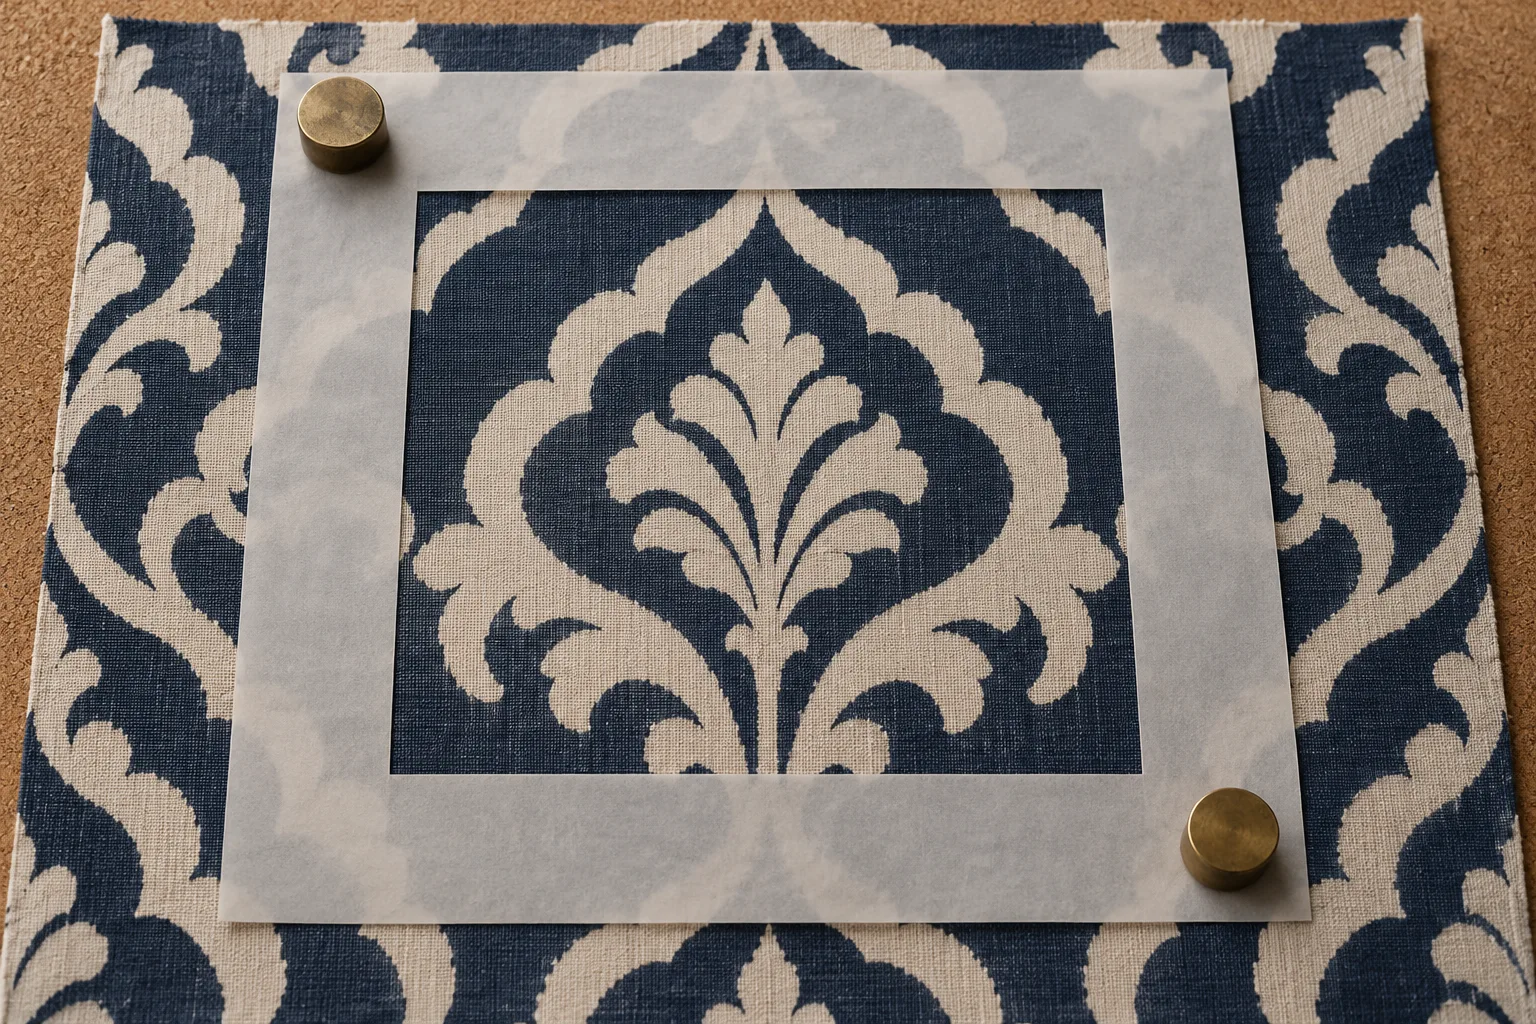
Decide where a motif belongs before cutting the first width. Move the pattern reference, review the joins on a flat panel, and check that each matched strip fits the actual usable fabric width.
Private, on this device
One joined flat panel with 1–6 rectangular strips, horizontal and vertical straight repeats, and a common fabric face and direction. No half-drop, photo measurement, mirrored fabric, pleat simulation or automatic remnant nesting.
EXAMPLE
Example inputs: replace them with your measured project.
Import this tool’s measured placement project. Other cutting files do not contain the horizontal motif references required for this plan. Download example JSON
The preview uses a generic motif. Confirm every seam on your actual fabric before cutting; all pieces keep the same face and direction.
Saved on this device
One independent saved project for this tool. Export JSON for a separate backup.
Build the layout from measured references
01
Establish a real repeat zero
Choose a recognizable point on the design, such as the center of one medallion. Measure the horizontal and vertical repeat between identical points. Mark a vertical zero on the roll and record the phase at the usable left fabric edge. The phase tells the tool where that edge falls inside a repeat after unusable selvage has been removed.
02
Divide the finished flat width
Enter the visible widths of the strips from left to right. Their sum is the finished flat panel width, before any heading pleats. The tool adds outside turnings only to the two outside edges and a seam allowance to both sides of each join. Changing neighboring visible widths moves a seam without changing the finished total when their sum stays the same.
03
Move the motif and examine the joins
Enter a repeat-zero position from the finished left and top, use the two sliders, or drag the grid. Center motif aligns one repeat zero with the horizontal center of the finished panel. The repeating diamonds are reference symbols, not a rendering of your fabric. Use a physical swatch to judge whether the chosen seam cuts through a flower, branch or empty ground.
04
Check the cuts on the real roll
Read each strip’s left trim, raw width, top phase and roll starting position. A layout can look balanced while a strip extends past the available width. Resolve any width warning before making labels. Print the plan and export the project, then confirm several matching points along the entire proposed seam on the actual cloth.
Match the part of the cloth that remains visible
A matched cut edge is not a matched sewing line
The seam allowance disappears inside a join. What must continue across the finished panel is the design on the two stitching lines. This planner computes those two references from one continuous virtual pattern, then works outward to locate each raw edge.
The first strip includes a left outside turning and a right joining allowance. An inside strip receives two joining allowances. The last strip receives a joining allowance and the right outside turning. This distinction prevents side hems from being added at every seam.
Use the seam table to identify each pair of neighboring pieces and the horizontal phase they share. The vertical phase at their finished tops also agrees. Mathematical agreement still depends on straight printing, accurate measurements and stable cloth; inspect the match along the full length before sewing.
Compare the design at the line that will be sewn, including the allowance hidden inside the join.
Center a chosen motif, then check the remaining fabric
Placing a medallion in the middle is a design decision. It may require trimming some usable fabric at the left of a strip before its raw rectangle begins. That trim reduces the width still available for the cut.
The center control places the selected repeat-zero point at the panel center. It does not discover the center of a flower in a photograph. If your zero is a leaf tip, that leaf tip is what gets centered. Name or sketch the reference on your work order so another maker can find it.
Compare alternative strip widths when the centerline is attractive but a seam is awkward. Move width from one neighboring strip to the other and check the total again. The tool keeps the repeat continuous across the joined flat panel; it does not optimize seam placement or claim to use the least possible fabric.
A physical viewing frame helps assess which parts of a large motif will remain inside the finished edges.
Check the numbers
Two visible strips forming a 48-inch flat panel
The English example joins 22-inch and 26-inch visible widths. It uses a 54-inch usable roll, a 12-inch horizontal repeat and a 16-inch vertical repeat. Both fabric-edge and finished-left horizontal phases begin at zero.
With 2-inch outside turnings and a half-inch seam allowance, raw widths are 22 + 2 + 0.5 = 24.5 inches and 26 + 0.5 + 2 = 28.5 inches.
The first raw left edge has phase 10 inches, so its cut starts 10 inches from the usable left fabric edge and ends at 34.5 inches. The second starts at 9.5 inches and ends at 38 inches. Both fit inside 54 inches.
The stitch lines meet 22 inches from the finished left. Both have horizontal phase 10 inches into the 12-inch repeat. The raw edges have different phases because their allowances serve different edges.
A motif zero 4 inches below the finished top gives top phase 12 inches. With a 4-inch top allowance, the raw cut phase is 8 inches. For 90-inch height plus 4-inch top and 8-inch bottom allowances, cuts are 102 inches long, at roll positions 8–110 and 120–222 inches.
Supplier width can include selvages that are unsuitable for the visible panel or seam. Measure the usable area and define the phase at its left edge. Changing that edge changes the phase reference even if the printed pattern itself stays unchanged.
Keep face and direction
Every strip runs from the same top to bottom with the same fabric face outward. The plan does not turn one piece over to create a reflected motif. A directional bird, leaf or texture may require a different design decision for a balanced pair.
Separate placement and purchase
Roll offsets describe a conservative sequence with one separate roll length per strip. They include matching gaps but exclude order reserve, shrinkage and defects. Use them to locate cuts; prepare a procurement estimate with the appropriate allowances separately.
Keep the sheet with the labels
The label transfer retains prepared rectangle dimensions, IDs and concise phase notes. Labels are identifiers, not a substitute for the full placement record. Keep the printed plan beside the cloth while cutting so the start references remain unambiguous.
The method, explained
How the pattern references stay continuous
Rule version 1.0.0
Work back from the finished area
The selected motif positions define the repeat phase at the finished left and top. For each strip, add its cumulative visible starting width to the horizontal phase, then subtract its left allowance to obtain the raw-edge phase. Across a seam, the right stitching line of one strip and left stitching line of the next therefore describe the same point in the repeat.
Find an achievable position on the roll
Subtract the phase at the usable left selvage from a strip’s raw-edge phase and wrap the answer into one horizontal repeat. This is the smallest nonnegative left trim. The trim plus raw width must fit inside the usable fabric width. Moving another complete repeat to the right cannot rescue a strip that already fails this smallest-offset check.
Advance to the next matching start
Raw cut length is finished height plus top and bottom allowances. Starting at the minimum roll offset, advance to the next occurrence of the required raw top phase, cut that length, and repeat for the next strip. Matching length is shown as gaps between cuts; it is not also added to every rectangle by rounding the rectangle up to a full repeat.
How do I match patterned curtain fabric at a seam?
Choose the stitching lines, align recognizable pattern points along them, and include the seam allowances outside those lines. The planner supplies phase references for neighboring strips. Check those references at several heights on the actual fabric before joining; a consistent result on screen cannot correct a print that wanders off grain.
Is this the same as a fabric pattern repeat calculator?
It answers a different question. The repeat calculator estimates adjusted cut lengths and extra fabric for known rectangles. This page places a measured motif relative to finished edges and seams, and checks horizontal fit. Do not add the repeat calculator’s rounding on top of the matching gaps here without reconciling the two cutting methods.
Why does centering the pattern sometimes make a strip too wide?
Centering can change the required phase at its raw left edge. Finding that phase may use a larger left trim on the roll. The remaining width can then be smaller than the rectangle you need, even though the rectangle alone is narrower than the fabric. Review a different seam division, motif position or wider material.
Can I use a fabric photograph as an accurate repeat?
This version uses measured distances and a generic grid; it does not upload or calibrate photographs. A product image may have perspective distortion or show only part of the full repeat. Measure a swatch or the actual roll, and use a photograph separately as a visual note if that helps identify the chosen reference.
Does it support half-drop pattern matching?
No. This model requires identical horizontal and vertical references in a straight repeating grid. Half-drop and staggered designs need their actual offset relationships and may require alternating groups. The project validator rejects a different match type, rather than treating it as a straight repeat with an extra waste percentage.
Can I mirror the pattern for a pair of curtains?
The tool preserves the original fabric face and direction. It does not manufacture a reflected version of a one-sided print. Plan each flat panel using references that exist on the real fabric, then check the pair together. Heading pleats also change what is visible, so a flat preview is not the final hanging appearance.
Why are the roll gaps different from the left trim?
They run in different directions. Left trim is measured across the usable width to locate a strip. A matching gap is measured down the roll between successive cuts. The planner reserves a new roll length for every strip; it does not reuse the remaining side areas or subtract their area from an order.
Can I print, export or send this plan to labels?
Yes. JSON preserves editable inputs, CSV lists raw dimensions and offsets, and the print view includes the placement diagram and seam references. Feasible cuts can be sent to the cutting-list tool without adding allowances again. A layout that fails the width check remains a clearly marked review draft and cannot be sent to labels.
Take the plan to your worktable.
Review the measurements, keep a backup and print a proof.