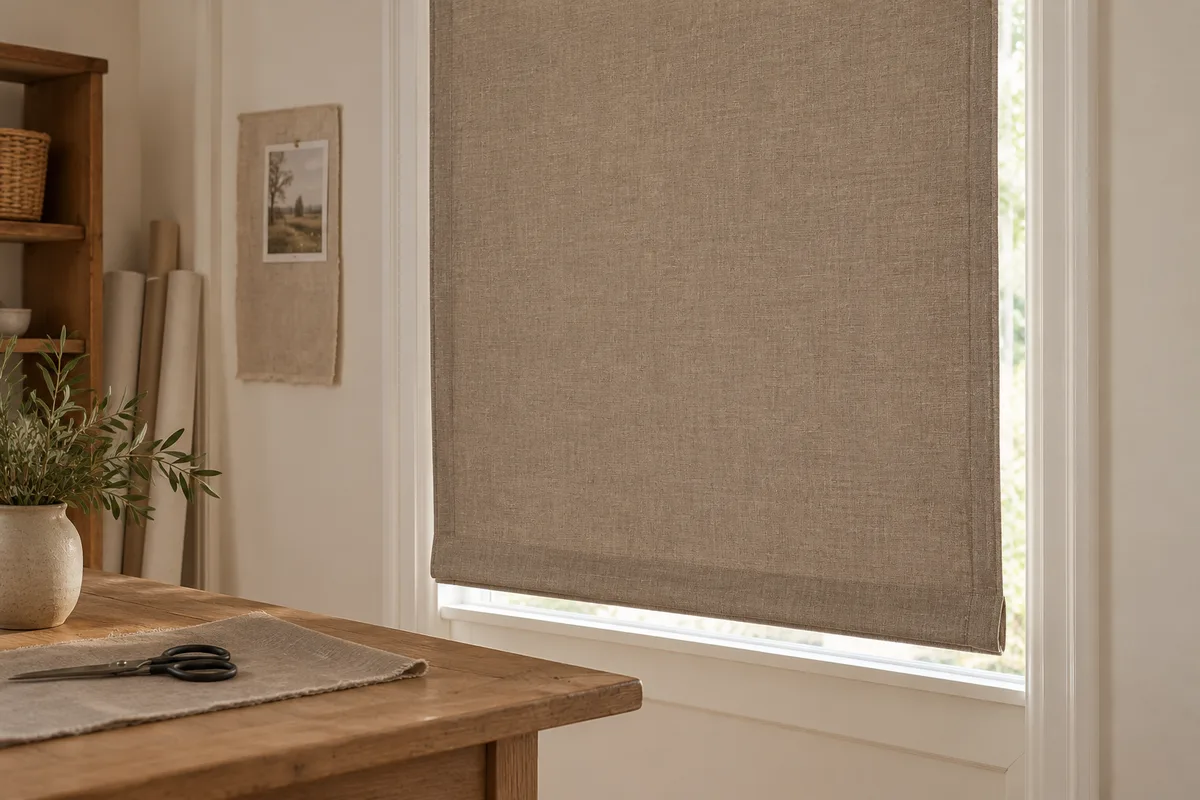
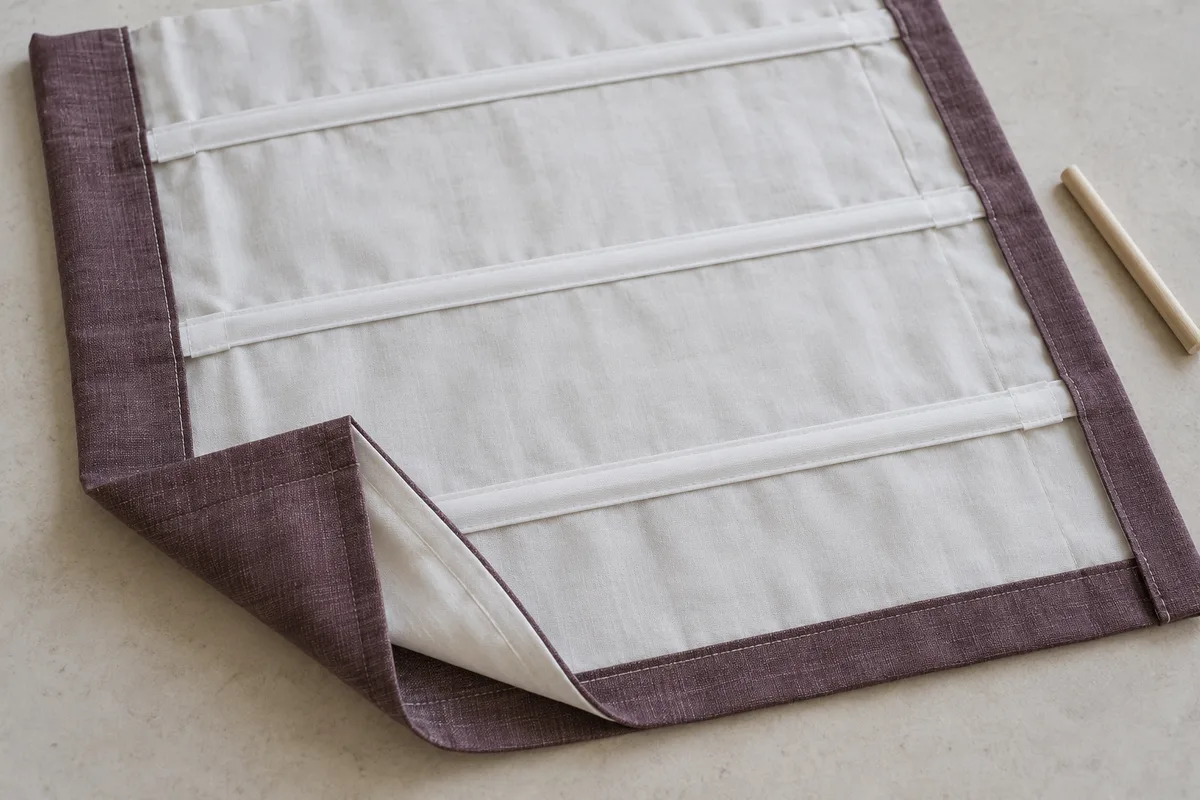
Start with the finished size of a flat shade. See how the face fabric, lining and chosen pocket method change your cut pieces and fabric order, with every allowance visible.
Private, on this device
For flat rectangular Roman shades with identical copies, vertical fabric direction and plain or straight-repeat face fabric. Optional plain lining; single-piece or centered three-strip construction. No hobbled, relaxed or cascade geometry, rod-position layout or lifting-system design.
EXAMPLE
Example inputs: replace these with your measured project.
Import a saved flat Roman shade project. Construction allowances are editable; the tool does not choose mounting clearances or hardware. Download example JSON
The diagrams are schematic. Use the dimension tables for cutting. Labels preserve the prepared sizes and piece IDs.
Saved on this device
One saved slot for this tool. Export JSON for an independent backup or another device.
Measure the finished shade before adding the making allowances
01
Resolve the mounting size first
Choose the finished width and fully lowered drop for your actual headrail and installation. Inside-mount clearance or outside overlap belongs in that decision before entering the tool. Use the finished textile size rather than copying the window opening and hoping the calculator will infer the mounting method. Identical copies share the same construction and pattern placement.
02
Enter the face fabric and its turnings
Measure usable fabric width after excluding unsuitable edges. Enter the total cloth consumed at each side, at the top and at the bottom. A double fold consumes the sum of both folds. Set a joining seam allowance if the cut width needs added side strips. Plain cloth uses a zero repeat; a straight repeat rounds each prepared drop upward.
03
Treat lining as its own material
Decide the lining’s finished inset on each side and its shortening relative to the face. Add its own side, top and bottom allowances. Separate applied pocket tape does not consume extra lining length; pockets folded from the lining do. Enter the number of formed pockets and their individual take-up only for that construction.
04
Check strips, totals and the printable record
Review the face and lining diagrams, their raw dimensions and any seam positions before ordering. Each material has a separate reserve and purchase rounding. Save or export the project, download a CSV for review, and print the numerical cut list. You can send the same prepared pieces directly to the label tool without re-entering sizes.
A flat face and an independently prepared backing
A flat Roman shade does not need curtain fullness
The lowered shade presents a flat rectangle. Its width starts from the finished shade width, with side turnings added around it. Multiplying by a drapery fullness ratio would purchase cloth for gathers that this construction does not have.
The top allowance depends on the selected attachment, and the bottom allowance depends on the chosen hem or bar pocket. These values are editable because one workshop’s method need not match another’s. The defaults are demonstration inputs, not universal sewing instructions or a hardware specification.
Across the face
Finished width + two side turnings
Down the face
Finished drop + top + bottom
Original flat-shade illustration. Enter dimensions for your own mounting and sewing method.
Pocket construction can change the lining cut length
A backing that folds around each rod needs extra length at every formed pocket. Applied tape supplies its own pocket material, so the lining does not receive the same take-up addition. Switching methods in the tool changes this one contribution instead of silently changing the face fabric.
Keep finished dimensions separate from raw cut dimensions. The lining inset is subtracted from the finished width on both sides; its side allowances are added afterward. Shortening works in the vertical direction before top, bottom and any formed-pocket additions. The live diagram shows a length budget, not the actual locations of the rods.
Applied tape
No lining pocket take-up
Formed lining pockets
Pocket count × take-up per pocket
Original lining detail illustration. Pocket positions and hardware are outside this fabric calculation.
Check the numbers
Worked example: one 36 × 60-inch flat shade
This example uses plain fabric, a 54-inch usable face width, 2 inches consumed at each side, 4 inches at the top and 4 at the bottom. There is no start allowance or purchase reserve. All values illustrate the arithmetic and can be replaced with your workroom specification.
The face needs a raw width of 36 + 2 × 2 = 40 inches. That fits within 54-inch cloth, so no joining seam is needed. Its base cut length is 60 + 4 + 4 = 68 inches.
The face order is 68 ÷ 36 = 1.889 yards before purchasing increments. Rounding upward to the next quarter yard produces a 2-yard order, while the labeled rectangle remains 40 × 68 inches.
For lining, set a 1-inch inset on each side, 1-inch shortening, 1-inch side turnings and 2-inch top and bottom allowances. Finished lining width is 34 inches; raw width returns to 36 inches. Plain lining length is 59 + 2 + 2 = 63 inches.
With separate pocket tape, the lining order is 63 inches, exactly 1.75 yards. If four pockets are instead formed from the lining and each consumes 1 inch, the cut grows to 67 inches and the quarter-yard order becomes 2 yards.
As a separate comparison, enter a 16-inch face repeat. The 68-inch base becomes an 80-inch prepared length: five complete repeats. That gives 2.25 yards after rounding, before any deliberate reserve to select the first motif.
Check the construction before cutting either material
A wide shade needs an explicit joining decision
One-piece mode stops when either material’s required raw width exceeds its usable roll width. Joined mode uses a full-width center with equal strips on both sides, rather than putting a seam automatically down the middle. It supports at most three strips per material; larger constructions need a different plan.
The order is conservative about side strips
Each side strip reserves a separate length along the roll. The tool does not place two narrow strips beside one another or reuse offcuts between shades. This makes the output straightforward to follow with one-way fabric, but it can exceed a carefully hand-nested order. Compare the actual layout before changing a purchasing quantity.
Vertical repeats do not center a horizontal motif
Whole-repeat lengths keep consecutive drops at the same vertical phase after the chosen starting reserve. They do not choose a motif’s horizontal location or guarantee that a seam meets a compatible print. Inspect usable width after any lateral matching loss and confirm the first motif on the cloth before cutting the batch.
A fabric plan is one part of the shade specification
Headrail attachment, operating hardware, rod spacing and installation details are separate decisions. This page calculates material rectangles for the declared flat construction. It does not generate a complete Roman shade sewing pattern, set fold positions, or verify a lifting system. Keep the fabric record with the rest of your production instructions.
The method, explained
The face, lining and joining calculations
Rule version 1.0.0
Calculate the two base rectangles
Face raw width is finished width plus twice the face side allowance. Face base length is finished drop plus top and bottom allowances. Lining finished width subtracts twice the side inset; its finished drop subtracts shortening. Then its own turnings and any formed-pocket take-up are added. All dimensions must remain positive.
Preserve a centered full-width strip when joining
If the target raw width is A, usable roll width W and seam allowance at each joining edge S, each side strip needs (A − W + 4S) ÷ 2. Two joins consume four seam edges. The center stays W wide. The result gives seam positions from the assembled left raw edge so you can compare them with the visible face and side turnings.
Separate preparation from buying increments
A nonzero straight repeat rounds the face base length up to whole repeats for every strip. Multiply prepared lengths by strip count and identical-shade quantity, then add the face starting reserve and purchase reserve once. Plain lining follows its independent dimensions. Round each material total to the selected increment after its own batch has been added.
Keep the cut list consistent across outputs
Piece IDs combine a shade number, a material code and a center, left or right position. Face and lining have separate roll coordinates. JSON stores the editable project; CSV and printing show calculated pieces. Transferring to labels uses these same final widths and lengths, leaving purchase reserve and order rounding out of the individual tickets.
Questions about flat Roman shade fabric and lining
How much fabric do I need for a Roman shade?
Start from the finished size and your chosen construction allowances, then check whether the required raw width fits the usable fabric. The number of strips and their prepared lengths determine the linear order. A pattern repeat, first-motif reserve and selling increment can each change the purchase independently, which is why a simple area estimate is insufficient.
Should I multiply the width by two like a curtain?
Not for the flat construction supported here. There is no drapery fullness ratio. Add the actual side turnings to the finished width, and account for joining seams only when additional strips are required. Hobbled or other decorative structures have different length needs and are outside this version.
Do I enter the window recess or the finished blind size?
Enter the finished fabric shade dimensions after deciding the mount and clearances. The tool does not subtract a standard recess deduction or add a guessed overlap. Verify your headrail and making instructions first. Roman blind is a common alternative term; the dimensional rules on this page still describe the same flat textile construction.
What happens when the shade is wider than my fabric?
Single-piece mode reports an error. Choose the joined option to obtain a full-width center with two equal side strips, each including its joining allowance. Check the seam coordinates and the real print. If the three strips cannot cover the target, the tool asks for wider fabric or another plan instead of inventing an unlimited assembly.
Can I cut the lining exactly the same as the face?
Only when your own making method calls for that. Lining can have a different finished inset, shortening, edge allowances and pocket take-up, and its roll width can be different. Enter those values independently. The face pattern repeat is not applied to plain lining, so matching additions do not inflate its order.
Does rod-pocket tape require extra lining length?
Applied tape creates the pockets from a separate material and does not add formed-pocket take-up to the lining. Folding pockets from the lining does consume length: pocket count multiplied by the entered take-up. Neither choice in this calculator determines rod spacing or buys the tape itself; keep those items in the separate hardware and notions specification.
Does the result include enough cloth to center my pattern?
The repeat calculation prepares whole-repeat lengths, but motif placement remains a separate decision. Enter an explicit batch starting reserve and inspect where the desired motif falls on the actual roll. Horizontal centering and matching across side seams can reduce usable width and must be checked separately before accepting the proposed strip sizes.
Can I save this as a PDF and make piece labels?
Yes. Print plan opens browser printing for Letter or A4 and can be saved as a PDF. Make piece labels transfers the prepared rectangles, shade IDs and material groups. The diagrams are schematic; use the dimensions in the table. Export JSON as well if you need to edit the project later or move it to another device.
Take the plan to your worktable.
Review the measurements, keep a backup and print a proof.