Turn a finished shade height into a clear marking plan. Compare folds, check the space above the bottom bar, and take one set of cumulative rod-pocket positions to the worktable.
Private, on this device
Standard flat Roman shades with a half-depth bottom section and separate applied pocket tape. 1–20 intermediate rods. Finished-panel reference positions only; no cascade, relaxed shade, lift-system design or hardware clearance guarantee.
EXAMPLE
Example inputs: replace them with your measured project.
Import this tool’s JSON, or a Roman shade fabric project to carry over its finished height and saved rod count. Recheck headrail, band and bottom-bar settings after import. Download example JSON
Dimension tables govern marking. The drawing is not a full-size template and does not design lift hardware or predict the actual stack thickness.
Saved on this device
One independent saved project for this tool. Export JSON for a separate backup.
Set out the finished panel in four steps
01
Start with finished height
Measure from the finished top to the finished bottom with the shade completely lowered. Keep raw top turnings, bottom hem fabric and lining pocket take-up out of this number. The calculation divides the completed fabric body; it does not add fabric to make it longer. Give the project a name that connects the drawing to the window and its fabric.
02
Record the zones that cannot fold
Enter the headrail allowance inside the finished height, using the clearance established for your chosen headrail. Record the bottom-bar exclusion zone and the finished height occupied by each pocket band. The band is centered on the rod reference line. These inputs let the tool catch a pocket that would meet the bottom casing or another band.
03
Choose rods or a preferred spacing
Use fixed count when the work order specifies the intermediate rods. Otherwise, enter a preferred rod-to-rod distance and compare the nearest valid count. The tool considers whole counts from one to twenty and keeps the selected standard structure. It never leaves a partial rod or silently changes the finished height to force the requested spacing.
04
Mark from one consistent edge
Choose top-down or bottom-up reading. The table keeps both coordinates, while rod IDs remain numbered from the bottom. Use a long square to transfer each cumulative distance across the panel. Save the project on this device, export a JSON backup, and print the plan after checking the current dimensions. The two reading directions describe the same physical lines.
Understand what happens between the rods
A fold section is only half a rod interval
A common source of confusion is counting rods, visible folds and short fold sections as if they were the same thing. This plan uses an odd number of equal fold sections below the headrail allowance. Each full interval between adjacent rods contains two of those sections.
The lowest rod sits one section above the finished bottom. The top interval on the lowered shade contains the headrail allowance plus two sections. When comparing layouts, look at all three dimensions rather than applying the same spacing to the entire height.
The small raised illustration is an ideal geometry sketch. Real fabric thickness, pocket tape and hardware build up in a stack. Make a sample with your actual materials before relying on a raised depth for a window, a handle or another obstruction.
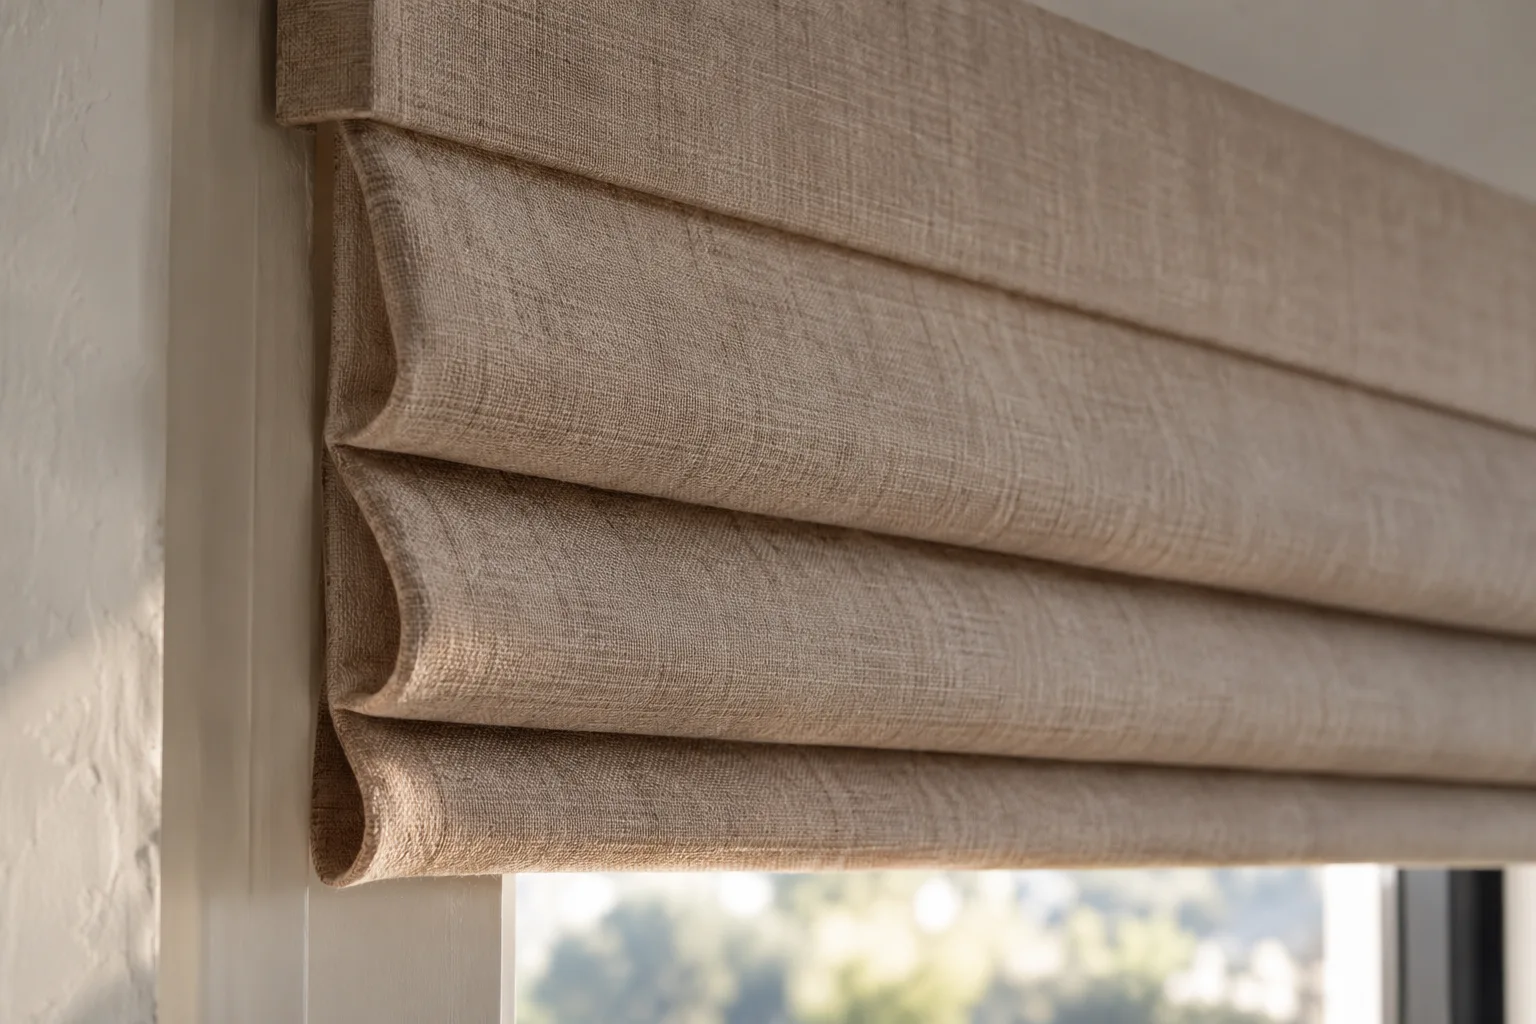
The fabric layers help explain why a real stack is thicker than a geometric fold diagram.
Locate the reference line before sewing the pocket
The output gives the center of the finished pocket band and its upper and lower edges. Keeping those references separate helps you compare tape widths without shifting the whole shade layout by accident.
On a completed flat panel, applied pocket tape can be aligned with the specified band. If your construction folds pockets out of the lining, these are still finished-panel positions: they are not raw lining marks. Each folded pocket consumes extra cloth that must be handled in your construction sequence.
A cumulative table reduces the chance of adding the same small measuring error at every rod. Measure each line from the selected finished edge, then check the distance from the other edge on the last line. Do not repeatedly step along the fabric using a rounded display interval.
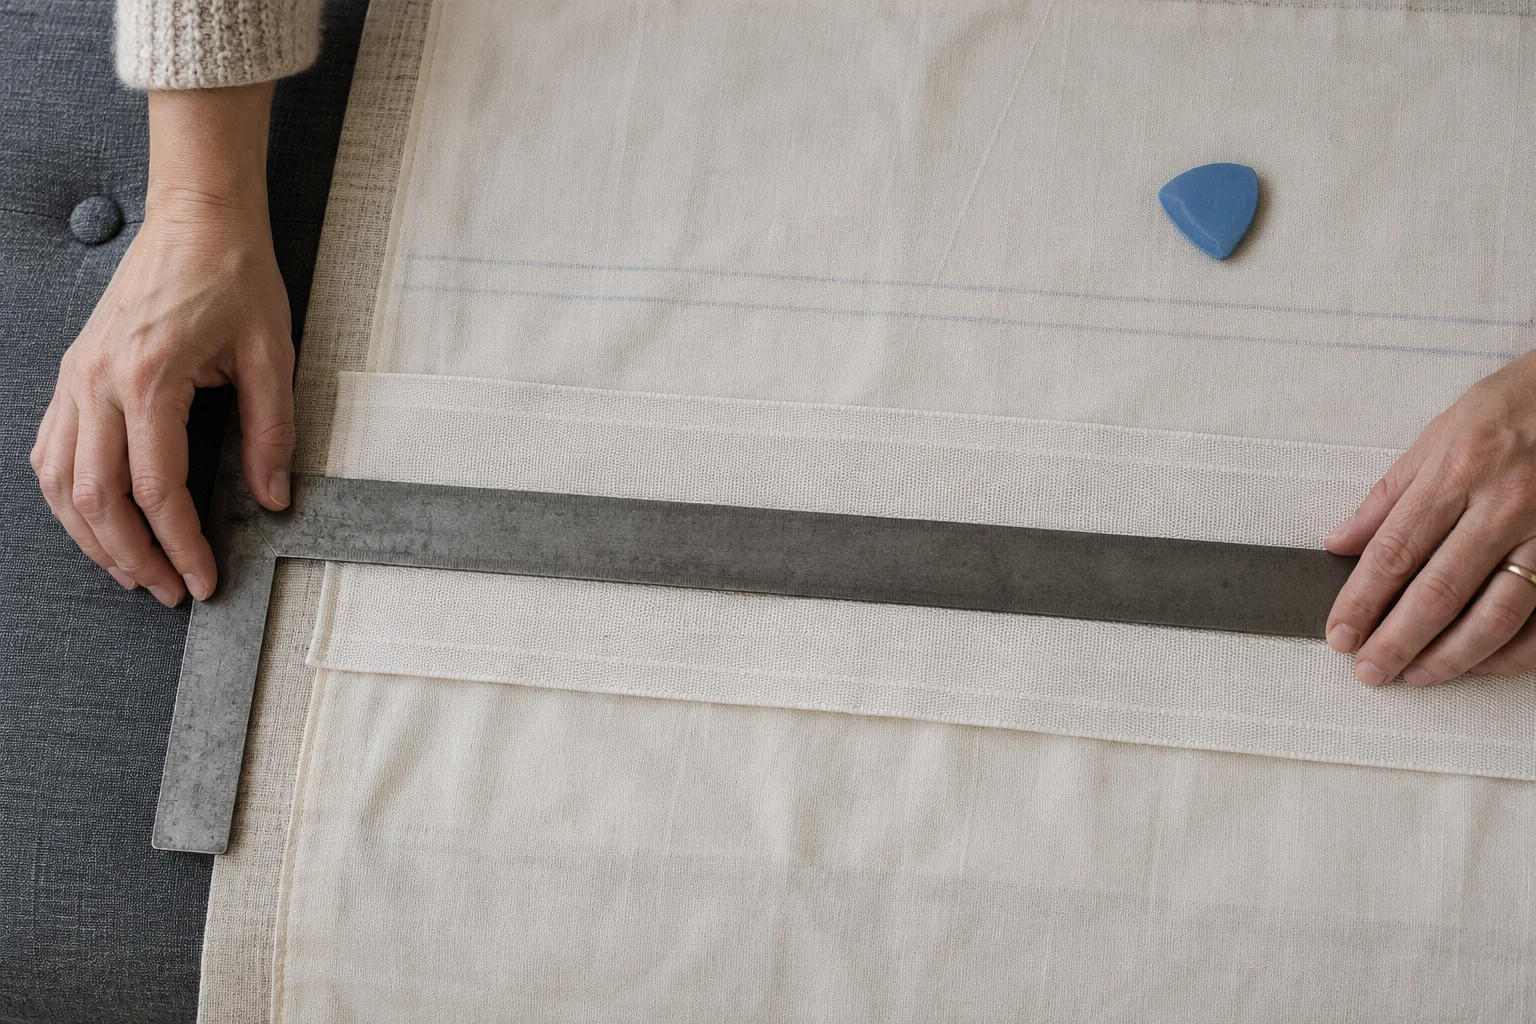
Check the reference and square the line across the panel before attaching pocket tape.
Check the numbers
A 63-inch shade with four intermediate rods
The English example uses a finished height of 63 inches, a 3-inch headrail allowance, a 1-inch bottom-bar zone and a half-inch pocket band. These are demonstration settings, not a specification for every headrail.
The folding portion is 63 − 3 = 60 inches. Four rods create 2 × 4 + 1 = 9 fold sections.
Each section is 60 ÷ 9 = 6.666667 inches. Adjacent rod centers are 13.333333 inches apart.
From the finished bottom, the four centers are 6.666667, 20, 33.333333 and 46.666667 inches. From the top, the same lines are 56.333333, 43, 29.666667 and 16.333333 inches.
The lowest band begins 6.416667 inches above the bottom, so it clears the 1-inch bar zone. The ideal raised depth is 3 + 6.666667 = 9.666667 inches, before stack thickness.
The count is for intermediate rods carried in pockets. The bottom weight bar is described by its exclusion zone and is not one of those rods. Adding it to the count would reduce every interval and create an extra pocket in the drawing.
Keep the two allowances separate
Headrail allowance here is part of the finished height. Top sewing allowance in the fabric calculator is extra raw cloth. Copying the same value between those fields without checking its meaning can move all the reference lines.
Check the actual tape
The finished pocket band may be wider than the rod itself. Measure the construction that will sit on the lining, including the relevant sewn area. The collision check uses that band, not a guessed dowel diameter.
Retain the current work order
A saved local project holds one plan for this tool. Export before replacing it with another job. A CSV contains the rod coordinates; a JSON retains editable inputs; the print view includes the input settings and diagrams.
The method, explained
How the standard fold layout is calculated
Rule version 1.0.0
One defined geometry
Let H be finished height, A the headrail allowance, and N the number of intermediate rods. The short fold depth is d = (H − A) ÷ (2N + 1). Rod j, numbered from one at the bottom, is (2j − 1)d above the finished bottom. Its top coordinate is H minus that distance.
Feasibility before preference
Half the band height is subtracted from the lowest rod distance to check the bottom exclusion zone. Neighboring bands must also remain separate. In target mode, the nearest valid rod spacing is chosen across counts 1–20. If two counts are equally close, the lower count wins. A smaller actual spacing is not automatically a better design.
Precision and outputs
Input dimensions are stored as whole micrometers. Fractional rod locations remain unrounded during calculation; the screen shows a readable value, while CSV coordinates keep up to six decimal places in the chosen unit. These extra decimals describe the model and do not imply that cloth can be marked with microscopic precision.
Construction reference for the standard odd-section approach; our clearance checks and file workflow are specific to this tool: Sew Helpful: standard Roman blind folds
Questions about folds and rod-pocket spacing
How far apart should Roman shade rods be?
The distance depends on the finished height, headrail zone, chosen fold depth and materials. Enter a preferred interval to compare nearby valid counts, then review the actual spacing returned. The tool does not impose a universal interval or select hardware for you. Confirm that the resulting folds behave properly in a sample.
Why is the bottom section half the rod spacing?
That relationship defines the standard structure implemented here. The lowest edge is one short section below the first rod; adjacent rods are two sections apart. An extended decorative flap or a cascading shade needs another set of rules. Do not imitate those structures by changing the bar exclusion zone, which is only a clearance check.
How many fold sections do four rods create?
Four intermediate rods create nine short fold sections. The bottom weight bar is additional hardware and is not included. The interface displays both the rod count and the odd section count, so a workroom note that says four rods cannot be confused with a note that says four folds.
Can I use this as a Roman blind pleat calculator in centimeters?
Yes. Inches and centimeters use the same physical dimensions, and fractional entries such as 24 1/2 are accepted. Switching the display unit does not rescale the project itself. The Chinese example starts with metric inputs and A4 paper; an imported or saved project keeps the units and paper selected for that job.
Does the raised view show the exact stack height?
No. It shows the headrail allowance plus one ideal fold depth, without the thickness of fabric, rods, tape or other hardware. Use it to compare the geometry of two layouts. Measure a working sample to determine actual clearance and appearance with the chosen materials.
Can I mark raw lining directly from these coordinates?
Only when your making sequence has already established the finished panel reference. The coordinates exclude raw hems and pocket take-up. Separate applied tape adds no folded-lining length. For pockets formed from lining, use the fabric calculator to budget take-up and follow a construction method that transfers the finished grid correctly.
Can I start from my Roman shade fabric estimate?
Import a JSON project from that tool. The finished face height and a positive saved pocket count are carried over, together with the project name and units. Headrail clearance, band height and bottom-bar zone remain settings to verify here; the fabric estimate does not establish them.
Does this plan specify lift cords or a child-safe system?
It plans fabric folds and pocket reference positions only. It does not specify cords, rings, lift routes, hardware capacity or product certification. Follow the instructions for the selected complete operating system and keep its installation and safety requirements separate from the fabric marking sheet.
Take the plan to your worktable.
Review the measurements, keep a backup and print a proof.