Plan a rectangular seat cushion from the cover you want to sew. Get a cut list, a transparent fabric row plan and the zipper and piping lengths that belong to your construction.
Private, on this device
One fabric, rectangular covers, 1–30 identical cushions. Finished seam-to-seam dimensions; continuous or segmented boxing. No automatic foam compression, curved corners, pattern matching or self-fabric piping strips.
EXAMPLE
Example inputs: replace them with your measured project.
Import this tool’s JSON to restore an editable plan. The cut list and position CSVs are records, not project files. Download example JSON
Keep the original plan with the labels. Dimensions include the stated allowances. Print diagrams are not full-size templates.
Saved on this device
One independent saved project for this tool. Export JSON for a separate backup.
Build a plan from the finished cover
01
Measure the cover you want
Record the front-edge width, front-to-back depth and finished thickness. Width runs across the fabric for the plates; depth runs along the roll. These dimensions describe the sewn cover, not the foam blank. If you are replacing a tired cushion, check the seat and the intended fit instead of copying a stretched cover without adjustment.
02
Choose the side-band construction
Continuous boxing keeps the front and side edges in one strip when a rear zipper is selected. Segmented boxing creates separate side sections with joins at the corners. Choose the method before comparing fabric amounts: every join uses two seam allowances, so changing the construction changes both the cutting list and the length of the strips.
03
Specify the opening and trim
A rear zipper replaces the rear band with two half-plaques. Enter the turn at each zipper edge, the setback at each end of the opening and the extra chain needed for finishing. Optional ready-made piping has one loop around the top and another around the bottom. Its joining reserve is added to each loop, not just once per batch.
04
Check the rows before cutting
Enter the usable width measured on your prepared fabric. Review each part, its orientation and the cumulative positions on the roll. The fabric estimate follows those rows rather than dividing total area by width. Add a measured batch reserve, save the editable project and print the plan. Use the labels to identify pieces after they leave the cutting table.
See how the pieces become a cushion
Separate plates from the boxing
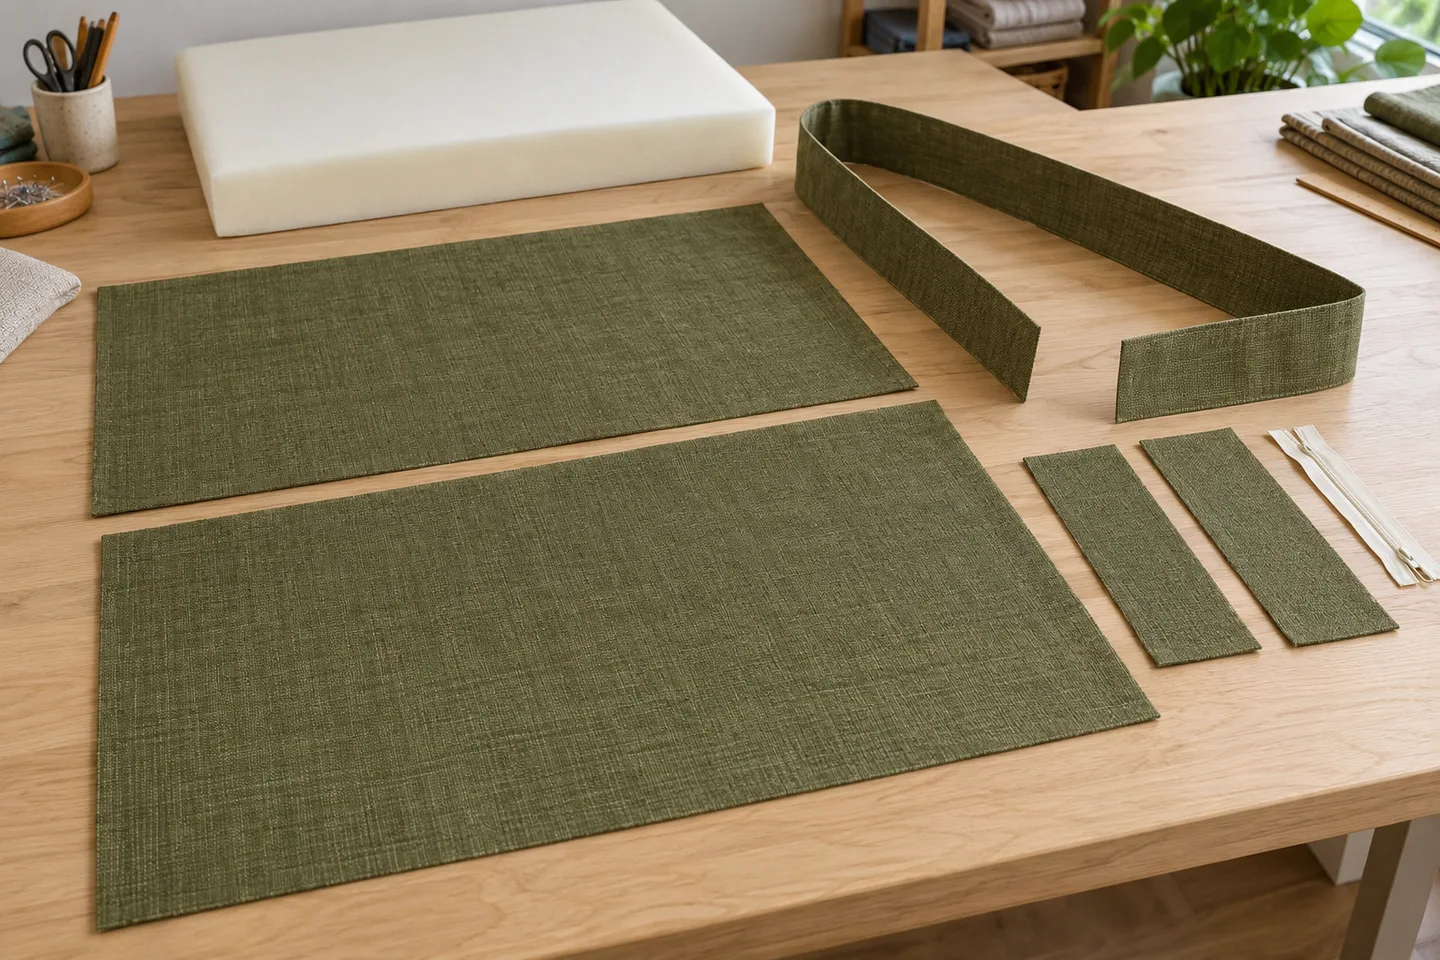
A box cushion has two broad plates and a band that creates its thickness. Treating it as a flat pillow misses that band and can underestimate the amount of fabric needed.
The exploded drawing gives every part a stable ID. TOP and BOT are the upper and lower plates. BOX is the continuous band; FR and SIDE appear in the segmented version. Quantities are totals for the entire batch, so a plan for two cushions already includes two top plates and two bottom plates.
The photographed pieces illustrate the construction. They are not a scale pattern or a cutting reference. Use the dimensions in the table, keep a clear top direction on the cloth and mark corner positions on a continuous strip before sewing it around a plate.
Separate the foam reference, finished cover size and raw fabric pieces before adding allowances.
Give the zipper its own two pieces
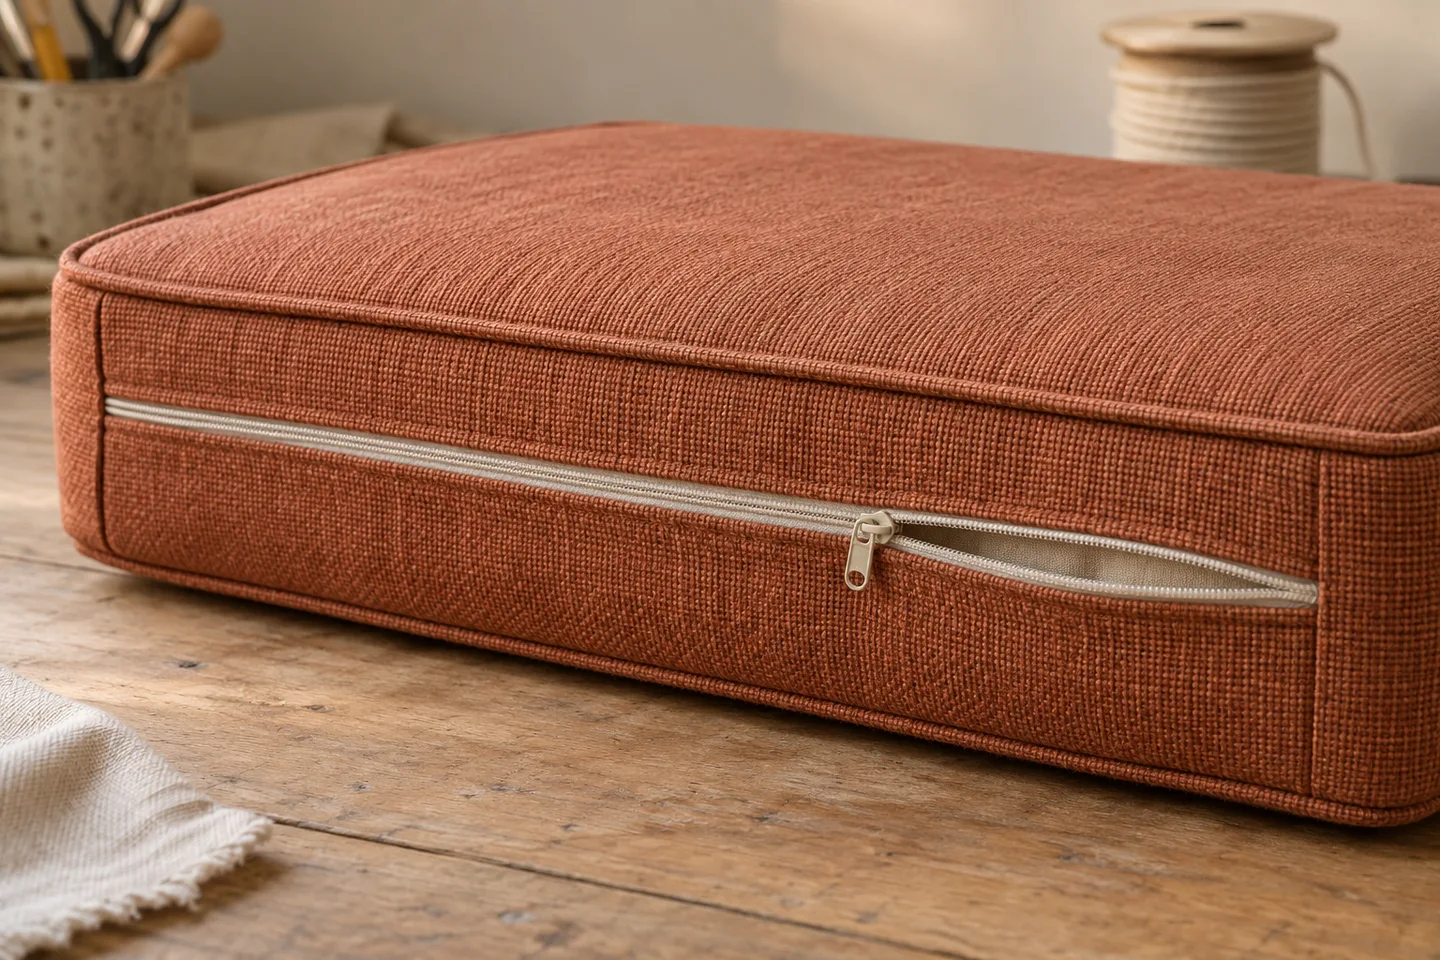
The rear opening is part of the side band. The upper and lower zipper halves have their own edge turns, while their outside edges join to the plates with the ordinary seam allowance.
This model brings the two prepared zipper edges together on the rear centerline. It does not add an exposed gap between them or a decorative flap. If your zipper method uses a wider plaque that is trimmed after assembly, make and measure that sample before adopting these cut sizes.
A zipper chain longer than the opening gives room to finish the ends, but does not make the opening itself longer. Test whether the chosen foam and wrap can pass through it without stressing the seams. A bulky insert may need another opening arrangement beyond this rectangular rear-panel plan.
The rear zipper belongs to the boxing; piping follows the finished plate perimeter.
Check the numbers
Two 24 × 18 × 4-inch seat cushions
Load the English example for two finished covers with a half-inch seam allowance, continuous boxing, a rear zipper and ready-made piping. The usable cloth is 54 inches wide. All dimensions below include the stated construction allowances.
Cut four plates in total, each 25 inches across the roll by 19 inches along it. Two plates fit across the 54-inch usable width, producing two rows and using 38 inches of roll length.
The front and two sides span 24 + 18 + 18 = 60 finished inches. Add one half-inch seam allowance at each end: each continuous strip is 5 inches across by 61 inches long. Both strips fit in one row.
Each zipper half is 4 ÷ 2 + 0.5 + 0.5 = 3 inches across by 25 inches long. Four halves fit in one row. The three groups use 38 + 61 + 25 = 124 inches, and the 4-inch batch reserve brings the total to 128 inches, or about 3.556 yards.
A 1-inch setback at each end leaves a 22-inch zipper opening. With 2 inches extra chain, allow 24 inches per cushion. Each finished perimeter is 84 inches; add 4 inches per piping loop. Four loops need 352 inches, or about 9.778 yards of ready-made piping.
Firmness, batting, fabric stretch and the intended finish all affect the relationship between foam and cover. The calculator never silently shrinks the cover by a percentage. Establish your own finished dimensions from the materials, a pattern or a sample, then enter them once.
Usable width is a real limit
Selvages, damage and preparation can reduce the width printed on a fabric listing. A plate that cannot fit across the measured usable width blocks the roll estimate and label transfer. The tool will not rotate a directional piece or quietly invent a seam to make it fit.
Piping is a separate supply
The optional total measures ready-made piping in two loops per cover, including the entered joining reserve. It is not a fabric estimate for bias strips. Cord diameter, wrapping allowance, diagonal joins and bias layout belong in a separate self-fabric piping plan.
Keep the whole work order
A JSON file restores inputs, units and construction choices. The cut list CSV records sizes and batch quantities; the position CSV identifies every physical cut. Printed pages include both. Labels travel with the pieces, while the original plan explains how they fit together.
The method, explained
How the dimensions and fabric length are calculated
Rule version 1.0.0
Outer plates and side bands
For finished width W, depth L, thickness D and seam allowance S, both plates are (W + 2S) by (L + 2S). Every ordinary side strip is D + 2S wide. With a rear zipper, a continuous strip is W + 2L + 2S long; a fully sewn continuous loop is 2(W + L) + 2S long. Segmented lengths are the corresponding finished side plus 2S.
Zipper halves and supplies
Each rear zipper half is D/2 + S + Z wide, where Z is the entered zipper-edge turn, and W + 2S long. The turn and outer seam are removed during assembly, leaving half the finished band height. Opening length is W minus twice the end setback. Piping uses two loops of 2(W + L), each with its own joining reserve.
A reproducible row plan
Pieces of identical cut width and length share rows across the usable fabric. Each row has as many pieces as fit without rotation, and consumes one cut length. Different sizes do not occupy one another’s offcuts. This is a conservative, inspectable arrangement, not a minimum-waste nesting solver. The reserve is added once after the last row. Dimensions are stored in micrometers; a derived half-micrometer cut is rounded upward to the next whole micrometer.
Start with the prepared cut pieces and the usable roll width. This cushion fabric calculator groups matching rectangles into rows and sums their lengths, then adds your reserve. A large plate or a long boxing strip may control the order even when the total fabric area looks small. Pattern matching, defects and shrinkage need separate decisions.
Should I enter the foam dimensions or the finished cover size?
Enter the desired finished cover size between sewing lines. Foam dimensions can differ because of compression, wrapping and the fit you want. There is no automatic subtraction or universal foam enlargement in this tool. Keep the foam specification alongside the plan, and confirm the combination in a sample.
What is the difference between continuous and segmented boxing?
Continuous boxing uses one long strip around the selected sides and adds allowances only at its end joins. Segmented boxing has separate side pieces, each with end allowances. The segmented method may reduce roll length because shorter pieces can share rows, but it introduces more seams and a different appearance at the corners.
Does the zipper panel replace the back boxing?
Yes. The rear zipper construction uses two halves instead of a complete rear side band. Adding both the zipper halves and an ordinary rear band would double-count that section. In sewn-closed mode, the full perimeter returns; remember to leave and later close a suitable turning gap during construction.
Why does the tool say a piece will not fit?
At least one prepared cut width exceeds the usable fabric width. Review the input orientation, the measured cloth and the chosen design. No yardage is shown until every part fits. You can still export or print the clearly marked draft to discuss a change, but it cannot be transferred to cutting labels.
Can I use this for stripes, rounded corners or several cushion sizes?
The current plan uses rectangular parts, one fabric and identical dimensions within a batch. It preserves direction but does not align stripes around corners or match motifs between plates. Rounded templates, tapered seats and mixed sizes need their own measured patterns and layout. Save separate projects for different sizes.
Are the printout and CSV a full-size sewing pattern?
No. They are dimensioned records. Mark the fabric from the stated cut sizes and cumulative positions, not by tracing the printed pictures. Choose A4 or Letter for the work order, inspect the print preview and keep the source JSON so the measurements can be revised later.
Take the plan to your worktable.
Review the measurements, keep a backup and print a proof.