Turn a square or rectangular finished cover size into a practical cutting list. Compare an envelope back with an edge-seam zipper, check the fabric width and keep every allowance visible.
Private, on this device
Flat three-piece envelope covers or two-piece covers with a bottom-edge zipper. One fabric, 1–30 identical covers. Optional straight-repeat front centering; no boxing, flange, lining, corner taper or automatic insert-size adjustment.
EXAMPLE
Example inputs: replace them with your measured project.
Import this tool’s JSON to restore an editable plan. The cut list and position CSVs are records, not project files. Download example JSON
Keep the original plan with the labels. Dimensions include the stated allowances. Print diagrams are not full-size templates.
Saved on this device
One independent saved project for this tool. Export JSON for a separate backup.
Choose the size, then choose the opening
01
Set the finished width and height
Measure the seam-to-seam cover size you intend to make. A square uses equal dimensions; a lumbar pillow uses different width and height. Decide the fit to your insert before entering either number. The calculator adds construction allowances to that finished size and does not make an automatic snug-fit reduction.
02
Define an envelope or zipper back
For an envelope, enter the finished overlap and the width of each of the two hem folds. The opening runs horizontally across the back. For a zipper, the cover has two complete panels with the zipper in the bottom edge seam. Enter the end setbacks to describe its usable opening and a separate chain reserve for finishing.
03
Measure the fabric you can use
Use the width after any planned preparation and exclude unusable selvages. All cut widths run across the roll; cut heights run along it. The row plan keeps that direction. A fabric reserve is a separate length added to the whole batch, so changing quantity does not accidentally multiply the same reserve several times.
04
Check the plan and keep a copy
Read the front and back cutting sizes, compare the two closures and expand the table of cumulative cut positions. Export JSON for an editable backup, CSV for a cutting record or print the complete work order. Send the finished cut dimensions to the label tool when every piece fits inside the usable width.
Understand the extra cloth at the opening
An envelope overlap is a finished measurement
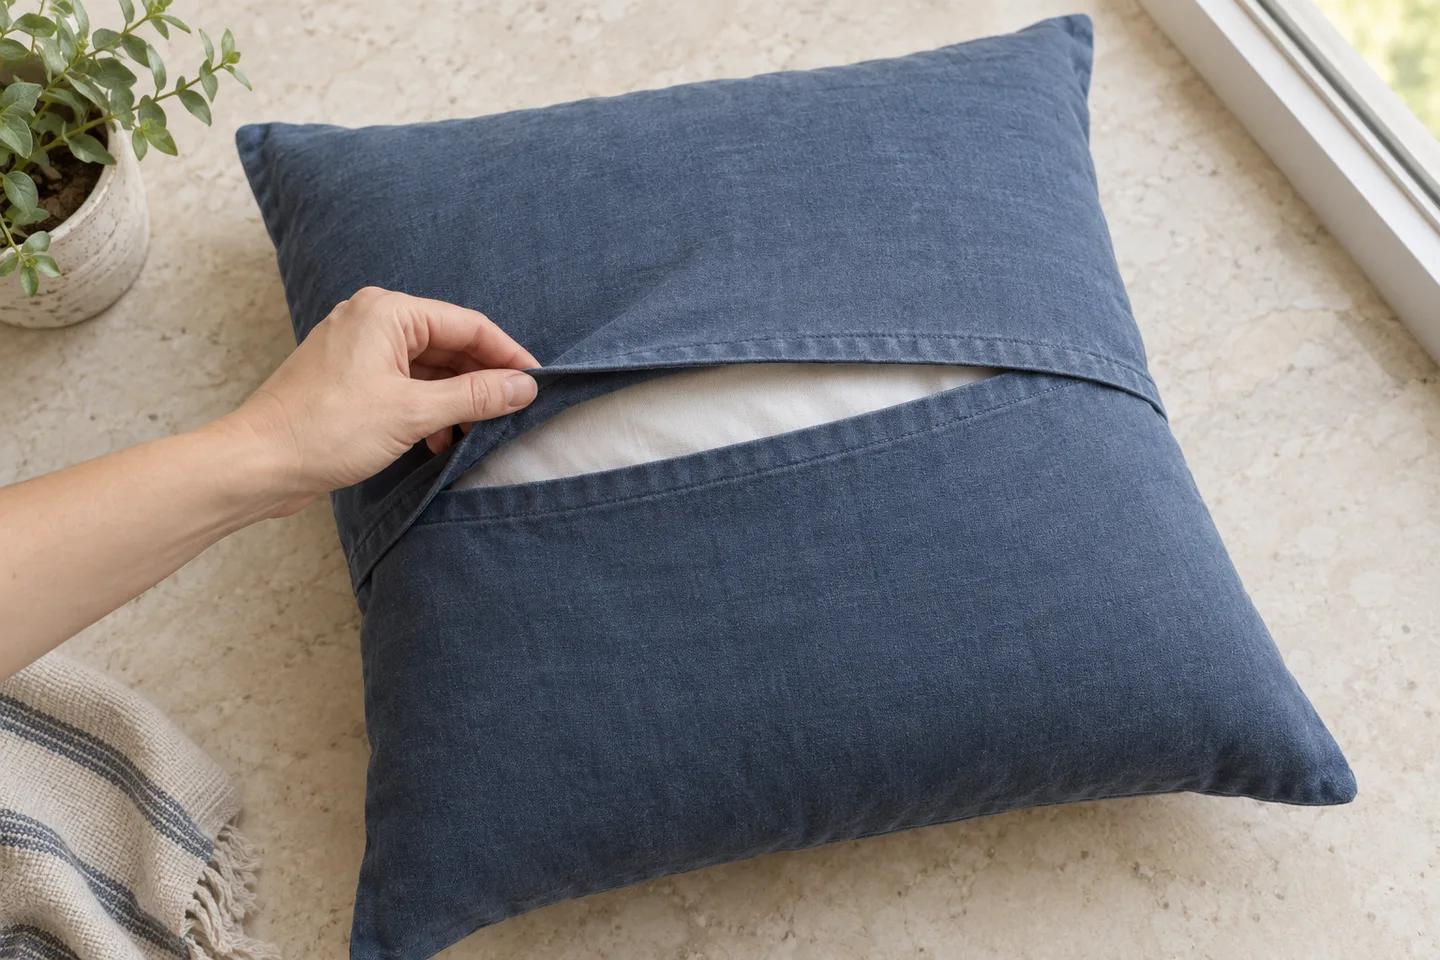
Two back panels overlap after their opening edges have been hemmed. The total overlap is shared between the two equal pieces, while each opening edge receives its own double-fold hem.
Increasing the overlap can help conceal the insert, but it also makes insertion more demanding and uses more cloth. Choose it for the actual insert and fabric. Do not add the full overlap to both halves, and do not assume a hem allowance is already part of the finished overlap.
This envelope pillow cover calculator uses three separate pieces so the front stays whole and each back has a clear top direction. It does not use the long single-piece wrap method. If you follow a different tutorial, compare its construction before copying its numbers into these fields.
Measure the overlap between the finished hemmed edges, not between the raw cutting edges.
Center the design on the finished front
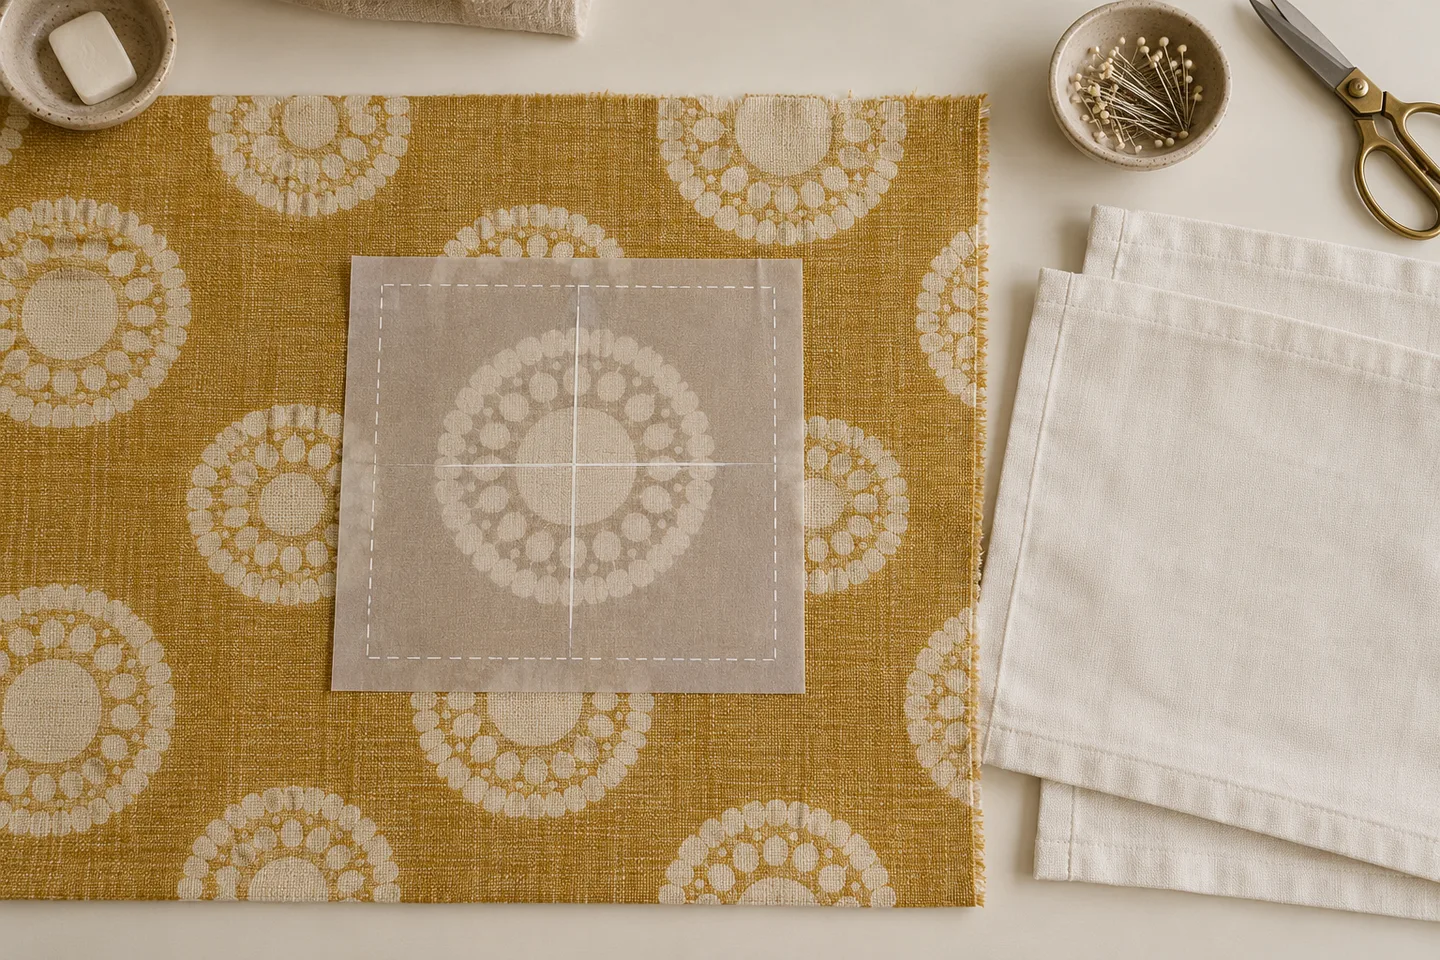
A strong medallion or small focal motif can look accidental when it lands near an edge. The front-center reference gives a place to align your chosen design before cutting.
For measured placement, enable front motif centering and enter both repeat dimensions. Locate the first matching motif center from the usable left edge and from the roll start. The tool chooses the earliest nonnegative cut position that places that point at the center of the front.
Each centered front receives its own row. The plan checks the crosswise trim and includes the extra roll distance needed to reach the next matching center. The backs retain their direction but are not pattern matched. Confirm the same face and the same motif point on the actual fabric before using the coordinate list.
A centered front needs both a horizontal reference and a known position along the roll.
Check the numbers
Two 18-inch envelope pillow covers
The English example uses two finished 18 × 18-inch covers, a half-inch seam allowance, 6 inches of finished overlap and two half-inch hem folds at each opening. Usable fabric width is 54 inches; front centering is off.
Each front is 18 + 2 × 0.5 = 19 inches wide and high. Cut two fronts for the batch.
Each back is 19 inches wide. Its cut height is (18 + 6) ÷ 2 + 0.5 + 2 × 0.5 = 13.5 inches. Cut two upper backs and two lower backs.
Two 19-inch pieces fit across the roll. The fronts use one 19-inch row, and the four backs use two 13.5-inch rows. Total row length is 46 inches; a 4-inch batch reserve makes 50 inches, about 1.389 yards.
Change to the bottom-edge zipper construction to cut four complete 19-inch squares. Two rows use 38 inches, or 42 inches with the same reserve. The selected 1-inch setbacks leave a 16-inch opening; adding 2 inches for the chain ends gives 18 inches per zipper.
The same nominal insert can look different in loosely woven linen, firm upholstery cloth or stretch fabric. Choose the finished fit from your materials and preferred appearance. Seam allowance comes afterward. Using the insert size as a raw cut dimension would silently reduce the cover by two allowances.
A hem uses two folds
The hem field is the width of one fold. Both back opening edges fold twice, so each back panel gains twice that value. The outer edge gains one ordinary seam allowance. At the hemmed opening there is no additional perimeter seam allowance in this construction.
Fabric length follows real rows
Two rectangles with the same area can need different roll lengths. The tool first checks their widths, then places identical sizes together without turning them. Spare width from one group is not used to nest another group. This makes the estimate easy to reproduce on a cutting table.
Copies need their own IDs
The cutting list summarizes the quantity of each part, while the position file and labels distinguish FRONT.01 from FRONT.02 and every matching back. Those suffixes count pieces of a type; keep the plan with the batch when pairing the identical covers for assembly.
The method, explained
The formulas behind the front and back pieces
Rule version 1.0.0
Three-piece envelope construction
Let W and H be finished width and height, S the seam allowance, O the total finished overlap and F one hem fold. The front is (W + 2S) by (H + 2S). Each back is (W + 2S) by ((H + O)/2 + S + 2F). After removing the outer seam and the two folds, the backs together span H + O, leaving exactly O of overlap.
Two-piece edge-seam zipper construction
Both panels are (W + 2S) by (H + 2S). This assumes your zipper is sewn within the chosen bottom-edge seam allowance. There is no separate back zipper plaque. Its net opening is W minus two end setbacks, and chain reserve is added once per cover. Use the comparison to see the effect of closure choice, then select that closure to create its actual cutting records.
Centered fronts and row precision
Without centering, matching cut sizes share rows across the cloth. With centering, each front starts where its raw center meets the measured repeating motif; the backs follow afterward. Crosswise trim must still leave room for the full raw front width. Raw dimensions are stored in micrometers, and derived half-micrometer cuts round upward. The displayed estimate is not automatically rounded to a fabric seller’s order increment.
A practical reference for overlapping backs and positioning a front design; the flange in that project is outside this calculator: Sailrite: pillow with an envelope back
Questions about pillow cover cut sizes
How much fabric do I need for an 18-inch pillow cover?
For the example construction, one front is 19 inches square and two backs are 19 × 13.5 inches. The roll length depends on fabric width, quantity and whether you center a motif. Enter those settings instead of relying on a single yardage figure for every 18-inch pillow. A zipper version has a different back and may use less cloth.
How much should an envelope pillow back overlap?
Enter the finished overlap that suits the insert and your sewing method. The example uses 6 inches on an 18-inch cover, but that is a demonstration rather than a universal rule. A deep overlap may conceal a fuller insert while making removal harder. Make a sample if the fabric is stiff or the insert is difficult to compress.
Do I add the overlap to both back pieces?
The tool shares the total overlap between the two equal backs. Each finished back section reaches (height + overlap) ÷ 2 before allowances. The outer seam and the two hem folds are then added to each piece separately. Adding the full overlap to both backs would double the overlap you asked for.
Can I make a rectangular lumbar pillow cover?
Yes. Enter its finished width and height independently. The envelope opening stays horizontal across the width, and the zipper option stays in the bottom edge. If you want the opening to run the other way, review the fabric direction and change your pattern orientation deliberately; the tool does not rotate pieces automatically.
Should a pillow cover be smaller than the insert?
That depends on the insert filling, fabric and appearance you want. This tool does not impose negative ease. Decide the finished dimensions first and test the fit if needed. Do not subtract seam allowances from those dimensions: the calculation adds allowances when it creates the raw cutting sizes.
Does front centering also match the envelope backs?
No. It positions the chosen repeat point at the center of each front and accounts for the required trim and roll advances. Back pieces keep the entered orientation without a motif match across the overlap. Matching a large design across the back needs another measured placement plan and potentially more fabric.
Can I import my exported file on another computer?
Yes, import the JSON project file in this tool and review the recalculated result. Local saving belongs to the current browser and device, so export is the portable backup. The two CSV files are useful cutting records but do not contain the full editable settings needed for project import.
Take the plan to your worktable.
Review the measurements, keep a backup and print a proof.