Turn finished edge measurements into separate cord and fabric requirements. Choose the edges, check your strip construction, and see exactly how joins and cutting layout affect the material you need.
Private, on this device
Round cord covered with fabric, joined with diagonal seams. Straight crosswise strips or a conservative 45° layout inside square blanks. One strip width and fabric per batch; no continuous-bias tube, flat binding, automatic pattern matching or full-size template.
EXAMPLE
Example inputs: replace them with your measured project.
Accepts piping and box cushion project JSON. CSV is an output record. Download example JSON
Illustrations are not full-size patterns. Test the sewn strip before cutting the batch.
Saved on this device
An independent local slot. Export JSON for a portable backup.
Measure the edge before measuring the roll
01
Choose edges or enter a known length
For a rectangular product, select the edges on one face and enter its finished seam-to-seam width and length. The selected outline repeats for each face and each identical product. Top and bottom piping on a box cushion means two faces. For a curved or irregular shape, measure the actual sewing line and use total-length mode instead. That total represents the whole batch.
02
Count the separate runs
An unbroken closed rectangle is one run per face. Two opposite edges are two separate runs. Cord and covering reserves are added to each run independently, so an extra ten centimeters on four loops adds forty centimeters to the batch. In total-length mode, declare the number of runs yourself. The tool cannot infer how your measured total is divided.
03
Confirm the strip width
A sewn sample is the best source for a confirmed strip width. Alternatively, estimate it from the round cord diameter, two seam flanges and an optional extra wrap width. Use the actual cord and fabric thickness when testing. A bulky fabric may need more room than the nominal circumference suggests, and the sewing foot must accommodate the finished covered cord.
04
Select a reproducible cutting method
Straight mode cuts strips across the usable fabric width. Bias mode starts with square blanks and takes equal strips only from an inscribed central square rotated forty-five degrees. Review the strip count, joining loss and resulting fabric length before exporting. The JSON keeps editable inputs; the CSV and printable record show the material plan for this revision.
Two materials, one finished edge
The cord does not include the seam flanges
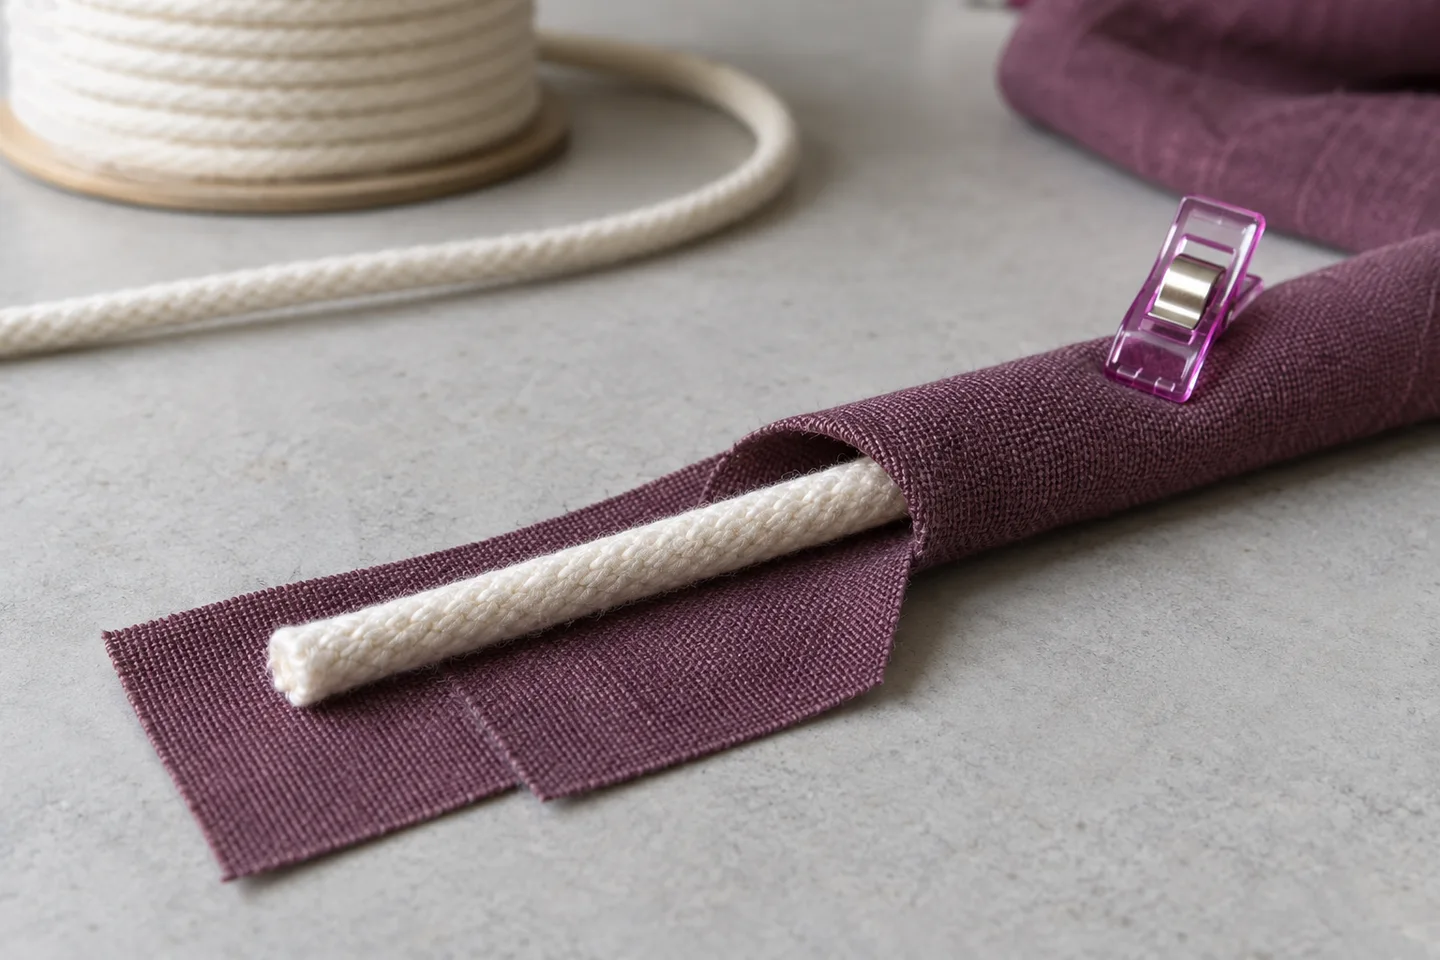
Cord length follows the finished edge plus its own end reserve. Cloth must also wrap around the core and provide the flanges that are caught in the assembly seam.
The diameter estimate uses circumference plus two seam allowances. This is a starting measurement for a round core, not a promise that every textile will wrap identically. Fold a short strip around the real cord, sew it with the intended foot and check that the seam flanges remain usable. Enter the tested width when it differs from the estimate.
Do not add the cushion seam allowance to the finished perimeter. The piping sewing line follows the finished product boundary. Its cloth flange belongs in the strip width, while loop overlap, insertion at an opening and cord-end finishing belong in the separate per-run reserves.
Illustrative sample: the round core and the two cloth flanges have different jobs.
Bias yield depends on the actual shapes you cut
A fabric area can contain enough square inches in theory and still fail to yield the required usable strips. The layout here makes the usable region explicit.
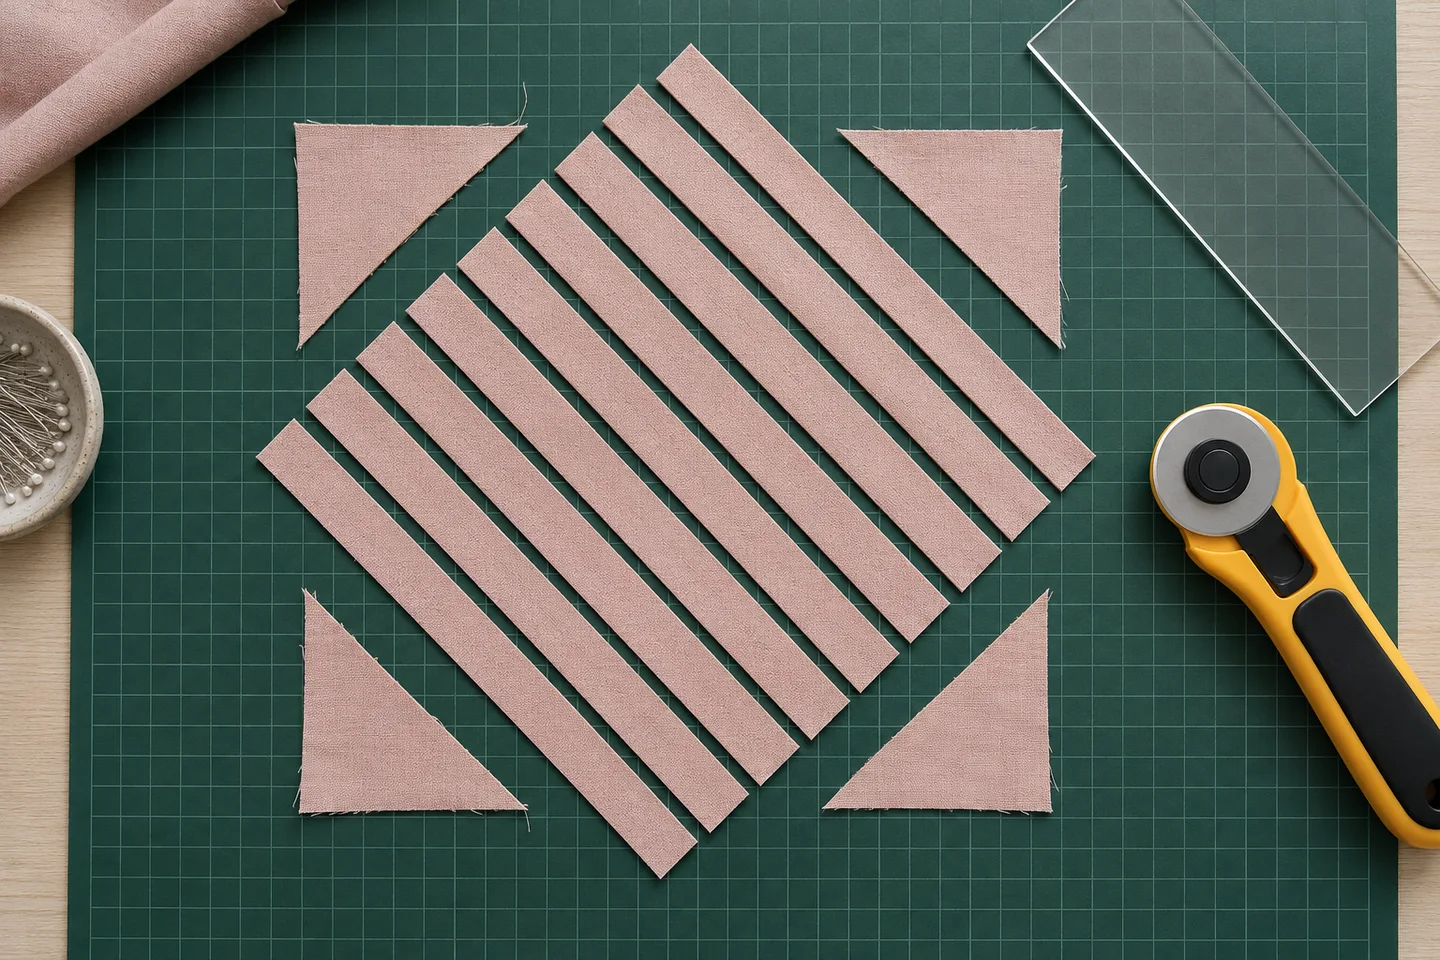
From each square blank, take the largest centered square whose sides run at forty-five degrees to the original edges. Its side is the blank side divided by the square root of two. Only complete strips of the chosen width inside that square count toward the available length; the four outer triangles and any narrow remainder are excluded.
This deliberately conservative method is easy to lay out and inspect. It does not claim the higher yield possible from a well-planned continuous-bias tube or from piecing the corner scraps. The photograph explains the idea; use the calculated dimensions and a reliable grain reference to mark your real blank.
The central strip region is counted; corner triangles remain outside the estimate.
Check the numbers
Piping two 24 × 18-inch box cushions
The English example pipes all four edges on the top and bottom of two identical cushions. It uses a tested 1.5-inch strip width, 54 inches of usable cloth, and 4 inches of cord and cover reserve per loop.
One finished perimeter is 2 × (24 + 18) = 84 inches. Two faces on each of two cushions make four loops and 336 inches of net edge length.
Each material receives 4 × 4 = 16 inches of loop reserve. Buy at least 352 inches of cord before any supplier-specific order rounding. The covering strip must also provide at least 352 usable inches after joining.
Seven straight strips supply 7 × 54 = 378 raw inches. Six diagonal joins consume 6 × 1.5 = 9 inches, leaving 369 usable inches. That exceeds the 352-inch target by 17 inches.
The seven strips occupy 7 × 1.5 = 10.5 inches along the roll, about 0.292 yards. Any batch fabric reserve is added once after that layout. A seller may require a larger minimum purchase or order increment.
Bias strips can accommodate curves more readily than straight strips, but the amount of give depends on the cloth. Test the chosen construction around the actual corners. A straight rectangular outline does not automatically make every straight-cut fabric suitable, particularly with stiff coatings, strong stripes or bulky seams.
Join loss is separate from end reserve
The model deducts one strip width at each diagonal joining seam, plus any additional loss you enter. That is a stated construction assumption. End reserves apply to the finished runs after the strips have been joined; they do not replace seam loss. Avoid adding the same allowance twice under different names.
Use prepared, usable width
Measure the fabric after the preparation your project requires and exclude selvages or damaged edges. Straight strips span that usable width. Bias blanks must fit within it. The fabric purchase result is a roll length at this width, while cord is a separate linear material with no relationship to roll width.
Import dimensions, then review intent
A box cushion project supplies its finished width, length, quantity, fabric width and piping reserve. The imported plan selects complete top and bottom loops. Review those choices even if piping was disabled in the cushion project. The source file cannot decide whether you now want one edge, one face or both faces.
The method, explained
How strip count becomes fabric yardage
Rule version 1.0.0
Width and joined length
The estimated width is π times the cord diameter plus twice one seam flange plus the extra wrap width. Let L be the raw strip length and J be one strip width plus extra joining loss. Joining N strips leaves N × L − (N − 1) × J. The tool chooses the smallest positive whole number N that reaches the covering target. One sufficient strip needs no joint. When several strips are required, each must be longer than its joining loss.
Straight and bias layouts
This piping yardage calculator uses the full usable roll width as L for straight strips, and the fabric length is N times the strip width. For bias blanks of side B, L is B divided by √2, rounded down to the stored length precision. Divide that inner side by strip width and round down to find complete strips per blank. Round the blank count up, place as many whole blanks across the roll as fit, and multiply the number of rows by B.
Precision, surplus and scope
Lengths are stored as whole micrometers. Derived width estimates round upward and the bias inner side rounds downward, so the arithmetic does not overstate a cuttable region. Surplus is the usable joined length beyond the covering target; it is not an automatic reduction in purchased cord. The model joins one continuous strip before dividing it into runs. It does not select hidden join locations, match prints at seams or optimize leftover triangles.
Use a width confirmed by sewing your actual fabric around the chosen cord. To estimate first, add the cord circumference to two seam flanges and any extra wrap allowance. The calculator shows the nominal geometry, while your sample establishes the usable construction. Do not substitute a flat-binding fold formula for a corded strip.
Do I need bias strips for every cushion?
There is no single answer for every cloth and shape. Curves often benefit from bias give; some straight-edged work can use straight strips successfully. Check corners, drape, print direction and bulk with a sample. The two cutting modes report material requirements for the method you choose, not a material suitability verdict.
Does this welt cord calculator include top and bottom piping?
Yes. Select the complete outline, choose two piped faces and set the cushion quantity. One face represents one copy of the selected edge pattern. Cord and cover reserves are then applied to each independent run. Use one face when only the upper seam needs piping.
Why is the fabric strip longer than the cord?
Joined fabric loses usable length at its seams. The cord does not lose that same amount, so it is calculated from finished edges and cord-end reserves alone. The raw cloth strips must cover the required finished runs after joining. A different cord reserve and cover reserve can also change the relationship.
Is this a continuous bias binding calculator?
No. Bias mode counts independent equal strips from the center of square blanks. It excludes corner triangles and does not form or cut a tube. A continuous-bias method needs its own construction plan. This method is intentionally conservative and may require more fabric than an efficiently arranged continuous strip.
Can I save or print the material plan?
Save locally for this browser, export the project JSON for another device, or download the CSV record. Print on A4 or Letter and choose your browser’s PDF destination to keep a document. The illustration is not a full-size pattern, so mark your cloth using the numeric dimensions and verify the first sewn sample.
Take the plan to your worktable.
Review the measurements, keep a backup and print a proof.