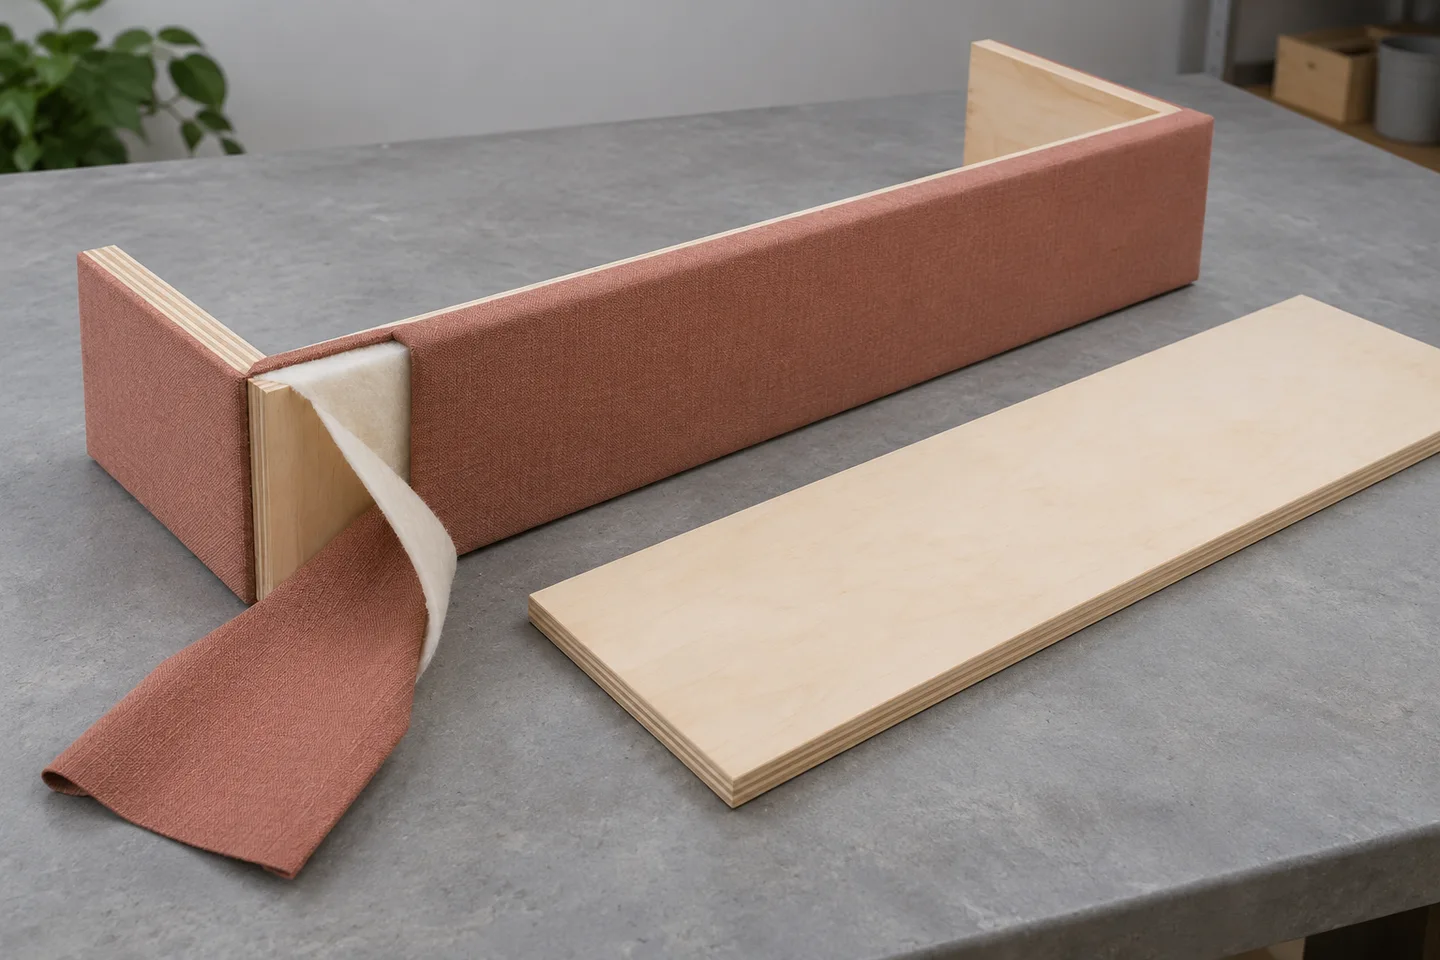
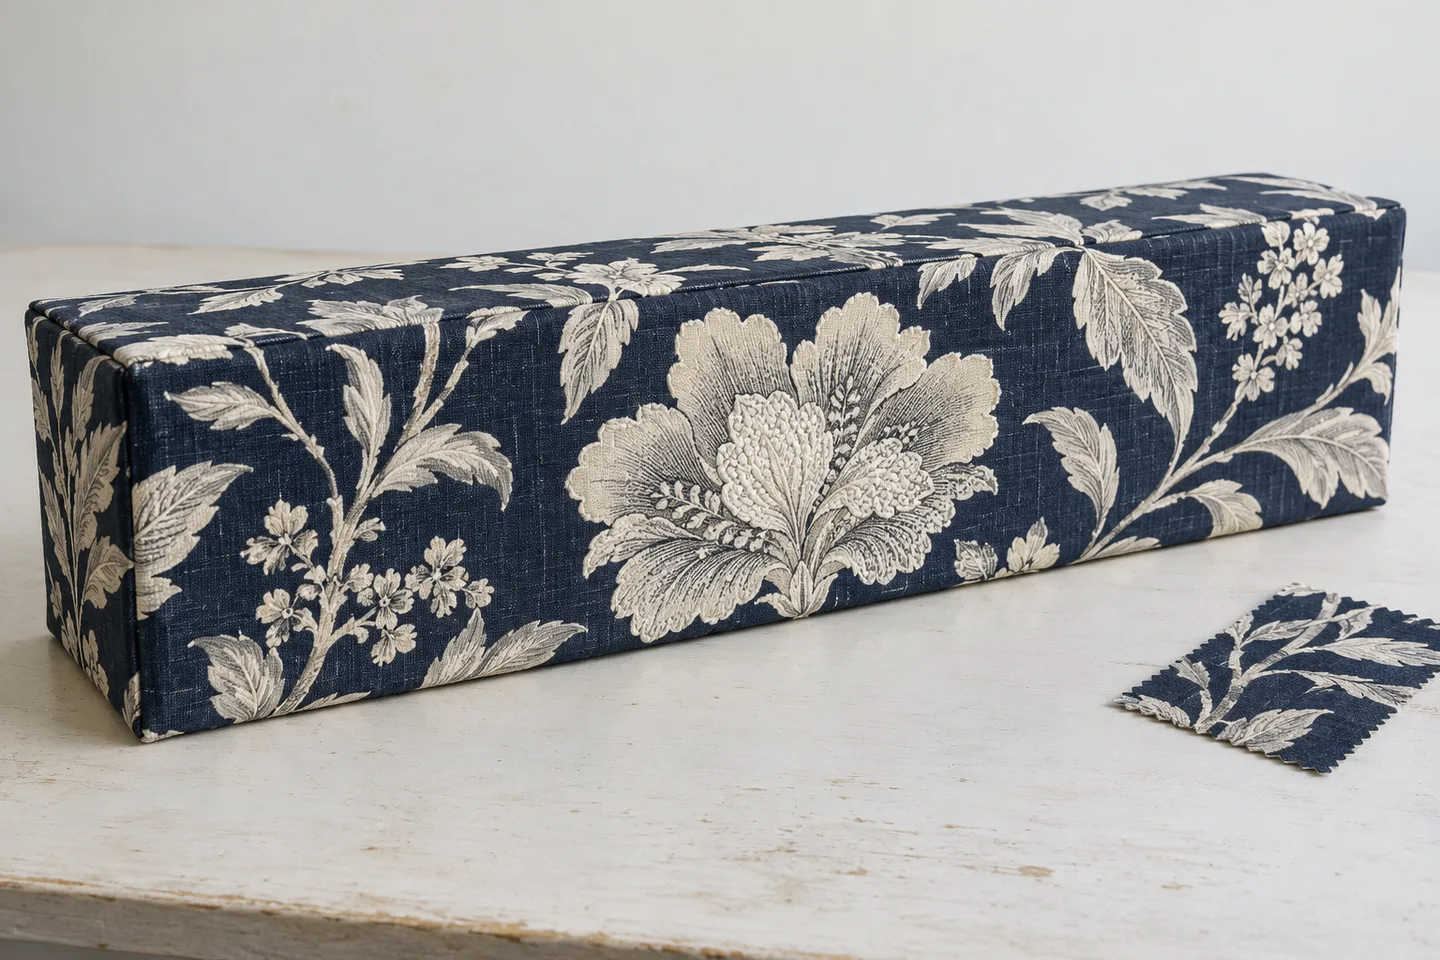
Plan the cloth that covers a prepared rectangular cornice. Measure its outside surfaces, choose which returns to cover and see how the band and separate top cap fit the fabric roll.
Private, on this device
Fabric covering for a rectangular padded frame with a straight lower edge. Outside dimensions are measured after preparation. The tool does not size timber, design mounting hardware or produce shaped cornice, scallop or structural cutting patterns.
EXAMPLE
Example inputs: replace them with your measured project.
Import this tool’s project JSON. CSV records cannot restore editable settings. Download example JSON
Use numerical dimensions. Drawings are schematic; fold a sample and review joins before cutting.
Saved on this device
Each tool has an independent saved copy. Export JSON for a portable backup.
Measure the surface the cloth will actually cover
01
Start with the prepared outside face
Use the outside front width and face height after the frame has its intended padding. Those are the dimensions the covering cloth travels over. A bare board dimension or window opening can miss material added at corners and edges. Measure left and right return depths independently, and switch off a side only when its surface is outside this covering plan.
02
Follow the wrap to its fixing point
The top and bottom wrap allowances describe cloth travel beyond the visible front, around the edge and to the fixing position. Each end allowance continues behind the selected return, or beyond the face edge when that return is off. Include the actual thickness travel in these measurements. The calculator does not add an assumed board thickness or a standard staple margin on top of your entries.
03
Decide whether to cover the top separately
The optional top cap is a separate rectangle with its own prepared width reference, front-to-back depth and wrapping allowances. Its width uses the prepared front width plus the two cap end wraps. Enter the top depth as measured rather than assuming it equals either return. This piece is counted on the face-fabric roll but is not matched to the front motif.
04
Check direction, joins and the cutting origin
Choose treatment width across the roll for a conventional vertical orientation, or along the roll for railroaded cloth. Confirm that the chosen fabric can run that way. Review raw pieces and seam locations before accepting the total. If motif centering is enabled, measure its first center from the usable left edge and roll start so that the displayed coordinates correspond to your actual fabric.
Cover the frame without losing the important references
A return and a fixing wrap do different jobs
The return covers the side surface from the front corner toward the wall. The end wrap carries cloth beyond that surface to its rear fixing point. Keep them separate when measuring, especially if the two sides are unequal. Test a strip over the padded corners to establish the real cloth path. The separate top-cap method also makes its material visible in the cutting list instead of hiding it inside an unexplained allowance.
Center the motif on the visible front
The center of the whole raw blank shifts when returns or allowances are unequal. Use the visible front as the design reference instead. With straight rectangular repeats, the plan calculates cutting offsets that place a motif at that front center and continue the repeat across band seams. Inspect a full-width swatch before cutting: a centered botanical shape can still put an undesirable partial motif at a corner or under an edge.
Check the numbers
Cover a 60-inch front and a separate top
The English example uses a prepared 60 × 16-inch front, two 6-inch returns, 2-inch rear end wraps, 3-inch upper and lower wraps and a 54-inch usable roll. The top is 6 inches deep with 2 inches of wrap at all four edges. Fabric is railroaded, plain and has a 4-inch batch reserve.
The band measures 60 + 6 + 6 + 2 + 2 = 76 inches along its unfolded treatment width. Its other dimension is 16 + 3 + 3 = 22 inches. In railroaded mode, those become 22 inches across the roll and 76 inches along it.
The independent top cap measures 60 + 2 + 2 = 64 inches by 6 + 2 + 2 = 10 inches. It uses the same chosen orientation: 10 inches across the roll and 64 inches along it.
The two rectangles occupy 22 + 10 = 32 inches of the 54-inch width, so both fit in one shelf. That shelf is as long as its longest piece, 76 inches. The cap does not add another 64 inches to the roll length.
Add the 4-inch batch reserve once, giving 80 inches, about 2.222 yards. Turning on a centered repeat can add alignment gaps or create separate rows. Changing direction can require band seams. Recalculate after either change rather than treating the original plain-fabric quantity as unchanged.
Make the material order match the actual construction
Prepared dimensions include the padding
This calculator has no generic padding-thickness multiplier. Measure a prepared frame or a representative sample assembly. A thick rounded edge may require more wrap travel than a sharp thin board. Count that in the relevant allowance, and confirm it reaches a usable fixing area. Structural board sizes and installation clearances belong in a separate frame plan.
Simple shelves show where the total comes from
Ordinary rectangles share a row when their combined cross-roll widths fit. Copies stay in list order and retain direction. The row length is the longest rectangle in that row. The layout can leave reusable offcuts; it does not rotate pieces, pack inside empty corners or guarantee the smallest theoretical yardage. Use the coordinates when comparing its total with your own worktable layout.
A separate cap is deliberately independent
The top cap can be switched off when it is not covered with this cloth. When included, it has its own wrap dimensions and may need sections in vertical mode. The tool does not match its print to the front band or design a one-piece fitted corner. If the top will be visible, decide whether that independent pattern arrangement is acceptable before ordering fabric.
Seams deserve a visual decision
Balanced band sections can put a seam on the visible face. The preview marks its position; it does not select a hidden corner seam or move it into a motif. Fixed section count changes the arrangement but keeps equal net contributions. If the resulting seam is unsuitable, revise the design or choose a suitable continuous railroaded fabric instead of treating a numeric fit as aesthetic approval.
The method, explained
From flat covering pieces to fabric length
Rule version 1.0.0
Unfold the covered surfaces
Band width is the prepared front width plus selected left and right returns plus two end wraps. Band height is face height plus top and bottom fixing wraps. The optional cap is front width plus two cap end wraps, by its own depth plus front and rear cap wraps. The model uses straight rectangular pieces and leaves corner clipping, overlap and fixing technique to your confirmed construction.
Keep treatment axes separate from roll axes
In vertical orientation, treatment width runs across the roll and band height runs along it. In railroaded orientation these axes swap. A railroaded band is continuous and must fit across the roll in its height direction. Vertical mode adds two joining allowances per seam and balances net section contributions. An over-width piece produces a draft warning and no purchase total, coordinates or label transfer.
Place a straight-repeat motif
The front center on the joined band is the left end wrap plus left return plus half the front width, and the upper wrap plus half the face height. Measured motif phases establish the necessary cross-roll offset and earliest along-roll starting position. Each centered band section gets its own row so its phase is preserved. Cap pieces remain ordinary rectangles. Half-drop, diagonal and irregular prints require a separate physical layout.
Account for the whole batch once
Expand the identical treatment quantity into physical pieces, lay them in list order and sum row lengths plus alignment gaps. Add the entered reserve to that total once for the batch. The output uses yards in inch mode and meters in centimeter mode. It does not automatically round to supplier increments, add shrinkage or claim that a leftover area can be used for another project.
How much fabric do I need to cover a cornice board?
Measure the prepared front, chosen returns and actual fixing wraps, then include a separate top cap if your construction needs it. The fabric direction and usable width determine whether these rectangles can share a row or need seams. A width-times-height area calculation alone does not tell you the required length from a fabric roll.
What is the difference between a cornice and a valance?
Here a cornice is a rigid frame covered with fabric, while a soft valance hangs or folds as a textile treatment. A cornice needs covering and fixing allowances; a gathered or pleated valance needs cloth for its folds. Use the soft valance calculator for that construction rather than applying a fullness multiplier to a rigid front.
Can I railroad fabric to avoid a front seam?
Yes, if the fabric’s design and construction allow the rotation and the full band height, including wraps, fits the usable width. Its long dimension then follows the roll. Check nap and motif orientation on the actual material. The calculator preserves your selected direction and does not decide whether a sideways printed or textured design is acceptable.
How much extra fabric should I allow for wrapping?
Measure the cloth path around the prepared edge to the intended fixing position. Include the thickness and any overlap needed by your chosen technique. There is no universal wrap value for every board, padding and fixing method. Use a sample strip first, then enter complete top, bottom and end travel separately; the example values are only examples.
Why does centered pattern mode need more fabric?
Placing a motif at the visible front center can require an initial trim across the width and a gap along the roll. Additional band sections must start at matching phases, so they receive separate rows. A large offset can make a piece fail the usable-width check even if its raw width alone would fit. Inspect the actual repeat before accepting the plan.
Does this tool calculate a scalloped or curved cornice?
No. It unfolds a rectangular front and straight returns, with an optional separate rectangular cap. A shaped lower edge, curved frame or fitted corner needs a suitable template and construction allowances. You may use the saved plan as a material reference only after developing and verifying that separate pattern; its diagrams are not full-size templates.
Can I keep the source calculation with the work order?
Use Create work order after the layout fits. The source file is retained with the item, including orientation, returns, cap and motif settings. Changing fabrication specifications in the work order withdraws its old cuts until the source is recalculated or restored. Export JSON for editable backup and print the current revision on A4 or Letter.
Take the plan to your worktable.
Review the measurements, keep a backup and print a proof.