Turn finished window measurements into a soft valance cutting plan. Choose a clear construction, see where the joins fall and keep the face fabric and optional lining quantities separate.
Private, on this device
Rectangular soft valances with flat returns: a flat front, gathered front or equal face sections with inverted box pleats. This is not a swag, shaped cascade, balloon or upholstered cornice pattern. Fold a sample before cutting.
EXAMPLE
Example inputs: replace them with your measured project.
Import this tool’s project JSON. CSV records cannot restore editable settings. Download example JSON
Use numerical dimensions. Drawings are schematic; fold a sample and review joins before cutting.
Saved on this device
Each tool has an independent saved copy. Export JSON for a portable backup.
From a measured window to a usable cutting list
01
Measure the finished front and returns
Measure the intended finished front width rather than automatically copying the window opening. Hardware, mounting position and your design determine that width. Enter the finished drop separately. A left or right return is the flat length that turns toward the wall; each side can have a different depth or be switched off. Returns do not receive the front gathering multiplier in this model.
02
Choose the construction before adding cloth
Flat mode preserves the front width. Gathered mode multiplies only that front by your chosen ratio. Box mode adds a defined inverted fold between equal visible sections: N pleats create N + 1 face sections. A single underfold depth is not the total cloth consumed by a pleat. The diagram and marking table show the difference, so you can check your intended look with folded paper.
03
Enter complete finishing allowances
The top allowance is all fabric above the finished upper edge for your heading, fixing strip or rod pocket. The bottom allowance includes every turn of the hem. The side allowance is added once at each outside end, beyond any return. Joining allowances are separate and apply only where sections meet. If your sewing method uses different folds, calculate their total consumption before entering it.
04
Inspect the joins, then save the plan
Enter the usable width after excluding unsuitable selvages and after any preparation that changes the fabric. Inspect the cutting table, visible seam locations and roll coordinates. Automatic sections balance net contributions; they do not find invisible seams. Save the project locally, export JSON for a portable copy and use the cutting CSV or labels only after checking the arrangement against your actual cloth.
Choose the fullness that suits the construction
Gather the front without overfilling the returns
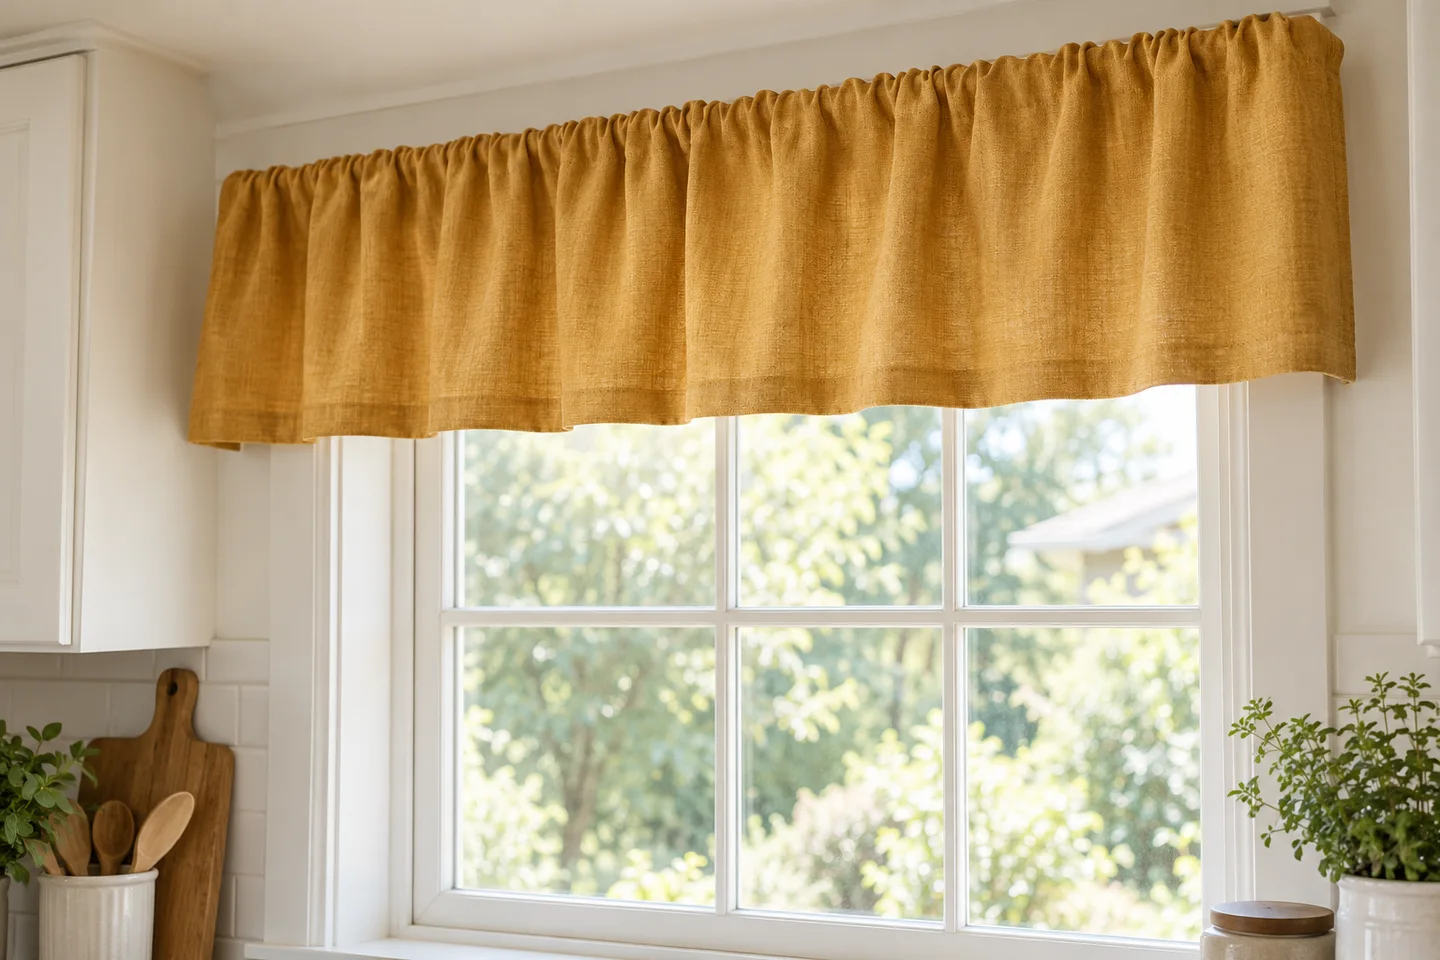
A short gathered valance can look very different in a light cotton and a bulky woven cloth at the same fullness ratio. Use a small sewn sample to decide how much fullness your header needs. Keep the side returns flat when using this plan; gathered returns require a different distribution. Measure the completed header and the finished drop, then account for its cloth above that top reference.
Mark an inverted pleat from a shared origin
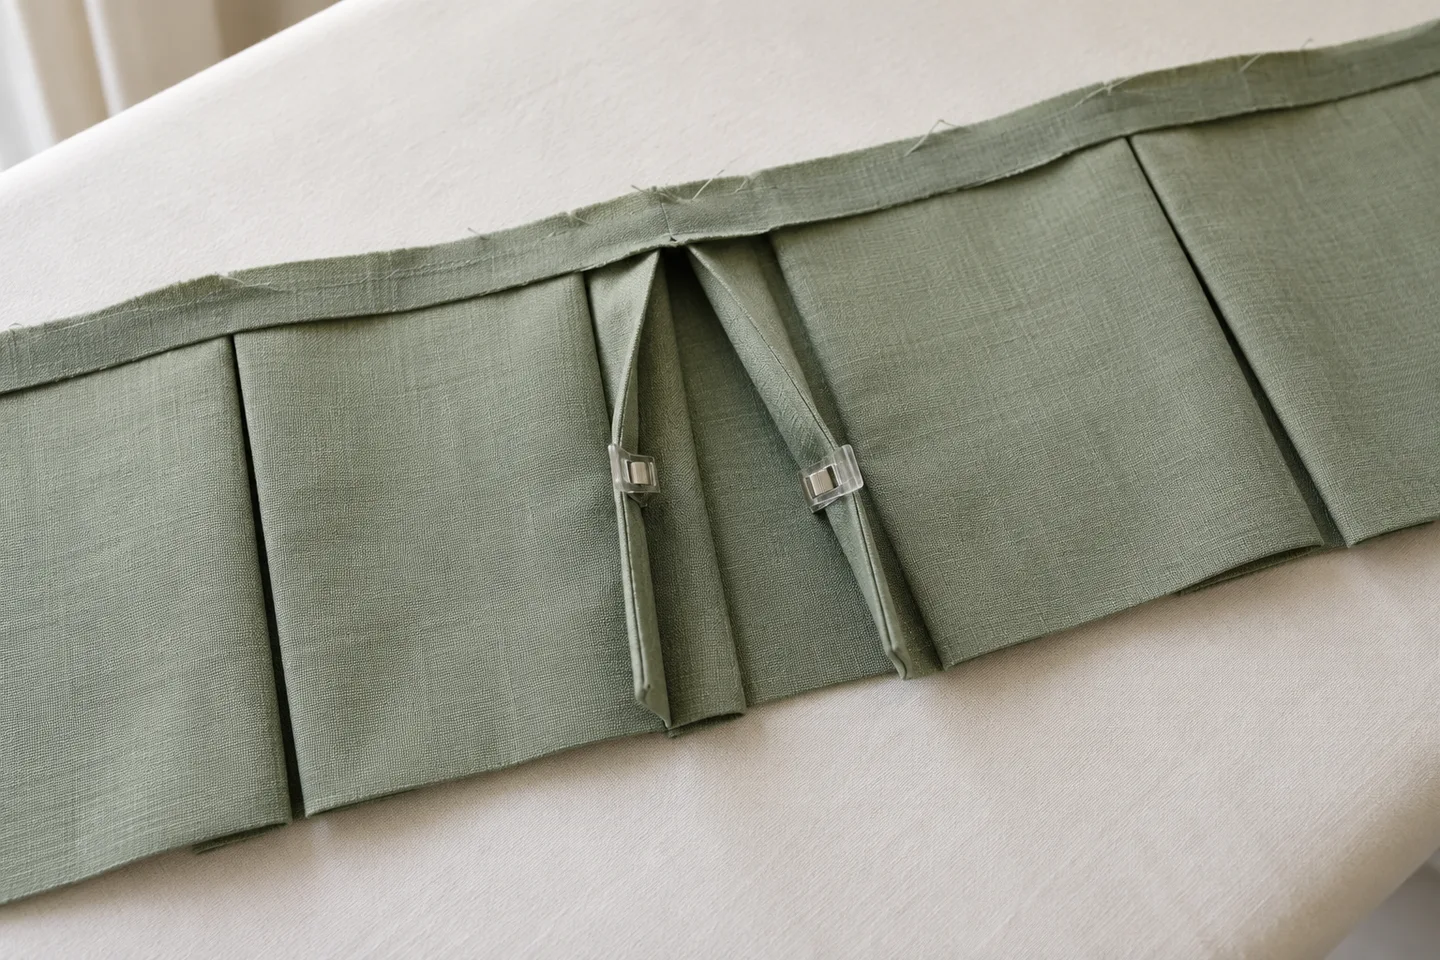
Join the sections first, then measure every mark from the raw left end of the assembled band. Bring marks A and E to C; B and D form the underfold creases. This removes four underfold depths from the unfolded length. Keep the marking sheet with the fabric, and check that a join does not land on a thick crease or an unwanted visible face. The calculator reports those relationships instead of assuming the seam is hidden.
Check the numbers
A 60-inch gathered front on 54-inch fabric
Load the English example: a 60-inch front, 16-inch finished drop, two flat 6-inch returns, 2 times front fullness, 2-inch end hems, 3-inch top and bottom allowances, 1/2-inch joining seams and a 4-inch batch reserve. Fabric is plain and usable width is 54 inches.
The unfolded front is 60 × 2 = 120 inches. Add 6 inches at each return and 2 inches at each outer end: the joined raw band is 136 inches wide. The cut height is 16 + 3 + 3 = 22 inches.
Three balanced sections fit the usable width. Their net contributions are approximately 45.333 inches each. The outer sections have one joining allowance; the middle section has two. Their raw widths are about 45.833, 46.333 and 45.833 inches. Use the exported precision for the actual marking record.
Only one of those pieces fits across the 54-inch roll at a time. Three rows of 22 inches use 66 inches. Add the reserve once: 70 inches, or about 1.944 yards. This is roll length, not square yards, and does not round to a seller’s purchase increment.
Switch to box mode with three pleats and a 2-inch underfold depth. The unfolded front becomes 60 + 3 × 4 × 2 = 84 inches. The band is 100 inches wide, requiring two 50.5-inch raw sections. Plain fabric uses 44 inches plus the same 4-inch reserve. Review the different fold and seam positions before treating this as an alternative design.
Optional lining is a separate plain layer with the same unfolded body width and finished drop, plus its own edge allowances. It is not a bagged, turned lining pattern and does not shorten the lining automatically. Enter a different lining width if necessary. Its section count and total roll length can differ from the face cloth even though the finished outline is shared.
Railroading is a design choice
Railroaded mode puts treatment width along the roll and cut height across the usable width. A continuous band can remove vertical joins, provided the cut height fits. First confirm the print, weave, nap and any lining can run in that direction. No piece is silently rotated, and the tool does not use a second crosswise join to rescue an over-wide railroaded piece.
A repeat is not full motif matching
The along-roll repeat option starts each new face row at the same repeat phase. It does not center a motif on every pleat, match across the width or handle half-drop repeats. Inspect the print physically. Extra reserve is a batch allowance you choose; it should reflect actual preparation and uncertainties rather than replacing a deliberate pattern-placement plan.
Keep the dimensional references together
A piece width includes seam allowances; a seam coordinate is measured on the joined band after those allowances have disappeared into joins. Pleat marks use that same joined raw origin before the side hems are folded. Mixing these references can shift every subsequent mark. Keep the source JSON, marking CSV and printed plan with the same project revision.
The method, explained
What the yardage calculation actually counts
Rule version 1.0.0
Build the unfolded band
For a flat front, use finished width W. For a gathered front, use W multiplied by the chosen ratio. For N inverted pleats of underfold depth D, use W + 4ND; the visible face sections are W divided by N + 1. Add selected flat returns and two complete side allowances. Raw height equals finished drop plus complete top and bottom allowances. There are no automatic corner pleats.
Split without losing seam cloth
Automatic mode finds the smallest balanced section count whose raw pieces fit. Each section contributes an equal net width, within stored length precision, and receives one seam allowance for each joining edge. Fixed mode lets you inspect another section count, up to twelve. The join positions are reported on the finished assembled band. A seam warning asks you to review the design; it does not move the seam automatically.
Lay out pieces on separate shelves
Physical copies are placed left to right in cutting-list order without rotation. When the next piece will not fit, a new row starts after the longest cut in the previous row. Face rows can receive a repeat-alignment gap; plain lining uses its own roll. Sum the occupied rows and gaps, then add each material’s batch reserve once. This reproducible arrangement is not an optimal nesting solver or a shrinkage estimator.
Begin with the finished front, return lengths, construction and complete edge allowances. Fabric width then determines whether the unfolded band fits as one piece or needs joins. Multiply neither the whole window nor the final yardage by a generic fullness factor without defining what it applies to. This tool reports a specific cut layout and separate lining total.
How do I calculate fabric for a box pleat valance?
In this model, add four underfold depths for each inverted pleat to the finished front width. The pleats sit between equal visible face sections. Returns and hems are then added separately. Other workrooms may use “pleat depth” to mean a different dimension, so compare the A–E marks with a physical folded sample instead of transferring the number by name alone.
Should a gathered valance be twice the window width?
Two times is an example ratio, not a universal requirement. Your chosen header, fabric and desired fullness determine the appropriate value. The measured front can also differ from the window opening. Here the ratio applies only to the front; selected returns remain flat. A sample tells you whether the chosen density works with your material.
Can I make the valance without a visible seam?
A flat or lightly gathered band may fit across wide cloth. Railroaded fabric can make a longer continuous band when its direction is suitable and the cut height fits the roll. With box pleats, a join might sit inside an intake, but the tool does not guarantee concealment. Use the seam table and fold a sample to check the actual result.
Does the calculator include a rod pocket?
It includes the total top allowance you enter. It does not select a pocket size from a rod diameter or add a decorative header automatically. Measure the cloth consumption for your chosen pocket and heading, including folds, then enter that total. The finished drop reference must match the point from which your design is measured.
Can I send the plan to the label and work order tools?
Yes, when every cut fits the usable fabric. Labels preserve cutting dimensions and quantities; the work order retains the original project and recalculates its cuts. Exported JSON restores the editable construction. A PDF is a record for review, while the drawings remain schematic and should not be printed as full-size cutting templates.
Take the plan to your worktable.
Review the measurements, keep a backup and print a proof.