Give every window a place in the same fabric order. Set a shared pattern reference, see which cuts move when a measurement changes, and carry the prepared pieces into your cutting list.
Private, on this device
For 1–12 windows using one fabric and lot, full-width vertical cuts and a straight repeat or plain cloth. Shared construction settings, up to 100 cuts. No half-drop, remnant nesting, mixed rolls or automatic order optimization.
EXAMPLE
Example inputs: replace these with your measured project.
Import this tool’s JSON project, or start from one drapery yardage file. A yardage import brings face fabric only; set the reference phase and check each window before combining the order. Download example JSON
The diagrams are schematic. Use the dimension tables for cutting. Labels preserve the prepared sizes and piece IDs.
Saved on this device
One saved slot for this tool. Export JSON for an independent backup or another device.
Build one plan from measurements that belong together
01
Name the fabric and each window
Use one material and dye lot for the batch. Enter the usable width and full vertical repeat, or zero for plain cloth. Give each window a unique ID, total coverage width, finished drop and single-panel or equal-pair arrangement. Coverage is the span of the curtain body, excluding the separate flat returns and overlap.
02
Choose where the pattern must agree
Top alignment uses each finished top as its reference; bottom alignment uses each finished bottom. Room-line alignment uses one measured height above the floor and requires the finished top height of every curtain. Independent mode assigns a separate top phase to each window. A phase is a distance into your chosen repeat, not a photograph of a motif.
03
Check the common construction settings
Fullness, side hems, joining seams, top and bottom allowances apply to every window in this batch. Use another project when the construction differs. An existing drapery yardage JSON can start one window with its face-fabric settings; lining remains in its source project. Confirm the pattern reference after importing rather than assuming the old project specified a visible motif.
04
Review the order before making labels
The list follows the window rows, then each panel and its widths. Move a window earlier or later to compare a deliberate cutting order. Read the matching gaps and cumulative roll positions, save a JSON backup, and print the complete record. Sending pieces to labels retains their window IDs, dimensions and raw-edge phases without adding the hems again.
Match a room, then organize the roll
The same top motif is one possible design choice
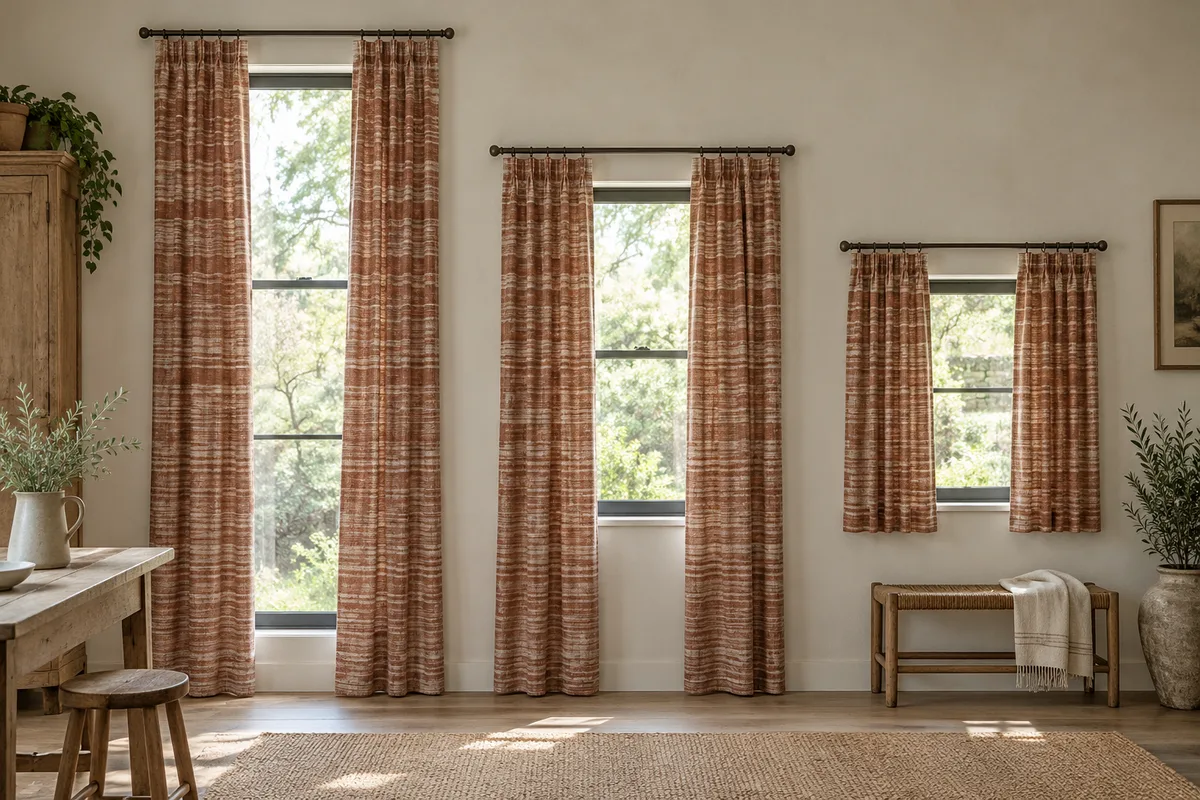
Two curtains can start on the same part of a print and still show different motifs at a common height in the room when their tops are installed at different levels. Decide what your eye should follow before choosing an alignment mode.
For a room reference, measure all heights from the same floor datum. The line must cross every finished curtain in this version so its result can be checked on the visible cloth. A window recess height is not a substitute for the finished fabric top; heading attachment can put those two measurements in different places.
Top / bottom modes
Compare the chosen finished edges
Room-line mode
Use measured installation heights
Original interior illustration. The live diagram and your measurements define the actual alignment.
A matching gap is separate from a usable rectangle
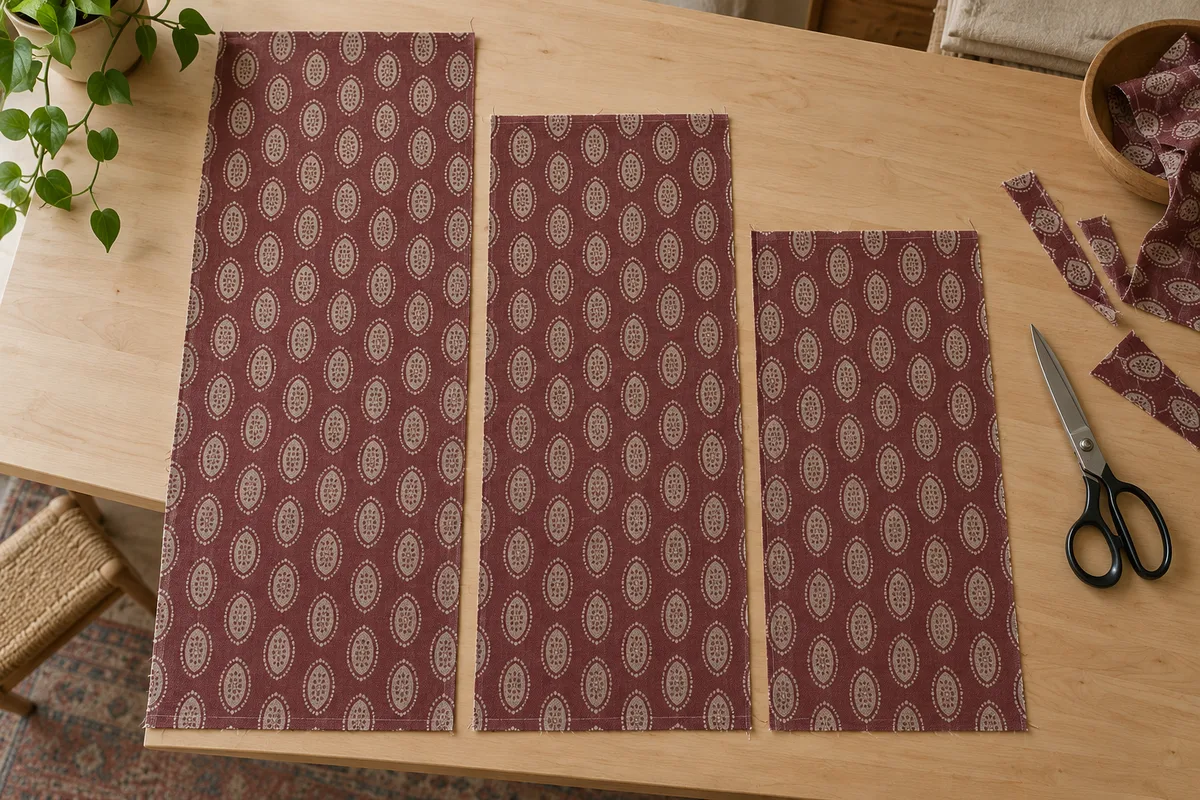
This planner cuts each required construction length, then advances to the next permitted pattern phase before the following cut. A short gap may remain between rectangles. Keeping that gap visible explains where the cloth goes when the next window has a different finished drop.
All positions start at a recognizable motif zero marked on the roll. Any damaged or unusable cloth before that mark is outside the coordinate system. Minimum starting reserve begins at zero; the first matching gap may add more before the first cut. Reserve for purchasing is added after the last cut and is never turned into an extra labeled rectangle.
Window order
Chosen by you
Matching gaps
Listed before each cut
Original cutting-table illustration, not a scale template or an optimized nesting layout.
Check the numbers
Worked example: two single panels with different drops
Use inches, a 54-inch usable width, fullness 1, zero returns and overlap, 3-inch side allowances, 0.5-inch seams, 4 inches at the top and 8 at the bottom. Each window covers 40 inches and needs one panel. Choose a 20-inch repeat, top phase zero and no starting or purchase reserve.
W01 finishes at 84 inches. Its base cut is 84 + 4 + 8 = 96 inches. W02 finishes at 72 inches and needs an 84-inch base cut. Both fit one full fabric width; each sewn panel is trimmed to its required width.
A finished top at repeat zero lies 4 inches below the raw edge. The raw edge must therefore start at phase 16 within the 20-inch repeat: 16 + 4 reaches the next zero.
The first eligible W01 start is roll position 16. Cut 96 inches to position 112. The next eligible phase 16 is at position 116, so the gap before W02 is 4 inches.
W02 runs from 116 to 200. The two rectangles total 180 inches and the two matching gaps total 20 inches. The planned roll use is 200 inches, with no hidden last-cut rounding.
Round the final purchase upward in quarter yards: 200 inches becomes 5.75 yards. Swapping the rows changes the sequence; verify the new offsets before using an earlier printout.
Four checks that prevent a misleading combined order
One batch means compatible cloth
The material field is a record, not an automatic fabric-identification system. Confirm that every window uses the same width, repeat, direction and lot. A second roll may begin at a different motif and needs a fresh origin. Joining two separately calculated totals does not create one continuous physical roll.
Widths and panels are different counts
A single finished panel may contain several full fabric widths. The planner derives widths from coverage, fullness, edge allowances and seam loss. A pair receives an equal share of the coverage. Side scraps are not reused across windows, and the displayed order deliberately avoids promising a smallest possible purchase.
Keep every piece facing the same way
The sequence assumes all rectangles run down the roll in one direction. It does not rotate alternate pieces to save cloth or mirror a one-sided print by turning it over. Check nap, sheen and the supplier’s repeat description on the actual textile before relying on the numbered record.
Replace records after an upstream change
Changing an early cut can shift every later roll coordinate while leaving later windows’ finished dimensions unchanged. The status line identifies changed window results or offsets. Reissue the master list and labels together, and keep a dated exported project when a previous revision must remain traceable.
The method, explained
How reference phases become consecutive cuts
Rule version 1.0.0
Convert finished alignment to a raw-edge phase
Let R be the repeat and P the phase at the selected reference. Subtract the distance from the finished top to that reference, then subtract the top allowance. Reduce the result to a value from zero up to, but not including, R. For room alignment the first distance is top height above floor minus the reference height.
Find the earliest permitted next start
Begin at the minimum starting reserve. For each cut, advance by the smallest nonnegative distance that gives the required raw-edge phase. Add the exact base construction length to find its end, then repeat from that end. Plain fabric adds no phase gap. Row order is retained rather than searched for a global minimum.
Account for every purchased length
The subtotal equals prepared rectangle lengths plus all matching gaps plus minimum starting reserve plus purchase reserve. Only that whole-batch subtotal is rounded to the selected selling increment. The table excludes purchase reserve from individual piece dimensions, making it possible to reconcile the record with the material order.
Store measurements independently of display rounding
Lengths are stored as integer micrometers; inch fractions and metric inputs feed the same calculations. Display labels use shorter decimals for readability. JSON retains the editable inputs and rule version, while CSV contains the cutting record. A PDF is a printable reference, not an editable backup or a full-size marking template.
How do I match curtain patterns on windows of different heights?
First decide whether the match should follow the finished tops, the finished bottoms or a shared line in the room. Different drops can require different raw-edge phases even when the visible reference matches. Enter the actual top allowance as well as the finished drops so the tool can distinguish a cut edge from the edge you will see.
Do I need installation heights for every mode?
They are required for room-line alignment because width and drop alone cannot locate a curtain on the wall. Top and bottom comparison modes do not use installation heights. For the room mode, measure each finished top above the same floor reference and choose a line that crosses every curtain.
Why can moving a window change the amount of fabric?
Each cut leaves the roll at a particular phase. The following cut may need to advance to another phase, and that gap depends on both lengths and their order. The move controls let you compare specific sequences. The tool does not search all permutations or claim that its current order is optimal.
Is the repeat phase the distance between two flowers?
The repeat is the distance between identical points in consecutive complete motifs. Phase is an offset within that repeat from a zero point you deliberately mark. A single flower’s height may be neither of these. Use the same zero convention across the roll, the input fields and any handwritten workroom notes.
Can I combine half-drop fabrics or several rolls?
This version supports one continuous roll with a straight vertical repeat, or plain cloth. Half-drop matching needs relationships between alternating widths that this model does not calculate. Separate roll sections each need their own measured origin and plan, even when they came from the same supplier order.
Will the total include lining and reusable side scraps?
The combined plan covers face fabric only. It purchases complete usable widths for the derived cuts and does not nest side remnants. Keep lining in its own calculation. A material area or a pile of offcuts does not demonstrate that a shorter continuous roll will satisfy this cutting sequence.
Can I import a curtain calculation and then print labels?
Yes. Import a yardage JSON to start one window with its face-fabric construction settings, then add compatible windows manually. Check alignment and the marked origin before exporting. Make piece labels sends each rectangle with its window, identifier and planned roll start; it does not repeat the construction allowances.
Are the wall drawing and PDF actual-size templates?
No. They explain the plan and supply dimensions. Widths and gaps between windows in the wall drawing are schematic, while the height comparison and phase table follow the selected reference. Use the numerical cutting record and measurements on the fabric; a browser-scaled drawing is not a marking ruler.
Take the plan to your worktable.
Review the measurements, keep a backup and print a proof.