Plan a cylindrical cover from its sewing lines. Calculate the body rectangle, two circular ends, quarter references and fabric rows before taking the pattern to your worktable.
Private, on this device
Straight cylindrical covers in plain woven fabric, with a centered lengthwise zipper or hand-closed opening. No gathered ends, button tufting, piping, insert compression or motif matching.
EXAMPLE
Example inputs: replace with your measured project.
Download example JSON · Private file processing in this browser. Export a backup for other devices.
Paper circles require 100% printing and a measured 50 mm calibration square. Body diagram is a schematic.
Independent local project
Export JSON to keep a portable backup.
Measure the cylinder you intend to sew
01
Separate cover size from insert size
Measure the desired finished length between the end sewing lines and the diameter across an end sewing circle. An existing foam insert may need a different cover size depending on its firmness, batting and the cloth. Make that fitting decision before entering dimensions. The calculation does not subtract an automatic tight-fit percentage or add a hidden ease allowance. Write the agreed cover size on the project so another maker can understand it.
02
Choose the long-seam construction
A zipper is centered in the seam running along the cylinder. Specify its opening length and the allowance on each long body edge for your tested zipper method. A hand-closed turning gap uses the general seam allowance on those edges instead. Both options use the same circular end construction. The opening must be shorter than the finished body length, leaving a sewn section before each circular end.
03
Decide how the body follows the roll
The axial direction normally follows the roll length. The alternative places it across the usable width, which can help a larger circumference fit. This is an explicit construction choice: check nap, stretch, weave and the finished appearance before switching. The tool does not silently turn a piece to reduce yardage. End circles retain square preparation blanks and do not receive automatic pattern alignment.
04
Inspect, save and make a paper proof
Read the cut table and the opening endpoints together. Save the editable project locally and export its JSON as a separate backup. Print the record for the bench or print the end-circle template at actual size. Measure the calibration square before assembling the pages, and verify the complete cut diameter afterward. One verified end template can be reused for both ends and for identical covers.
Connect the flat pattern to the finished cylinder
Match sewing-line quarters
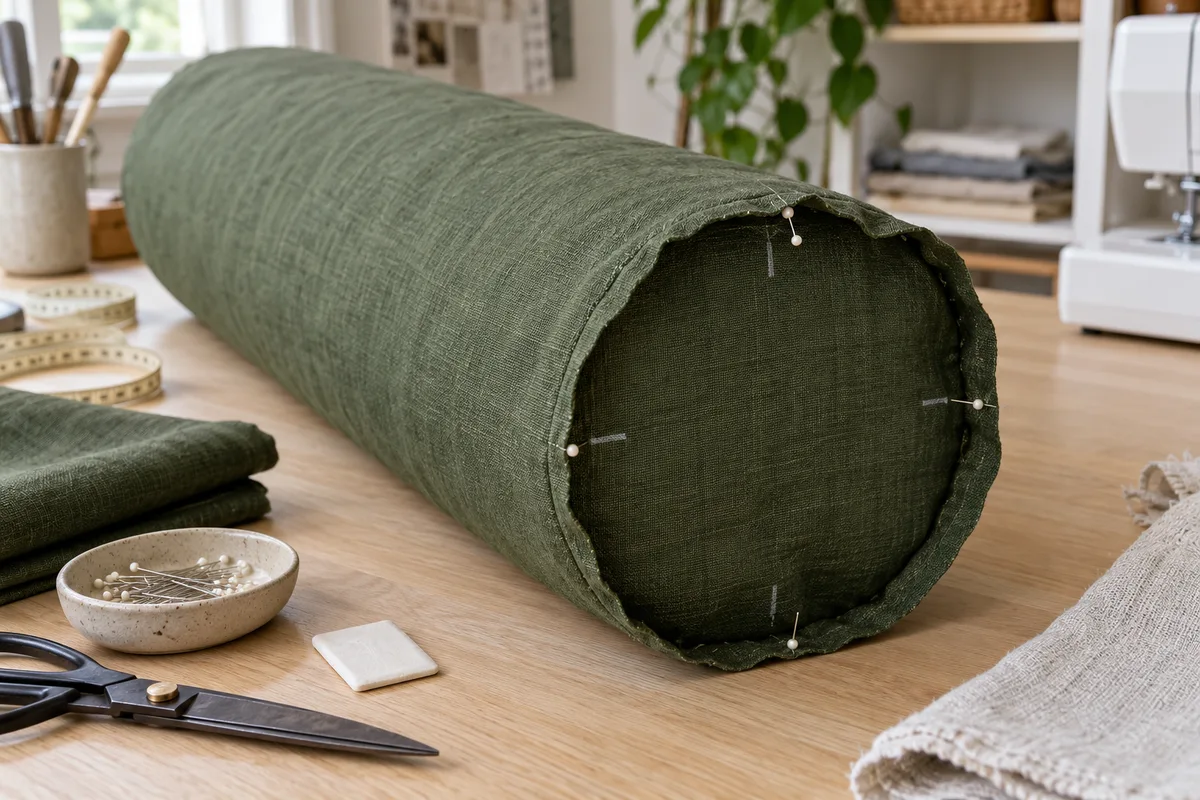
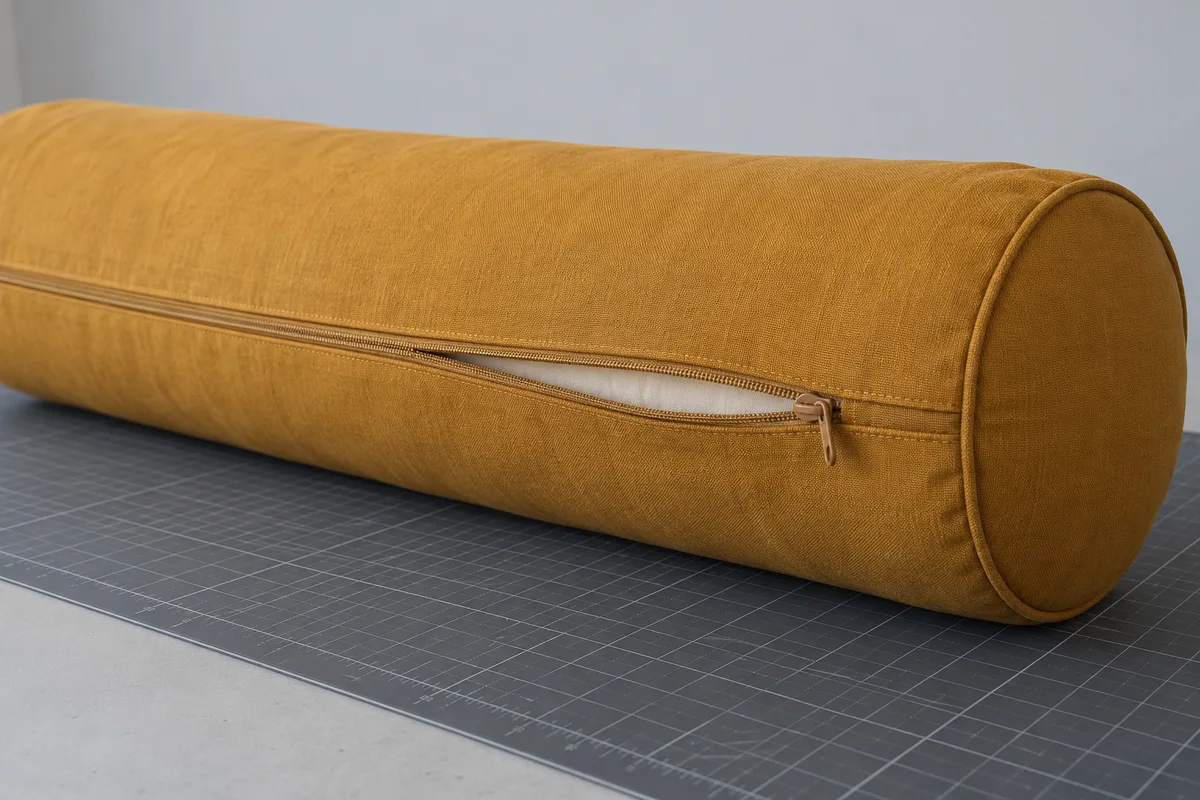
The rectangular body becomes a tube. Its sewing-line wrap equals the circumference of the finished circle, while its raw wrap also includes the long-seam allowances. Q0 is the closed body seam; Q1, Q2 and Q3 divide the sewn circumference into equal arcs. Transfer those positions to both ends of the body and to each end circle. The photo illustrates assembly, while the numerical marks control your actual project.
Keep the opening away from end joins
The opening follows the cylinder’s length rather than going around an end. Its two endpoints are measured from the same raw axial edge, making them easy to mark before the tube is closed. Confirm that the zipper stops and installation method fit within that span. A firm insert may require a larger opening than a compressible filling; the geometry alone cannot establish whether stuffing will pass comfortably through it.
Check the numbers
An 8 by 20 inch bolster cover
Use an 8-inch finished diameter, 20-inch axial length, half-inch end seams, three-quarter-inch zipper seam allowances, a 14-inch opening, 54-inch usable width and a 4-inch batch reserve.
The finished circumference is π × 8, approximately 25.13274 inches. Add two three-quarter-inch joining allowances to obtain a body wrap of approximately 26.63274 inches. The axial raw length is 20 + 2 × 0.5 = 21 inches.
Each circular end has a raw diameter of 8 + 2 × 0.5 = 9 inches. Prepare two 9-inch square blanks and cut a circle within each one. Those squares reserve fabric area; they are not square end panels.
The centered opening begins at 0.5 + (20 − 14) ÷ 2 = 3.5 inches from the raw axial end and finishes at 17.5 inches. The remaining sewn length is three inches at each end, excluding the circular seam allowance.
With the axial direction along the roll, the body and both square blanks fit across 54 inches: approximately 26.63274 + 9 + 9 = 44.63274 inches. The longest piece occupies 21 inches of roll. Add the single 4-inch reserve for a total of 25 inches, about 0.69445 yards. Additional copies can change the number of rows.
The diameter field expects the straight distance across the intended sewing circle. Entering a tape measurement taken around the insert would multiply the size again. If you only know circumference, establish the corresponding diameter first and check it against the actual end shape. An oval or tapered insert needs a different pattern.
Allow for the zipper you will install
The zipper seam allowance is material left on each long body edge. It does not specify tape width, zipper chain length or stop placement. Test that allowance with the selected zipper and machine foot. Changing it changes the raw wrap but leaves the intended sewing circumference unchanged.
Keep circular edges relaxed
Quarter references distribute the round-to-straight seam evenly. The raw circle perimeter is longer than the circle’s sewing line, so it is not the length to match against the body. Use the marked sewing references and a consistent allowance. Do not stretch the body merely to make two raw edges seem numerically equal.
Check the whole batch
Quantity multiplies the physical cuts before they are arranged. A row ends at its longest piece and the next row starts beyond it. Reserve is added once to the batch. Review individual identifiers, especially the two end circles per cover, before sending the list to labels or sharing the record with another maker.
The method, explained
How the cut dimensions are calculated
Rule version 1.0.0
Three pieces per cover
For finished diameter D, axial length L and end seam S, each end circle has cut diameter D + 2S. Let J be the selected long-seam allowance: zipper allowance in zipper mode, or S for a hand-closed gap. The body rectangle measures πD + 2J around the cylinder and L + 2S along its axis. Circumference is rounded once to the stored micrometer.
Marks and opening coordinates
Quarter arcs divide the sewing circumference into four parts. Body references measured from the raw wrap edge add J before each arc. Opening endpoints measured from the raw axial edge are S + (L − O)/2 and S + (L + O)/2, where O is the opening length. These are marking coordinates, not an instruction to cut a separate zipper rectangle.
A conservative fabric arrangement
Body rectangles and square end blanks are expanded in a stable order and placed left to right on shelves. When the next piece does not fit, a new shelf begins. The chosen body orientation is preserved. An over-wide piece leaves an inspectable draft but withholds yardage, coordinates and labels. No staggered circle nesting or decorative matching credit is claimed.
Use the finished cover dimensions, seam choices, usable width and quantity to obtain an actual row plan. A cylinder needs one body and two ends, but area alone does not tell you how they fit on a roll. The displayed total includes one reserve and excludes piping, lining and shrinkage prediction.
Can I use the insert dimensions directly?
Only after deciding that they are also the cover sewing dimensions you want. Batting, foam firmness and fabric stretch can affect fit. This page does not prescribe a universal size reduction. Test a cover or use a proven fitting specification for the materials you have.
Why is the body longer around than the circle circumference?
The raw rectangle includes the allowances consumed by its lengthwise join. Once sewn, the wrap between sewing lines equals the original circumference. The circular cut edge also includes a radial allowance; calculating body wrap from that larger raw circle would make the sewn cover too large.
Can the bolster be made without a zipper?
Yes. Select the hand-closed turning gap. The long body join then uses the end seam allowance, with the entered opening centered in that seam. Close it after inserting the filling. Gathered drawstring ends, tufted buttons and separate inner liners are different constructions and are not generated.
Does changing body direction change the finished shape?
The numerical sewing dimensions remain the same; the two body dimensions exchange their roll axes. The fabric may behave or look different, which is why the choice is manual. Check directional prints and nap before using the alternative placement.
Are the end templates full size?
The separate circle-template action uses millimeter-sized drawing geometry and a 50 mm calibration square. Print at 100% with page fitting disabled, measure both sides of the square and check the assembled diameter. The cylinder illustration in the ordinary record is only a schematic.
Take the plan to your worktable.
Review the measurements, keep a backup and print a proof.