Trapezoid cushion calculator with full-size pattern
This trapezoid cushion calculator builds a cover pattern from parallel front and back edges, a perpendicular depth and an optional left offset. See the sewing outline, add consistent seam allowances and take a measured paper pattern to the seat before cutting fabric.
Private, on this device
Straight-sided four-edge covers with separate corner-joined boxing, a centered back zipper or a back turning gap. Supports symmetric and offset trapezoids, including a back wider than the front. No curved corners, piping, foam compression, motif matching or polygon nesting.
EXAMPLE
Example inputs: replace with your measured project.
Download example JSON · Private file processing in this browser. Export a backup for other devices.
Print the calibration page first. Use 100% / actual size and check both sides of the 50 mm square. Up to 64 pattern tiles.
Independent local project
Save here for this browser and export JSON for a portable backup. No file is uploaded.
Measure a seat shape that can be checked
01
Identify front, back and true depth
Call the edge nearest the sitter the front and the parallel edge against the wall the back. Measure both widths along the intended finished sewing outline. Depth is the perpendicular distance between those parallel edges. It is not the sloping distance down either side. Decide the intended cover fit before entering values, especially if the insert has batting or the cloth stretches. This tool will not invent a tight-fit deduction.
02
Center the back or locate it explicitly
The symmetric setting centers the back edge over the front, giving equal left and right sides. For an asymmetric seat, measure the horizontal position of the back-left corner relative to the front-left corner. Enter a positive offset when it is to the right, and a negative offset when it is to the left. Both edges must overlap horizontally within this tool’s supported shape. Check the resulting outline before adding construction details.
03
Set seams, boxing and the opening
Choose the finished side height and one seam allowance for the face perimeter and boxing corner joins. A back zipper uses two half-height bands, each with an outside face seam allowance and its own zipper turn-under. The turning-gap option uses a full-height back band instead. In both cases the opening is centered on the back, shorter than that finished edge, and its endpoints are measured from the same raw strip end.
04
Print a proof and save the source
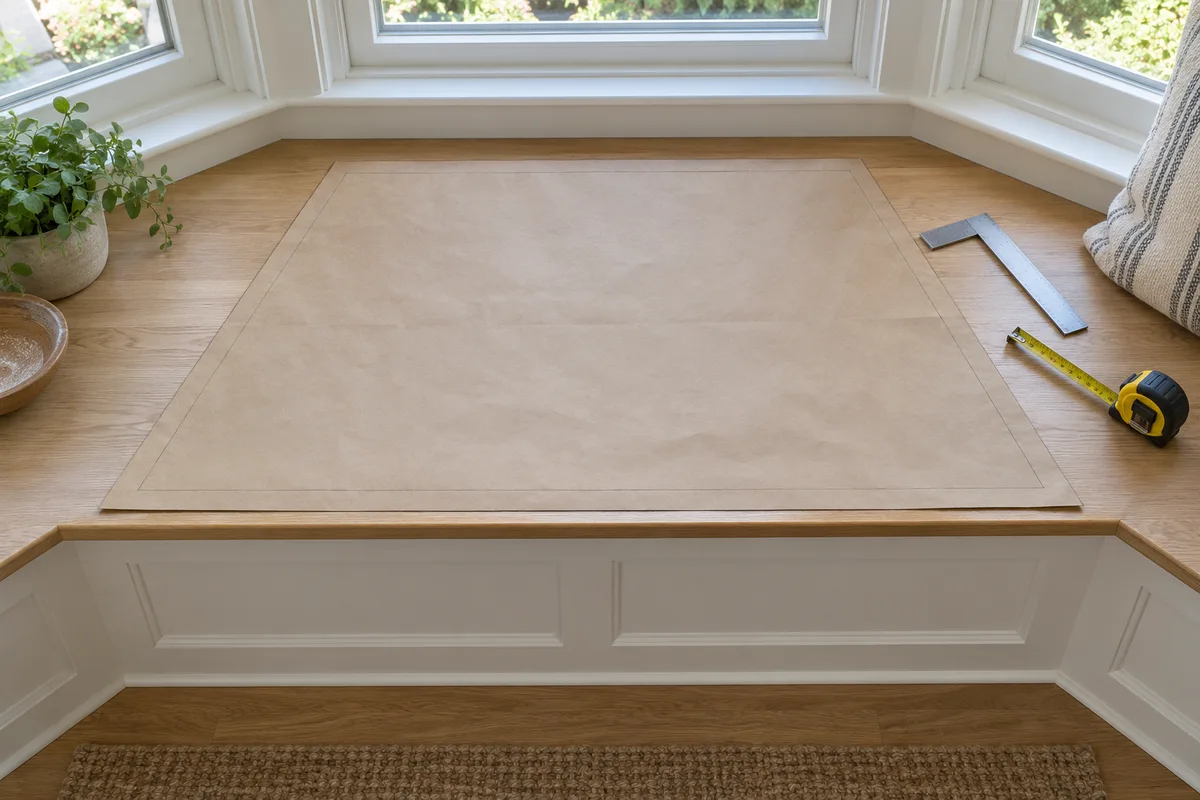
The separate pattern action creates a calibration page followed by full-size tiles. Print at actual size, measure both sides of the square and assemble sheets using their row and column references. Check front width, back width and diagonals on the assembled paper, then fit it on the real seat. Export the editable JSON and retain it beside the paper proof so later changes can be traced to the right version.
From a measured seat to matching seams
Fit paper before using upholstery fabric
A trapezoid can look convincing on screen while one measurement belongs to a different reference edge. Test the finished sewing outline against the seat, not just the outer cut edge. Compare both diagonals; they are equal only when the intended shape is symmetric. If the bench has a curved back or several small angles, a four-edge model cannot reproduce it exactly. Trace the real outline and use a suitable patterning method instead.
Match the face and boxing on their sewing lines
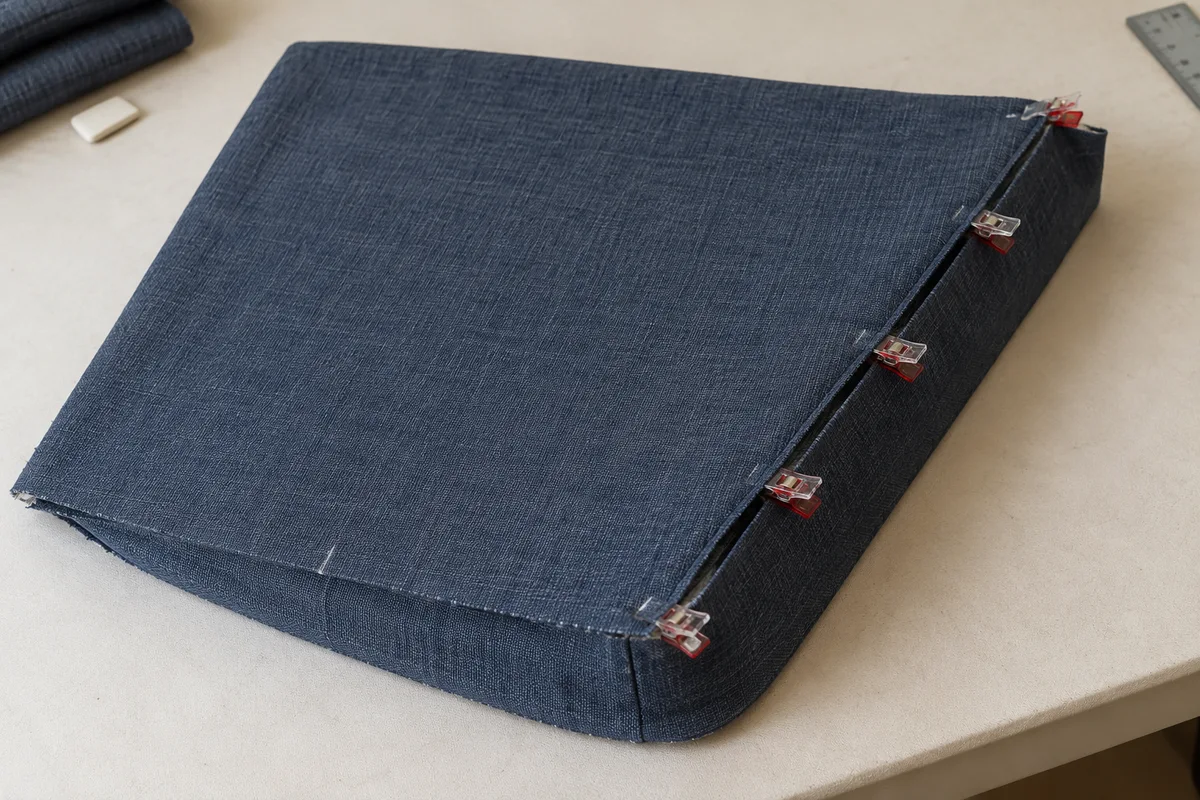
The outside cut perimeter is larger than the finished sewing perimeter. Transfer each midpoint to its corresponding boxing strip and line up those sewing references. The strips include corner joining allowances at both ends, so adding their raw lengths is not a way to measure the finished perimeter. Keep the front, back, left and right identifiers on the physical pieces. This is particularly useful when the two sloping sides have different lengths.
Check the numbers
A 48-inch front and 40-inch back
Start with a symmetric cover: front 48 inches, back 40 inches, perpendicular depth 18 inches, finished boxing height 4 inches and half-inch seams. Choose a 30-inch back zipper opening, three-quarter-inch zipper turn-under and 54-inch usable fabric width.
The back-left offset is (48 − 40) ÷ 2 = 4 inches. Each slanted side is √(18² + 4²), approximately 18.43909 inches. Both diagonals are √(44² + 18²), approximately 47.53946 inches. Those are useful independent measurements to check on the seat.
The face cut lines are parallel offsets half an inch from each sewing edge. At the angled corners their intersections extend the raw bounding width to approximately 49.2467 inches. Raw bounding depth is 19 inches. Simply using a 49-inch rectangle as the whole face allowance would not preserve a half-inch perpendicular seam everywhere.
Prepare front boxing at 5 by 49 inches, two side strips at approximately 5 by 19.4391 inches, and two back zipper halves at 3.25 by 41 inches. The opening begins 5.5 inches from the raw back-strip end and finishes at 35.5 inches.
The upper and lower faces each occupy their own 19-inch roll row. The boxing pieces fit in another row whose longest piece is the 49-inch front strip. With 4 inches of reserve, the conservative rectangular layout totals 91 inches of cloth, about 2.528 yards. This does not credit unused triangular corners as recoverable nested space.
A diagonal tape measurement includes horizontal taper as well as front-to-back distance. Entering it as depth makes a larger cushion. Use a square, parallel straightedges or a checked tracing to obtain perpendicular depth. The generated side lengths let you compare your independent measurements rather than asking you to trust a single ambiguous dimension.
Mirror the lower face
An asymmetric upper outline and lower outline must meet correctly when their fabric faces point outwards. When cutting both pieces from right-side-up cloth, flip the paper over for the lower face. A simple rotation is not a general replacement for reflection. Keep a front identifier on each face and check any nap direction separately before cutting.
Keep opening and zipper supplies separate
Opening length defines the usable gap along the back construction. It is not a complete specification for zipper chain, stops or sliders. Check that your chosen hardware and sewing method fit the allowance. A large firm insert may need a longer opening than a soft insert. The calculator establishes geometry, while a physical fitting establishes access.
Read the fabric layout as blank preparation
Face rectangles contain the entire expanded polygon. Their unused corners may be useful offcuts, but this estimate does not arrange other pieces inside them. Long boxing dimensions stay along the roll, while face orientation is an explicit choice. An over-wide blank blocks the fabric total and cutting labels. The geometry remains available for checking the seat or considering wider cloth.
The method, explained
How the pattern is built
Rule version 1.0.0
Place four finished vertices
The front-left corner A is the origin. B is at the front width on the horizontal axis. D is at the selected left offset and perpendicular depth. C is one back width to the right of D. These four points define the finished sewing polygon. Side lengths and diagonals come from their coordinate differences, and midpoint references sit halfway along each finished edge.
Offset each edge by the seam allowance
Each sewing edge is shifted outward along its unit normal. Intersections of neighboring shifted lines produce the four raw corners. This keeps the distance from each straight sewing edge to its cutting edge constant, including slanted sides. Exported vertices use the original front-left sewing origin, so some raw coordinates are intentionally negative. Preparation blanks cover the full resulting polygon.
Prepare and place the physical cuts
There are two face blanks, separate front and side bands, and either one back band or two zipper halves. Quantity expands the physical pieces before shelf placement. A new row begins beyond the longest item in the preceding row. All required pieces must fit the stated usable width. One batch reserve is added at the end, and the same paper pattern can serve all identical covers.
How do I measure a window seat that is narrower at the back?
Measure the front and back as separate parallel widths, then measure their perpendicular separation. If the shape is symmetric, those three measurements define it. If the back is shifted to one side, also measure the back-left horizontal offset. Compare the generated side lengths and both diagonals with the actual seat before printing.
Can the back be wider than the front?
Yes. The symmetric option then places the back-left corner to the left of the front-left corner. The cut outline and seam offsets still follow the actual geometry. Use the front label to mean the sitter-facing edge consistently, rather than swapping names simply because one edge is longer.
Does it support an asymmetric trapezoid?
Yes. Select the measured offset mode and enter the signed back-left position. The two side lengths and diagonals are calculated separately. A negative offset is permitted. The tool supports overlapping front and back spans with straight parallel edges; it does not infer curved or irregular outlines from a photograph.
Why are the face blanks wider than front width plus two seams?
Seam allowance is measured perpendicular to each edge. Where a sloping side meets a horizontal edge, the intersection of the offset lines can extend further sideways than a single seam allowance. The bounding rectangle includes those corner extensions. Follow the polygon pattern within that rectangle instead of cutting the rectangle as the finished face.
Can I cut the foam from the same printed pattern?
The solid line includes fabric seam allowance, so it is not automatically a foam cut line. The dashed outline represents the chosen cover sewing dimensions, which may also differ from the desired foam dimensions. Foam firmness, batting and cover tension require a separate fit decision. Mark an independently confirmed foam outline if needed.
How do I print the template at full size?
Choose A4 or Letter, use the separate full-size action and disable page fitting. Print and measure the 50 mm calibration square first. Assemble the tiles with 10 mm overlaps and verify the completed dimensions. Up to 64 pattern tiles are supported. Larger shapes retain their coordinate and measurement record without an oversized print job.
Take the plan to your worktable.
Review the measurements, keep a backup and print a proof.